BASIC OPERATIONS USING B ORDERS
55
To create a custom color:
1 Press
BG COLOR or BORDER COLOR until the color you want to change appears in the
Color Selector.
2 Press
LEARN+BG COLOR or LEARN+BORDER COLOR (depending on which one you want to
change).
These key combinations activate Learn Color mode. MXProDV blinks the
VIDEO/AUDIO
selector lights to indicate you are in the proper mode.
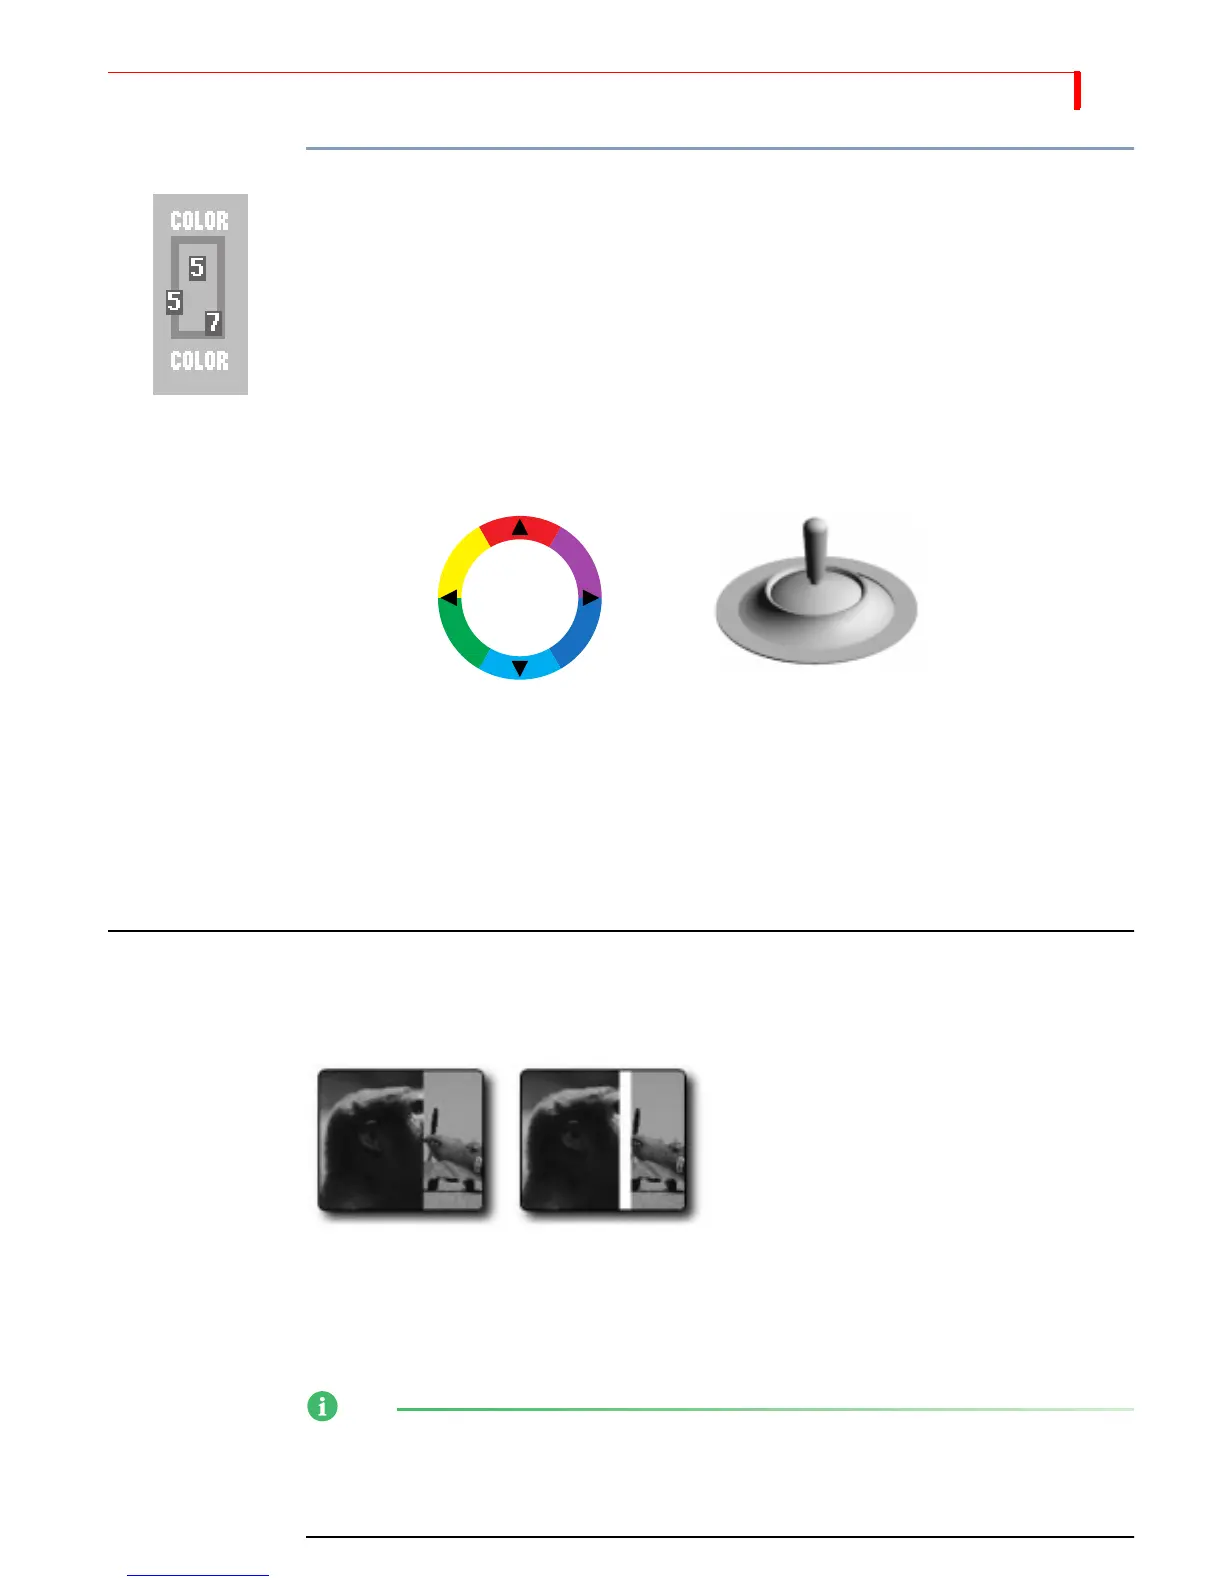
3 Use the
JOYSTICK and T-BAR in combination to define the new color.
a Move the
T-BAR up and down its slot to adjust luminance.
b Move the
JOYSTICK to adjust color.
4 When the color you want appears in the Color Selector, press
OK. You exit from Learn
Color mode and the
VIDEO/AUDIO lights cease blinking.
If you decide you don’t want to change the color after manipulating the
JOYSTICK and
T-BAR, press SHIFT+0 (zero) to revert back to the original color. MXProDV restores the
original color and exits from Learn Color mode (the
VIDEO/AUDIO lights cease blink-
ing).
USING BORDERS
Borders have many uses, such as providing a distinct separation between two sources
while running a transition.
You can also use borders to frame images in a picture-in-picture (PIP) image, and so
forth. Whatever purpose you use a border for, you can specify the color and style for
the border.
For the two following procedures, note that not all border styles can be applied in all
cases. Single PIPs as well as edge and shape transitions accept any border style. Basic
transitions accept only color borders. You cannot apply border styles to trailing
transitions, nor can you use them in compose or multi-PIP modes.
Red
Cyan
Yellow
Green
Magenta
Blue
Wipe Transition
No Border
Wipe Transition
White Border