MXPRODV USER GUIDE CHAPTER 4
46
9 Transition Control Buttons — Use these buttons to reverse transition direction,
change transition speed, specify background and border colors, and set border styles.
10 Numeric Keypad — Use for various functions, such as entering the number of a tran-
sition you want to use, setting a precise speed for a transition, and so forth.
11 OK Button — Generally used to indicate to MXProDV that you have completed some
operation and want the unit to prepare for or perform it accordingly.
12 Shift Button — A modifier key that invokes special functions when used in conjunc-
tion with other keyboard keys.
13 Arrow Keys — Primarily used for selecting effects and functions. For example, use the
arrow keys to highlight a transition you want to use in the Transitions menu.
14 Input Effects Buttons — Provides access to effects you can apply to input sources.
The light below the
INPUT EFFECTS button glows when MXProDV is in Input Effects
mode. See Chapter 6, Input Effects, for more information.
USING THE PREVIEW SCREEN
The Preview Screen is your control center for MXProDV operations. This section
describes individual items on the Preview screen.
MXProDV always processes the output at the highest possible quality. The Input
Source Previews, however, appear in reduced quality because MXProDV must reduce
the images to fit the smaller window. What you see on the Preview screen is not
indicative of what gets recorded or displayed on the output.
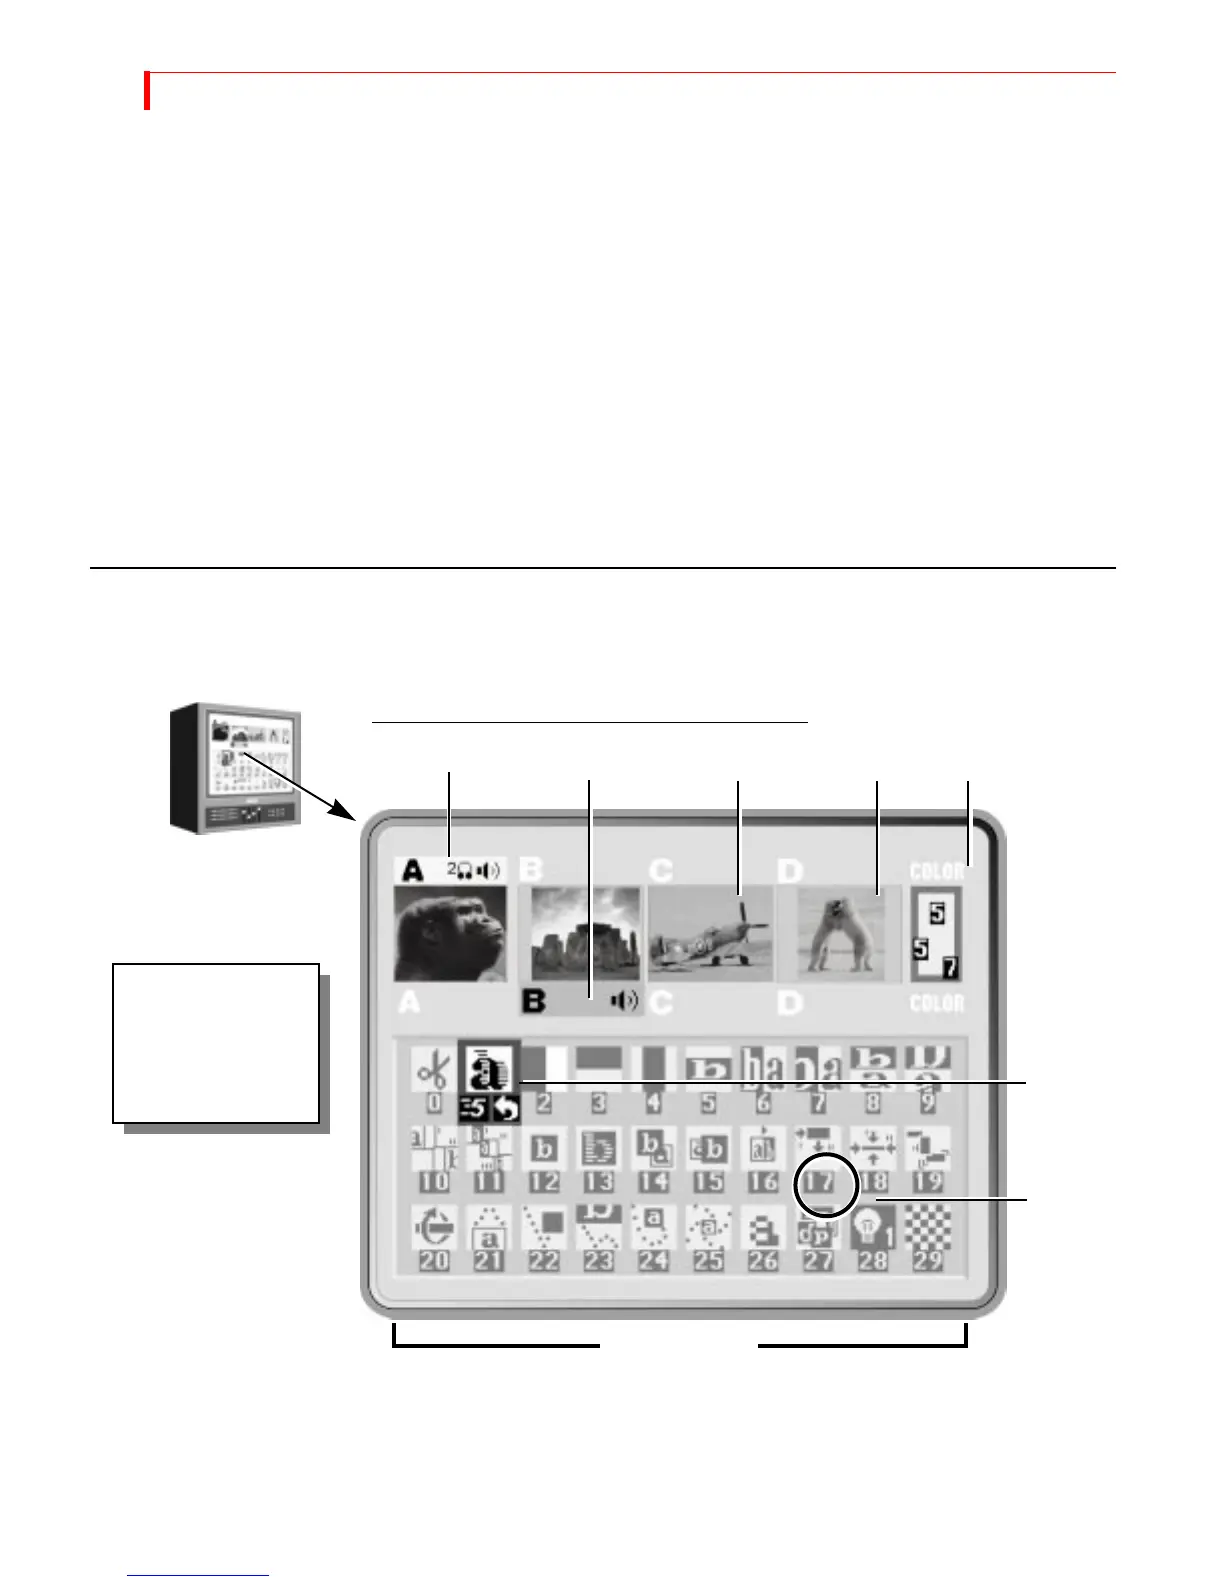
PREVIEW MONITOR AND STANDARD PREVIEW SCREEN
Input Source Previews
Active Source Highlights
Color
Selector
The Preview screen
appears on the
monitor attached to
the MXProDV
PREVIEW OUT jack.
Number
Transition
Transition
Select
Transitions Menu