MXPRODV USER GUIDE CHAPTER 2
18
Near the upper-right corner of the Preview screen is the color channel. The swatch
uses numbers to indicate the current background color, border color, and border
style.
For more detailed information about controlling the content of the Preview screen,
see “Using the Preview Screen” beginning on page 46.
Running the Demo
The demo gives you a quick look at some of MXProDV’s important features and
assortment of transitions.
•
Press SHIFT+DEMO.
You should see the two sources alternating, with a variety of transition effects in
between.
• Press any key to stop the demo whenever you want.
Cutting Between Sources
• Press CUT/A.
The light below the A button comes on and the Output monitor displays the sig-
nal from whatever device is plugged into the inputs labeled IN 1. The yellow
highlight above preview image A tells you it is the currently active input.
•
Press CUT/B.
The light below the B button begins flashing (indicating B is both the CURRENT
and NEXT source) and the Output monitor displays the signal from whatever
device is plugged into the inputs labeled IN 2. The yellow highlight above pre-
view image B tells you it is the currently active input.
• If you have anything plugged into IN 3 or IN 4, press
CUT/C and CUT/D, respec-
tively, to display their signals.
See “Selecting Sources” beginning on page 51 for detailed information.
Borders and Solid Color Backgrounds
• Press CUT/COLOR.
MXProDV highlights the speaker, headphone, or color block above the channel
indicator, but does not show the channel letter. The Output monitor shows a
solid color screen.
• To change the color, press
BG COLOR.
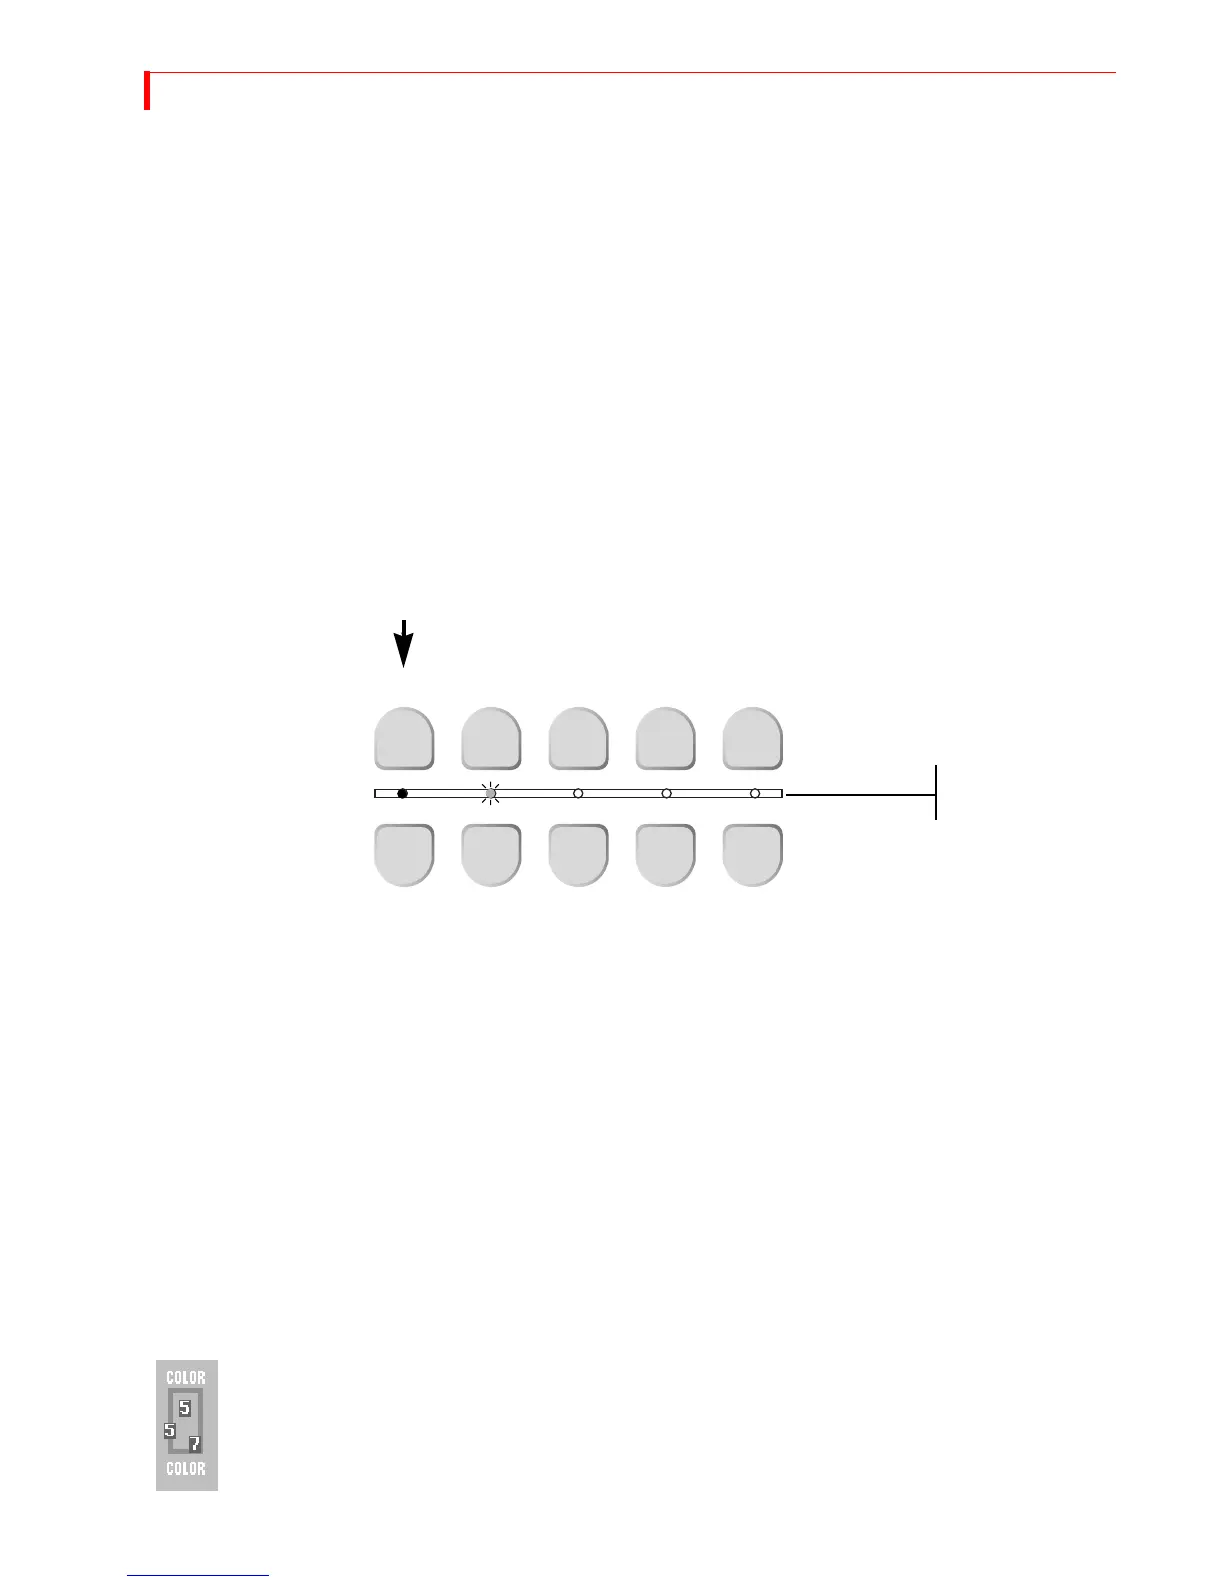
CUT
NEXT
A B C D COLOR
A B C D COLOR
When you press a CUT button, the
small light below the button glows
steadily to indicate it is the
CURRENT source.
When you press a
NEXT button, the
small light above the button blinks
to indicate it is the NEXT source.