MXPRODV USER GUIDE CHAPTER 6
80
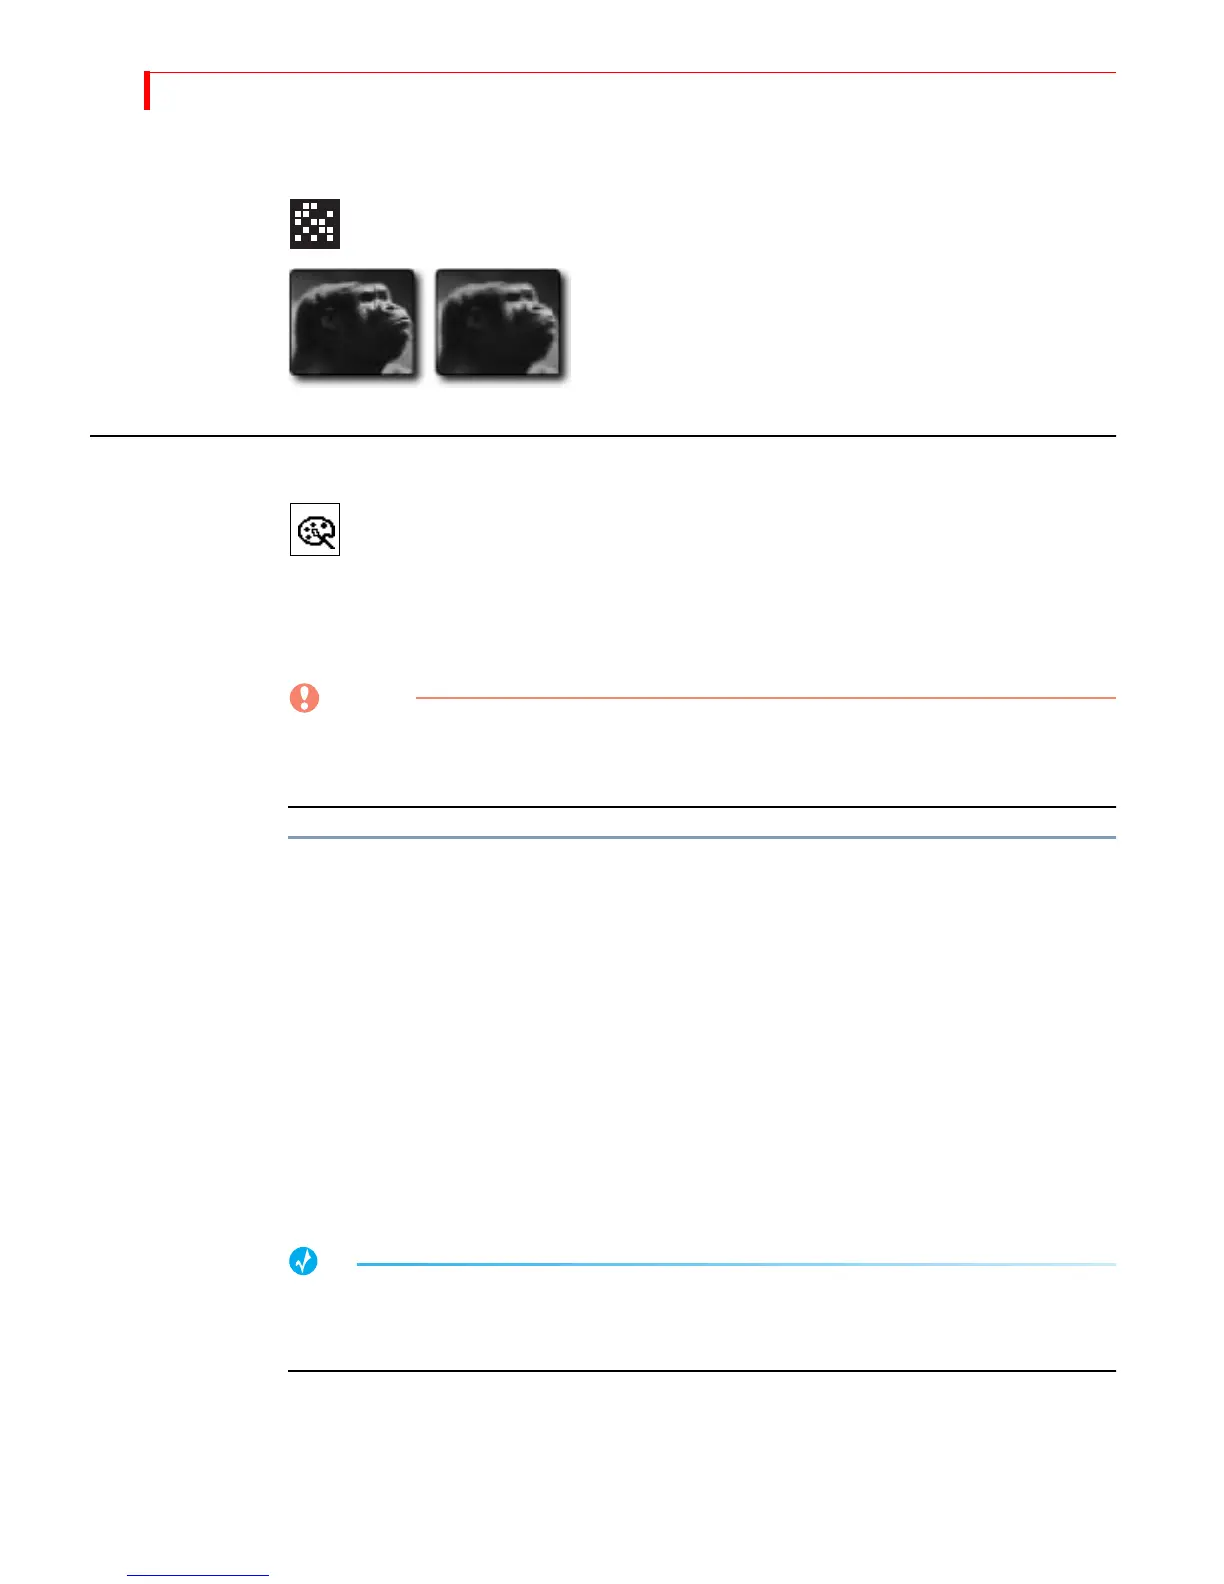
MOSAIC
Divides picture into tiles.
Parameter Values — Zero through seven. Zero turns
off the effect.
Low values create numerous, small tiles. High values
create fewer, larger tiles. Highest values might make
image difficult to recognize.
COLOR CORRECT
Adjusts overall color values throughout the entire image. You cannot,
however, apply color correction to PIP tiles.
You can set Color Correction values separately for each channel.
Parameter Values — Zero or one.
0 = Off: 1 = On
Apply color correction BEFORE going live or rolling tape. Because of the way
MXProDV implements color correction, the program output might be affected
temporarily.
To use Color Correct:
1 Press
COLOR CORRECT to display the Input Effects menu, or press INPUT EFFECTS then use
the
ARROW keys to highlight the Color Correct icon.
2 Press the
NEXT button that corresponds to the source you want to correct. For exam-
ple, to apply color correction to channel C, press
NEXT/C.
3 Turn on the Color Correct option. That is, either press 1 on the keyboard, or press
COLOR CORRECT so the parameter value equals 1.
4 Move the
JOYSTICK or T-BAR and MXProDV replaces the Input Effects menu with a pre-
view of the color corrected image.
5 Use the
JOYSTICK to adjust the RGB (Red, Green, and Blue) values in the image.
6 Use the
T-BAR to adjust the luminance of the image.
7 When the image looks the way you want, press
OK to exit from Input Effects mode.
Color creation is applied to only one channel at a time. If both the current and next sources are
color corrected, the next source is not corrected during transitions. For this reason you should
use cuts only if both channels are color corrected.