Vigilant MX1 Operator Manual Document: LT0344
Page 6-4 8 August 2017 Issue 2.4
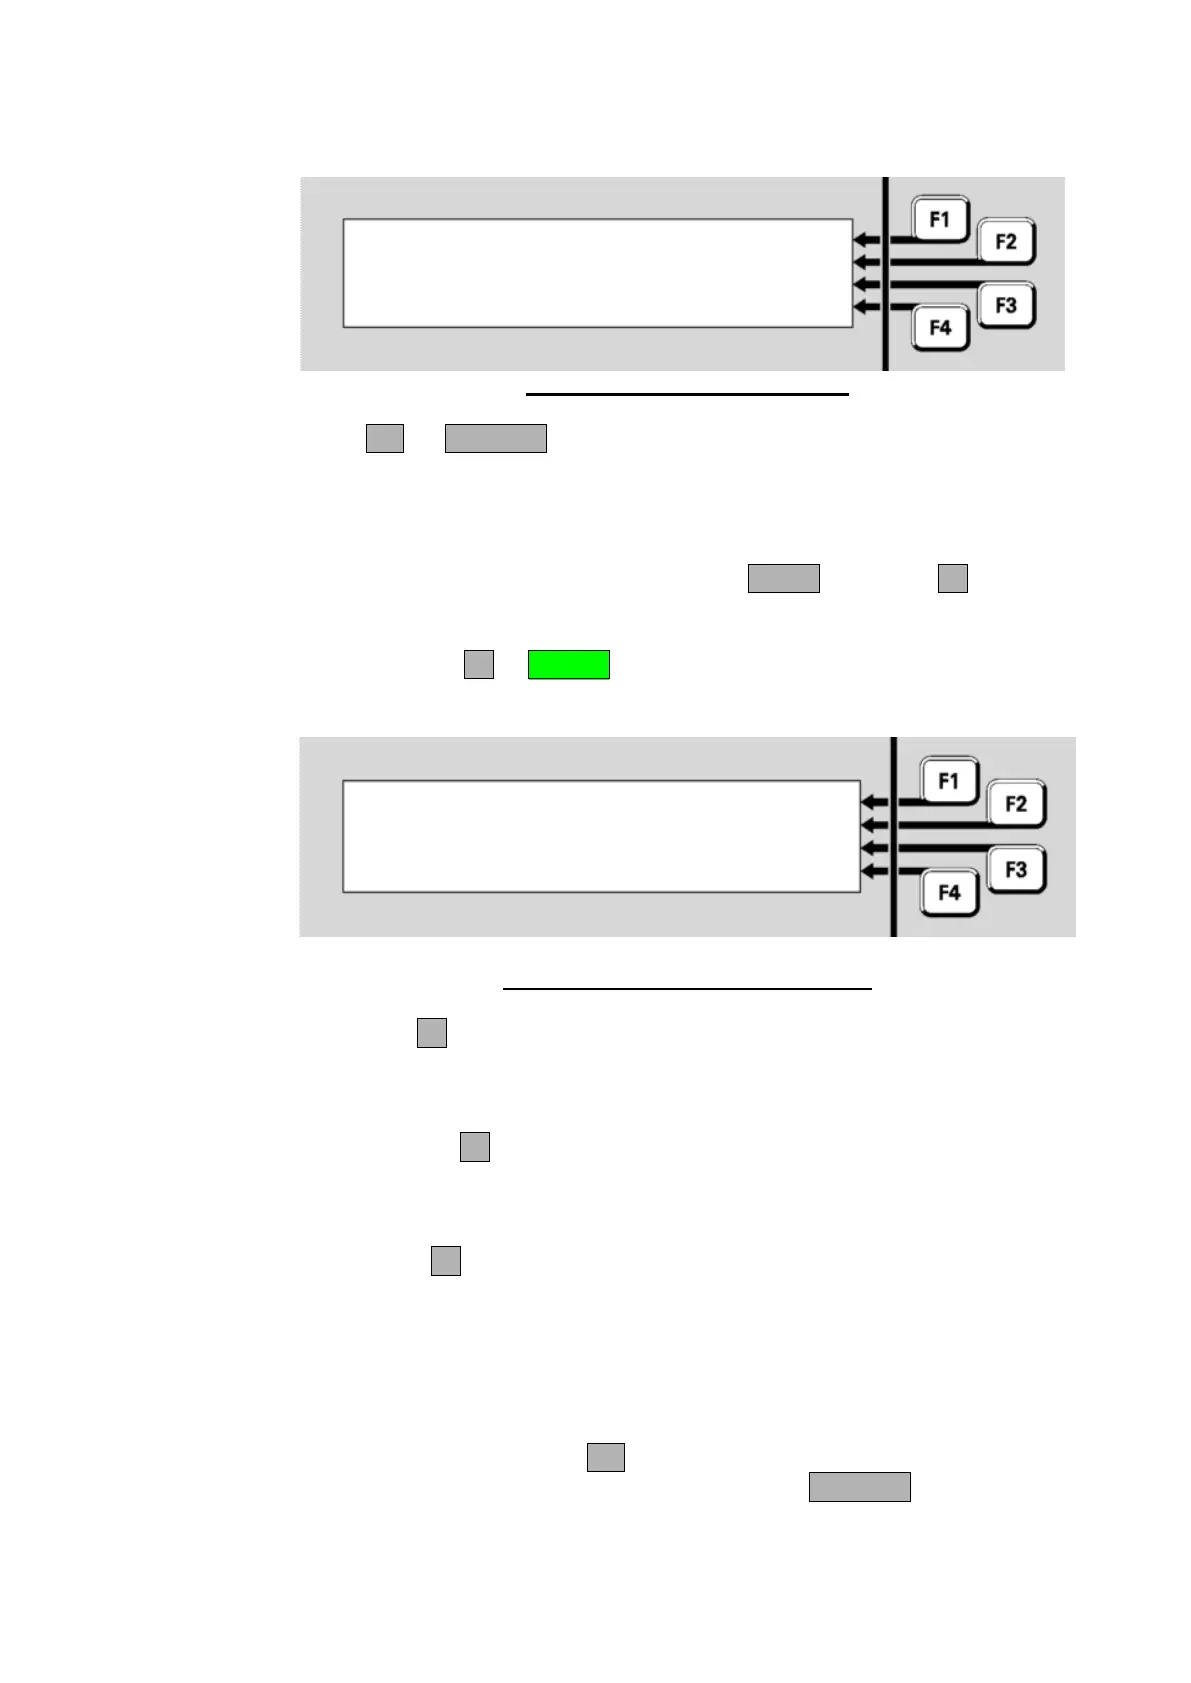
The resulting menu offers one or more reset options and a cancel option.
Fig 6-5 – Zone Reset Option Menu
Press OK, or CANCEL. The system will perform the reset on the
configured zones in the range and then display the recall zone status
display for the first zone so that the result of the command can be
viewed.
From the recall point status display, press MENU or MENUF4 to display
the point commands.
Press RESETF1 or RESET to reset the point. There are several
options for resetting a point:
Reset point | FULL
P1.1.0 MIM800 MX Device | HISTORY
| TRACK
Select reset option or CANCEL |
Fig 6-6 – Options For Resetting a Point
FULLF1 is the basic reset to restore a point to a Normal state. The
alarm and fault states are cleared (if possible) and any tests in
progress are cancelled. This option would normally be used only for
latching devices.
HISTORYF2 sets the point’s History High and History Low values to
the current value, if it has history values. If it does not, this has no
effect. Generally, only analogue addressable detectors have history
values.
TRACKF3 resets the point’s Tracked value to the current value, if it
has one. If it does not, this has no effect. Generally, only analogue
addressable detectors have Tracked values. This option is useful for
resetting the tracking after a new or cleaned detector has been
installed.
After selecting the type of reset required you will be asked to confirm or
cancel the reset. Pressing OK will confirm the reset and display the
recall display for the point concerned. Pressing CANCEL will return to
the display shown above.