Document: LT0344 Vigilant MX1 Operator Manual
Issue 2.4 8 August 2017 Page 6-9
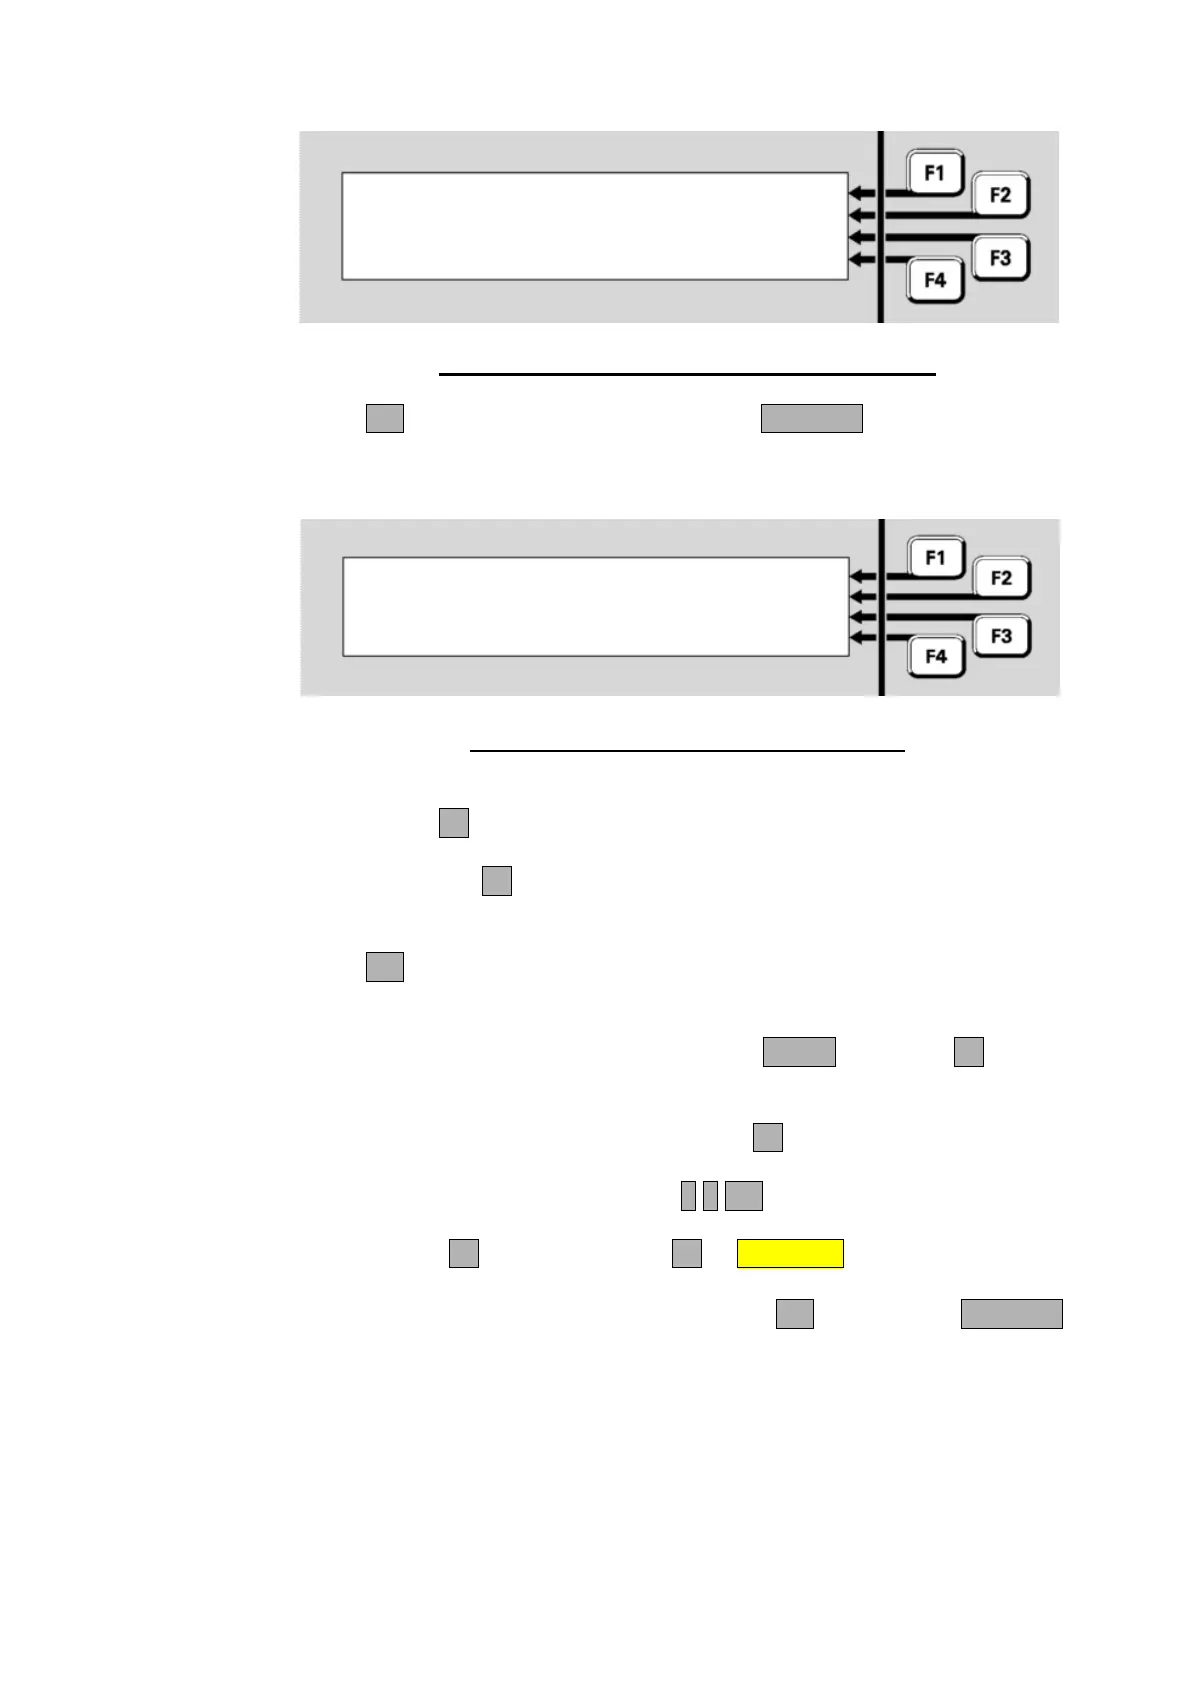
P1.1.2-1.1.3
Disable all points in range
Press OK to confirm
or CANCEL
Fig 6-12 – Disable Point Range Confirmation Display
Press OK to carry out the function or press CANCEL to abort the
command and return to the previous display.
On Enabling a range of points the following choice is given:
P1.1.2-1.1.3 | ALL
|
F1 enables all in range |
F4 enables normal in range | NORMAL
Fig 6-13 – Enable Point Range Choice Display
Pressing:
- ALLF1 will enable all points in the range irrespective of their
status (e.g., points could be in alarm).
- NORMALF4 will enable only those points in the range that are in
the Normal condition (i.e., points in alarm, fault, test, etc., will
remain disabled).
Press OK in the following confirmation screen to carry out the selected
point enables.
From the Recall Zone Status display, press MENU or MENUF4 to
display the zone commands.
To jump to a specific zone, press ENTERF1 from the Recall Zone
Status display and enter the required zone number - for example,
Zone 23. This would be entered as 2 3 OK.
Press MENUF4, then DISABLEF2 or DISABLE to disable the zone.
If the zone is already disabled, the F2 option will be ENABLE instead of
DISABLE. In the confirmation display, press OK to confirm or CANCEL
to abort the command.
Disabling or
Enabling a
Zone from
Recall Display