PROCEDURE
1 Make sure that the power supply to the fuel pump actuator is set to OFF in E85.
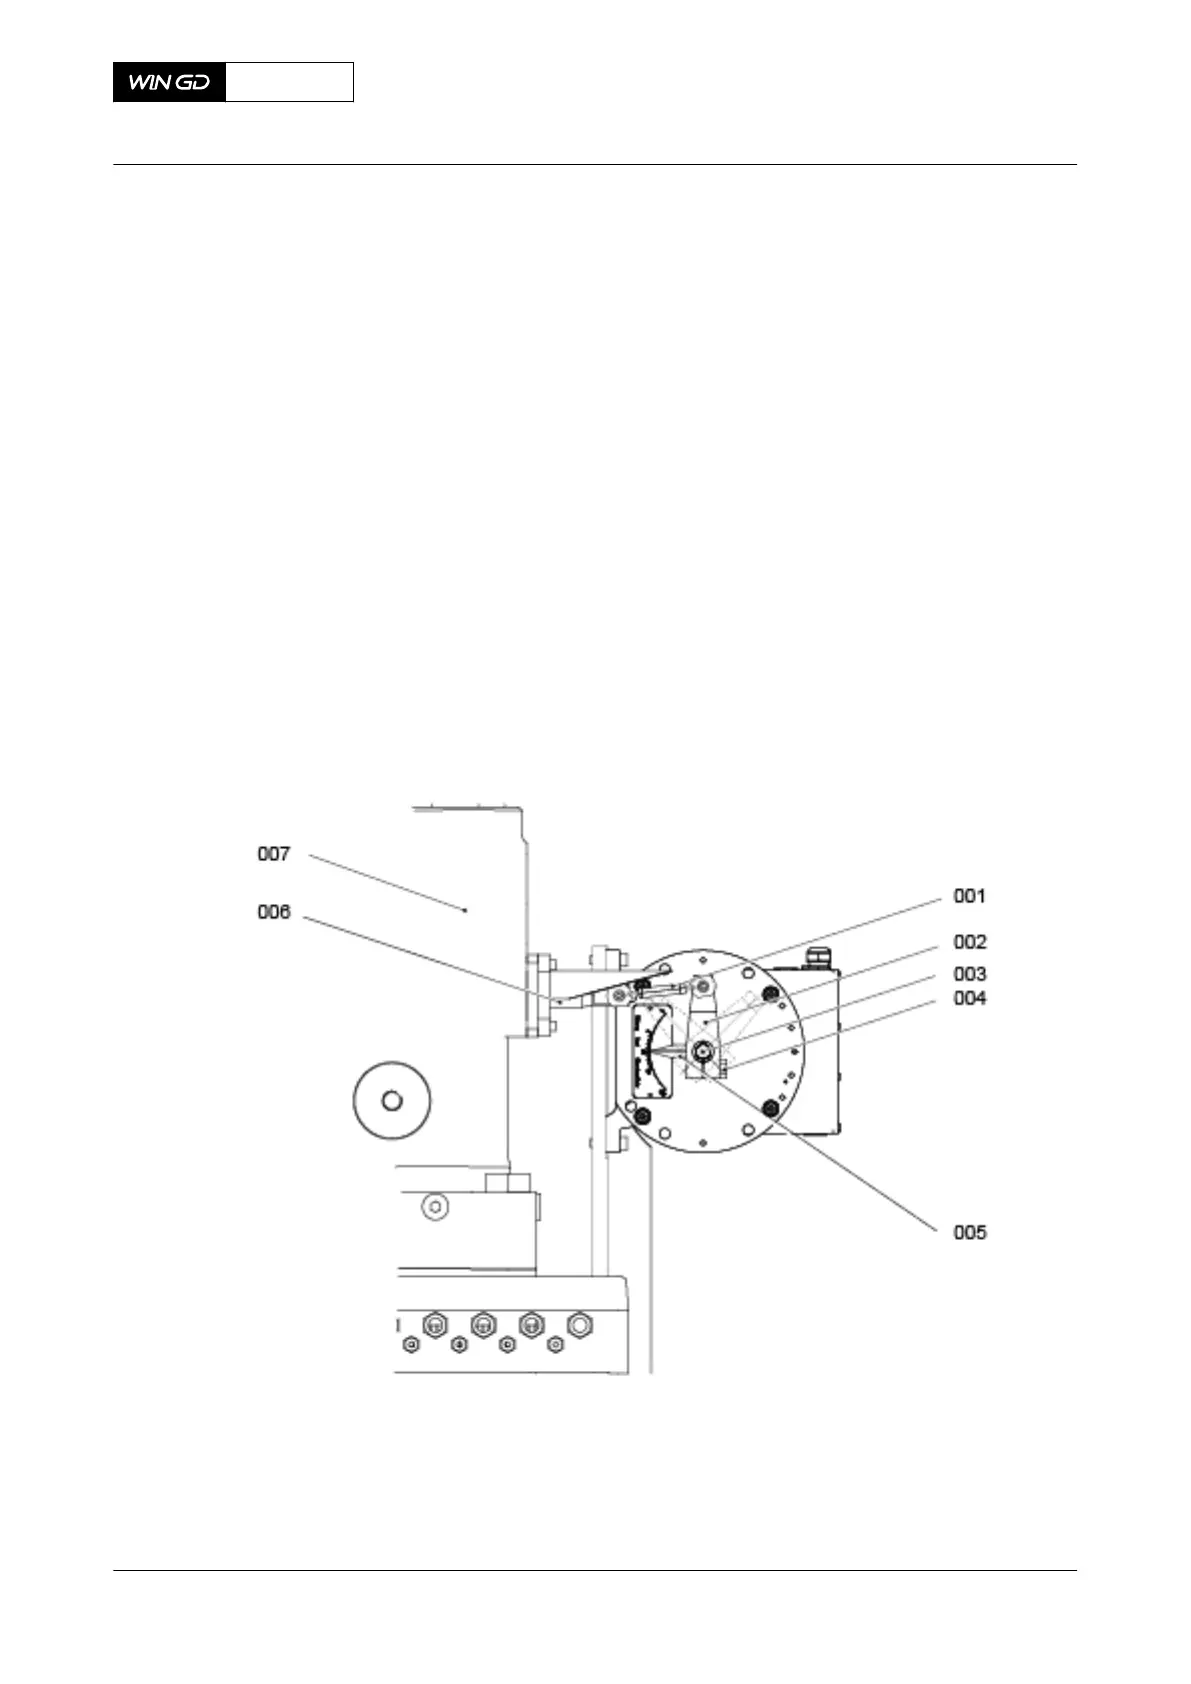
2 Disconnect the connecting element (001, Figure 10-21) from the lever (002).
3 Put the lever (002) in position on the shaft (003).
4 Move the lever (002) to the start position as follows:
4.1 Tighten the screw (004).
4.2 Move the shaft (003) to move the indicator (005) to the 50% position.
4.3 Loosen the screw (004).
5 Remove the screws (009, Figure 10-22) and the cover (008) on the fuel pump (007).
6 Move the toothed rack (006) to get a distance of 48 mm at each end.
7 Attach the lever (002) to the connecting element (001) with the related screw and with
the self-locking nut.
8 Make sure that the toothed rack (006) stays in position and that the position of the
indicator (005) shows 50%.
9 Tighten the screw (004).
10 Attach the cover (008) to the fuel pump (007) with the screws (009).
Fig 10-21 Actuator - adjust
X72DF
AA00-5583-00AAA-360A-A
Maintenance Manual Fuel pump actuator - adjust
Winterthur Gas & Diesel Ltd.
- 581 - Issue 002 2020-10