Setups
Xerox 4112/4127 Copier/Printer 9-27
System Administration Guide
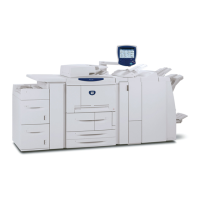
Custom Size
When setting a non-standard size for trays 3 and 4, set the size in the X (horizontal) direction
within the range of 182-488 mm (7.17-19.21 in.) and in the Y (vertical) direction within the
range 148-330 mm (5.82-13 in.) in 1 mm increments. For optional trays 6 and 7, set the size in
the X direction within the range 210-241 mm (8.26-9.48 in.) and in the Y direction within the
range 297-330 mm (11.69-12 in.) in 1 mm increments.
1. From the Paper Size screen, select Save to save the paper size and return to previous
screen.
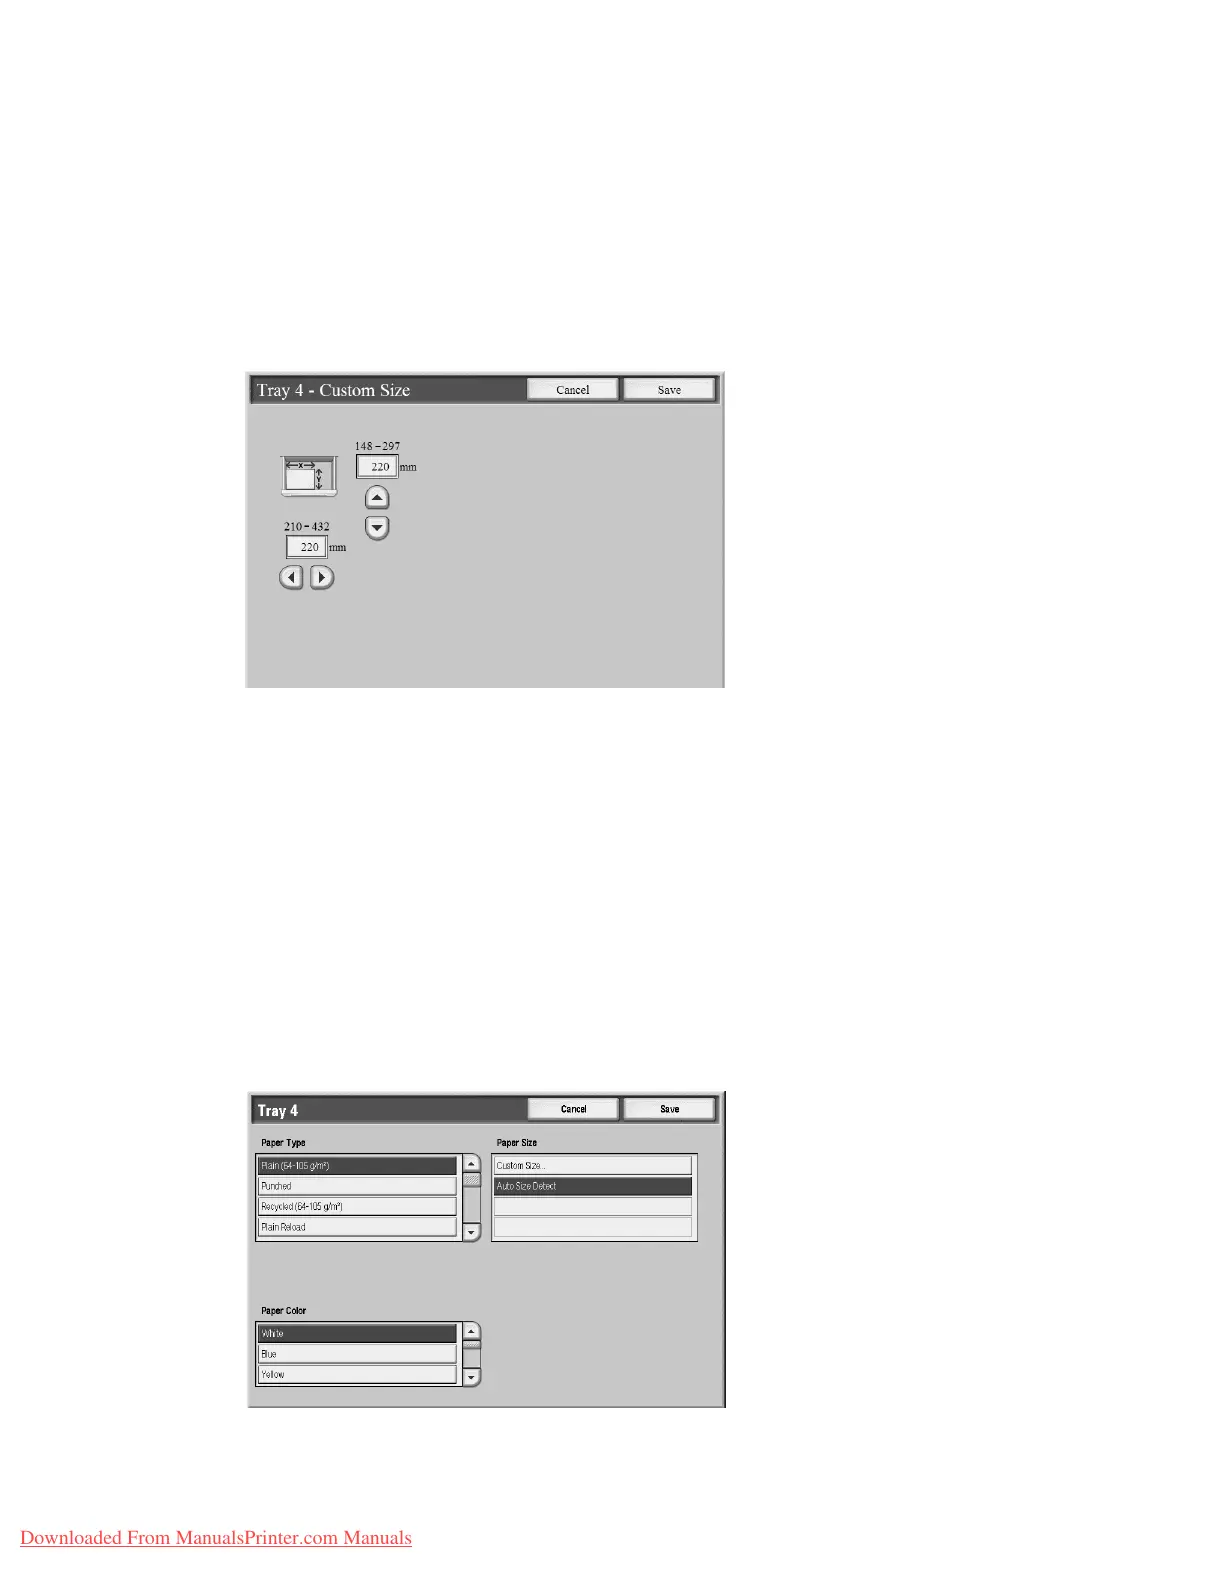
2. Select either Paper Type or Save.
• If you select Save, you are returned to the Paper Tray Attributes screen. Proceed to
Step 7. on page 9-25
• If you select Paper Type, proceed to the next step.
3. When selecting Paper Type, keep the following in mind:
• For trays 1, 2, and optional 6 and 7 you can select from six paper types and from
custom paper types 1-5.
• For trays 3 and 4 you can select from seven paper types, and from custom paper types
1-5.
• In tray 5 (Bypass) you can select from eleven paper types and from custom paper types
1-5.
• If the optional OHCF (tray 6) is installed, an additional Paper Type option, Coated
Stock is available.
a. Select the desired Paper Type for this specific tray. (For this procedure, Tray 4 is
shown.)
b. Select Save to save the Paper Type and return to the previous screen.
Downloaded From ManualsPrinter.com Manuals
 Loading...