Using CentreWare Internet Services
Xerox 4112/4127 Copier/Printer 3-29
System Administration Guide
Network Scanning
The scanned document is stored on the machine’s hard drive and then transmitted
automatically to a networked computer (server), using a Job Template. You can access the
Network Scanning feature by the selecting Network Scanning button from the All Services
screen. A list of all the Job Templates created are displayed on the Network Scanning screen.
Creating Job Templates
The job template is a configuration file that defines conditions, information about the transfer
destination server, and other information for the scanned file.
A job template can be created using CentreWare or remotely using a Network Scanning server
application such as the EFI Controller. According to the settings in the template, documents are
automatically scanned, saved in TIFF/JPEG or PDF format, and then sent to a specified server.
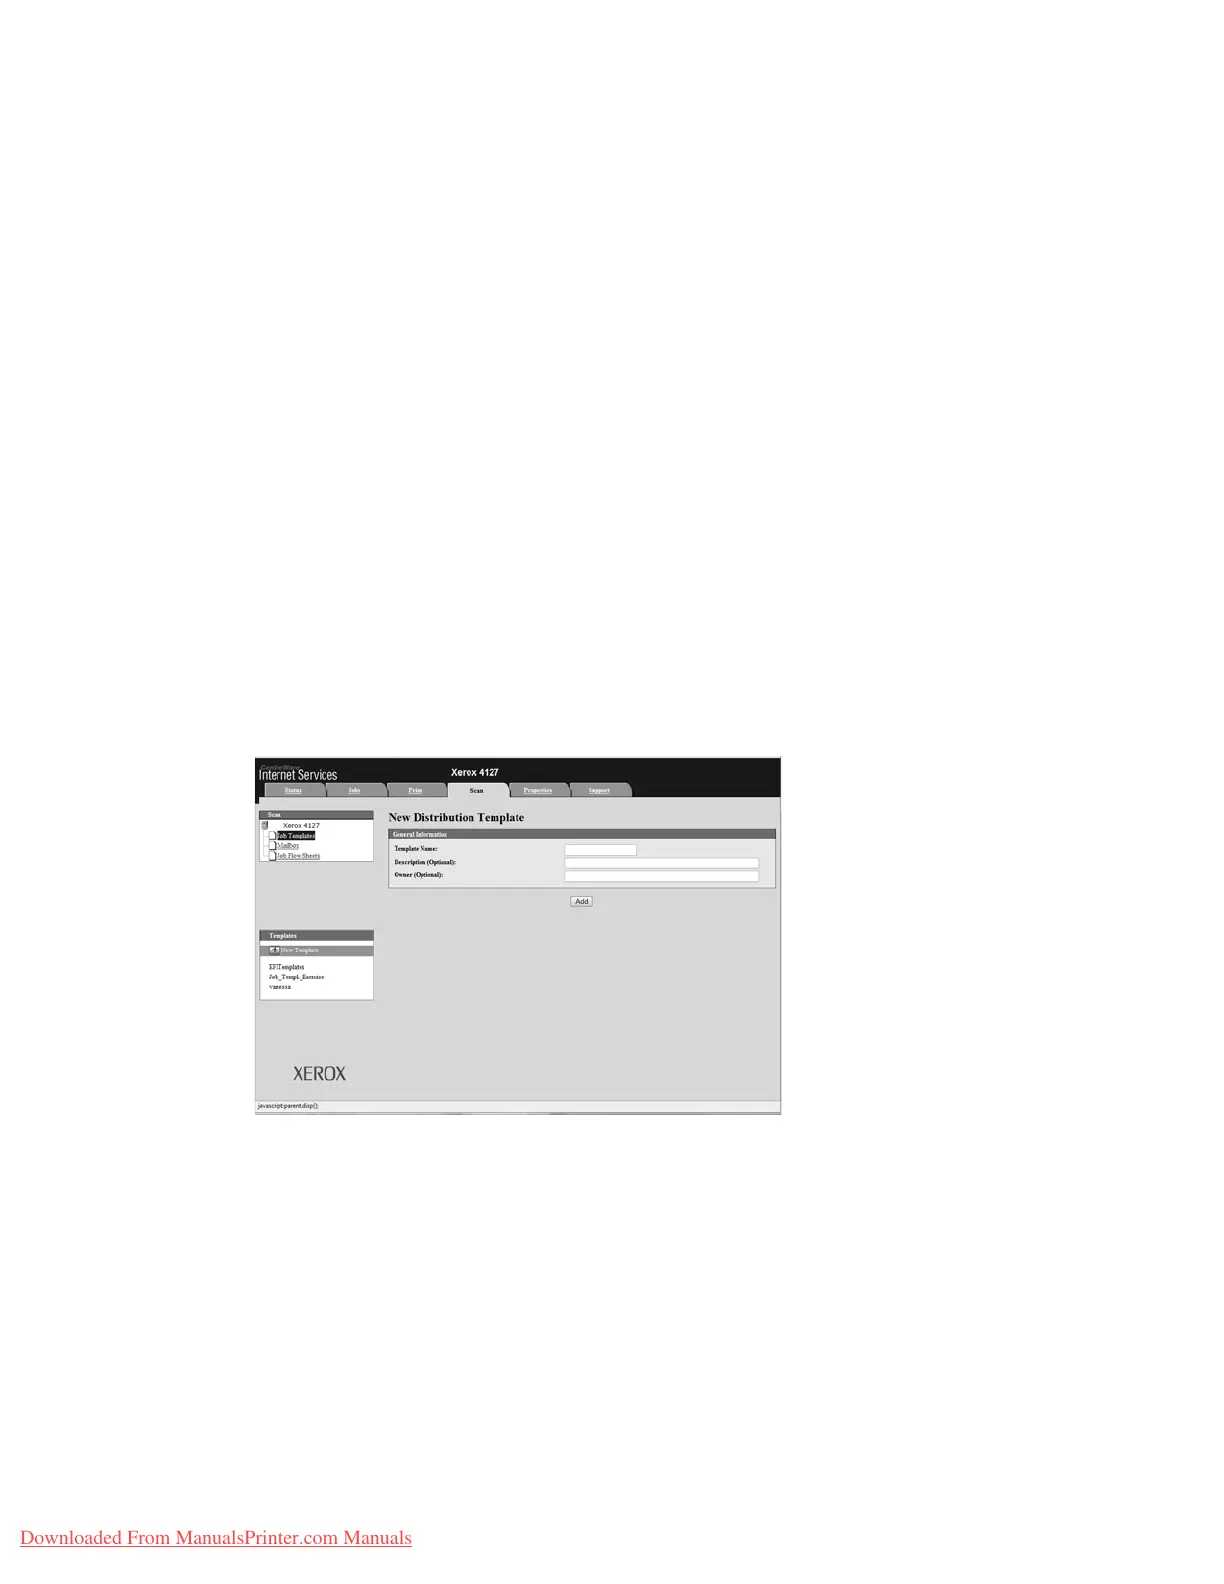
Adding a new Template
This section describes the procedure to create Job Templates for network scanning.
1. Connect to CentreWare (See Chapter 3 Connect to CentreWare Internet Services from a
computer on page 3-2).
2. Click the Scan tab and ensure that Job Templates is selected.
3. Enter Template Name, Description (Optional), and Owner (Optional) and click Add.
Downloaded From ManualsPrinter.com Manuals
 Loading...