Using CentreWare Internet Services
3-10 System Administration Guide
Xerox 4112/4127 Copier/Printer
Note
This item is not necessary if either DHCP, BOOTP, RARP, or DHCP/Autonet has been
selected from the Get IP Address pull-down menu.
9. Set the DNS information.
a. Select the check box if using DHCP for Obtain DNS Server Address Automatically.
b. Set the DNS Address 1 to 3.
Note
This item is not necessary if DHCP has been specified for the Get the DNS Server Address.
c. Set the DNS Name.
d. Select the Enable check box when using the Generate Domain Search List
Automatically.
e. Set the Domain Name 1 to 3.
f. Set the Connection Timeout.
g. Select the Enable check box to enable the DNS Dynamic Update.
10. Reflect the values as the machine's setting values.
a. Click the Apply button. A screen to enter the user name and password will be displayed.
b. Enter the System Administrator UserID and password into User Name and Password,
and then click OK.
Note
The default User ID value is 11111 and password is x-admin.
c. The right frame on the web browser will change to the machine reboot display.
d. Click Reboot. The machine will reboot and the setting value will be reflected.
LPD
This section describes the settings available for the LPD feature.
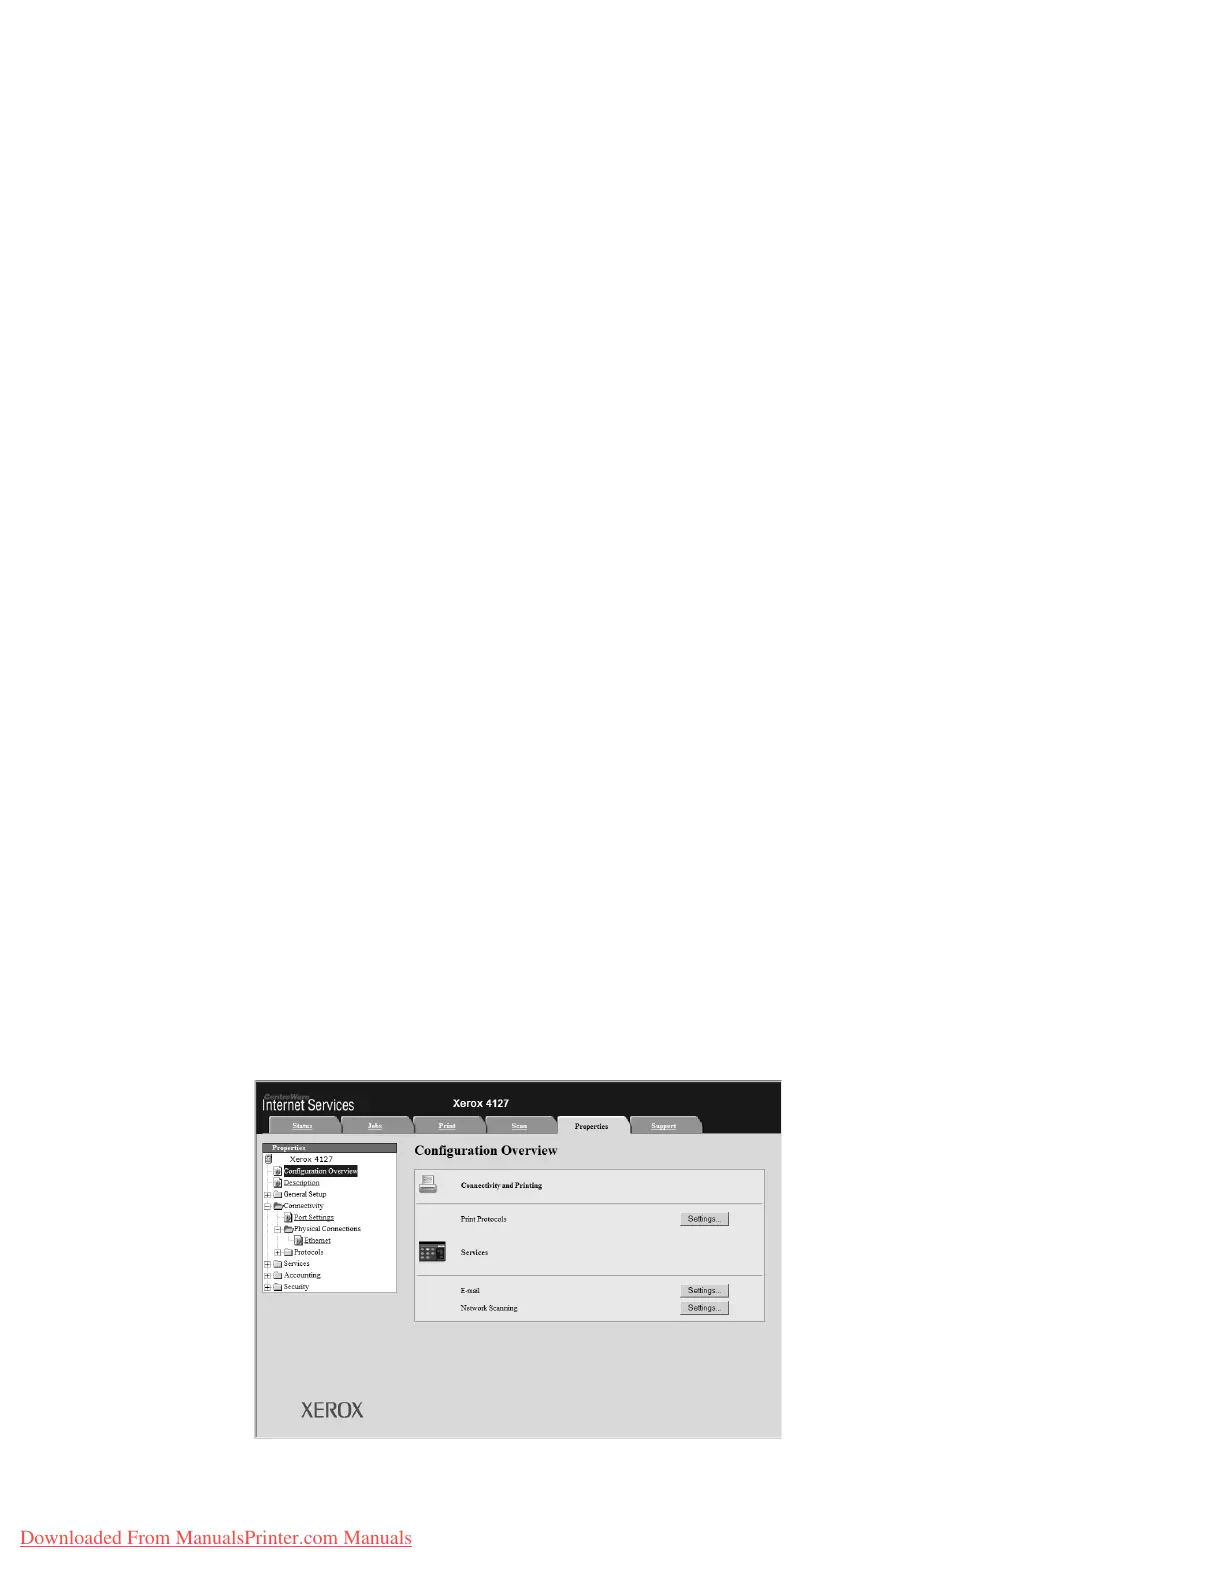
1. Connect to CentreWare (See Chapter 3 Connect to CentreWare Internet Services from a
computer on page 3-2).
2. Click the Properties tab.
Downloaded From ManualsPrinter.com Manuals
 Loading...