Setups
Xerox 4112/4127 Copier/Printer 9-169
System Administration Guide
2. Press the abbreviated number you want to register, and select Create/Delete.
Note
Select
S to display the previous screen and select T to display the next screen.
Note
By entering a three-digit number with the numeric keypad, you can specify the abbreviated
number directly. Select Address Type, and select Change Settings.
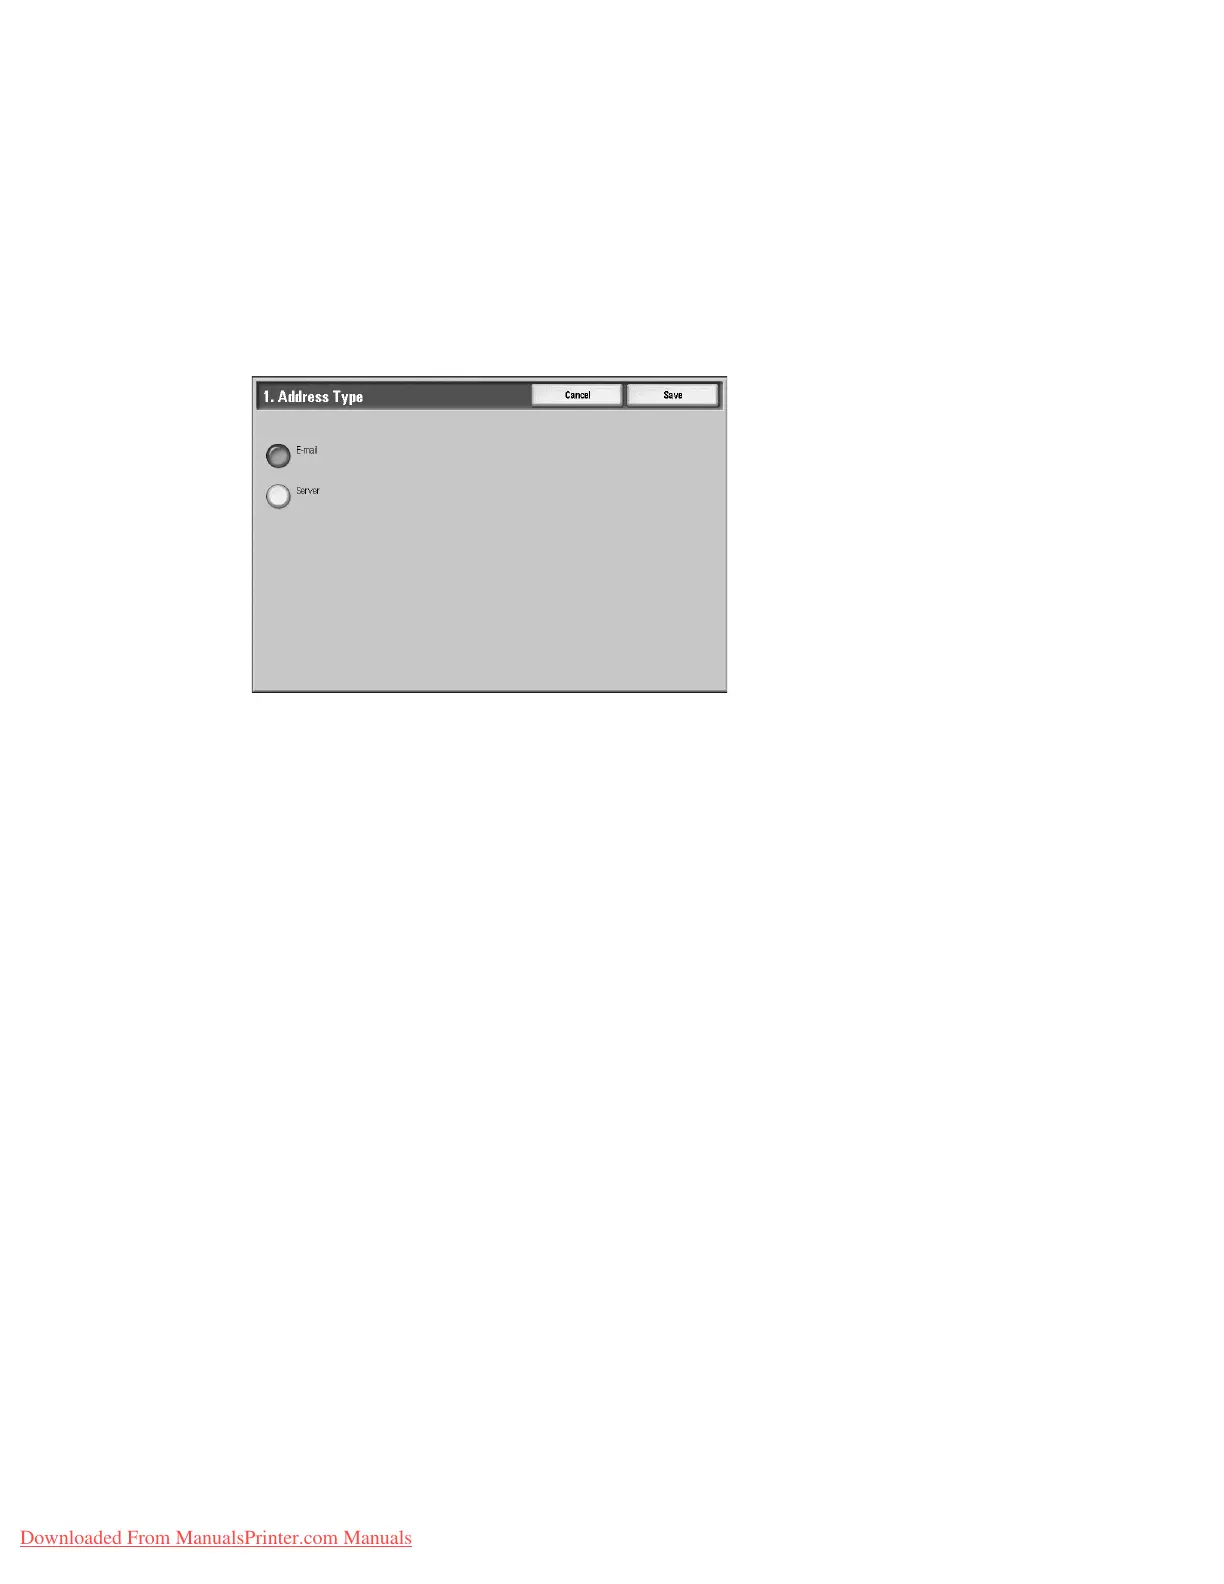
3. Select the address type, and select Save.
4. Select the item to be set, and select Change Settings.
5. When the settings are completed, select Save.
• Selecting Mail as the Address Type displays the following items:
• Selecting Server as the Address Type displays the following items:
Address Type
Change the address type with this option.
E-mail Address
Enter the e-mail address. There is a limit of 128 characters for an address. For information
about entering text, refer to Entering Text on page 9-4.
Address Type Business Phone
E-mail Address Office
Name Business Address
Given Name
Address Type Save in
Name User Name
Transfer Protocol Password
Server Name/IP Address Port Number
Shared Name (SMB Only)
Downloaded From ManualsPrinter.com Manuals
 Loading...