Scanning to a Computer on a Network
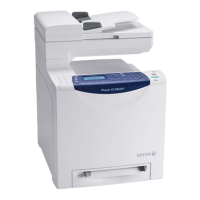
Phaser® 6180MFP Multifunction Printer
7-10
Scanning to a Computer on a Network
If you haven’t created a shared folder and an address for the printer to use, see Setting Up
Scanning to a Computer on page 7-6.
To scan to a computer on a network:
1. On the control panel, click the Scan button.
2. Use the Up Arrow to select
Computer (Network), and then press the OK button.
3. Select
Scan to, and then press the OK button.
4. Press the Up Arrow or Down Arrow button to select the address that points to your
computer, and then press the OK button.
5. If you want to change any other scan settings, press the Up Arrow or Down Arrow button
to select the setting and make your changes.
6. Press the Start button.
The printer begins scanning your documents to the shared folder on your computer.
See also:
Adjusting Scanning Options on page 7-18
 Loading...


