Error Troubleshooting
Xerox Internal Use Only Phaser 6600 and WorkCentre 6605
Service Manual
2-29
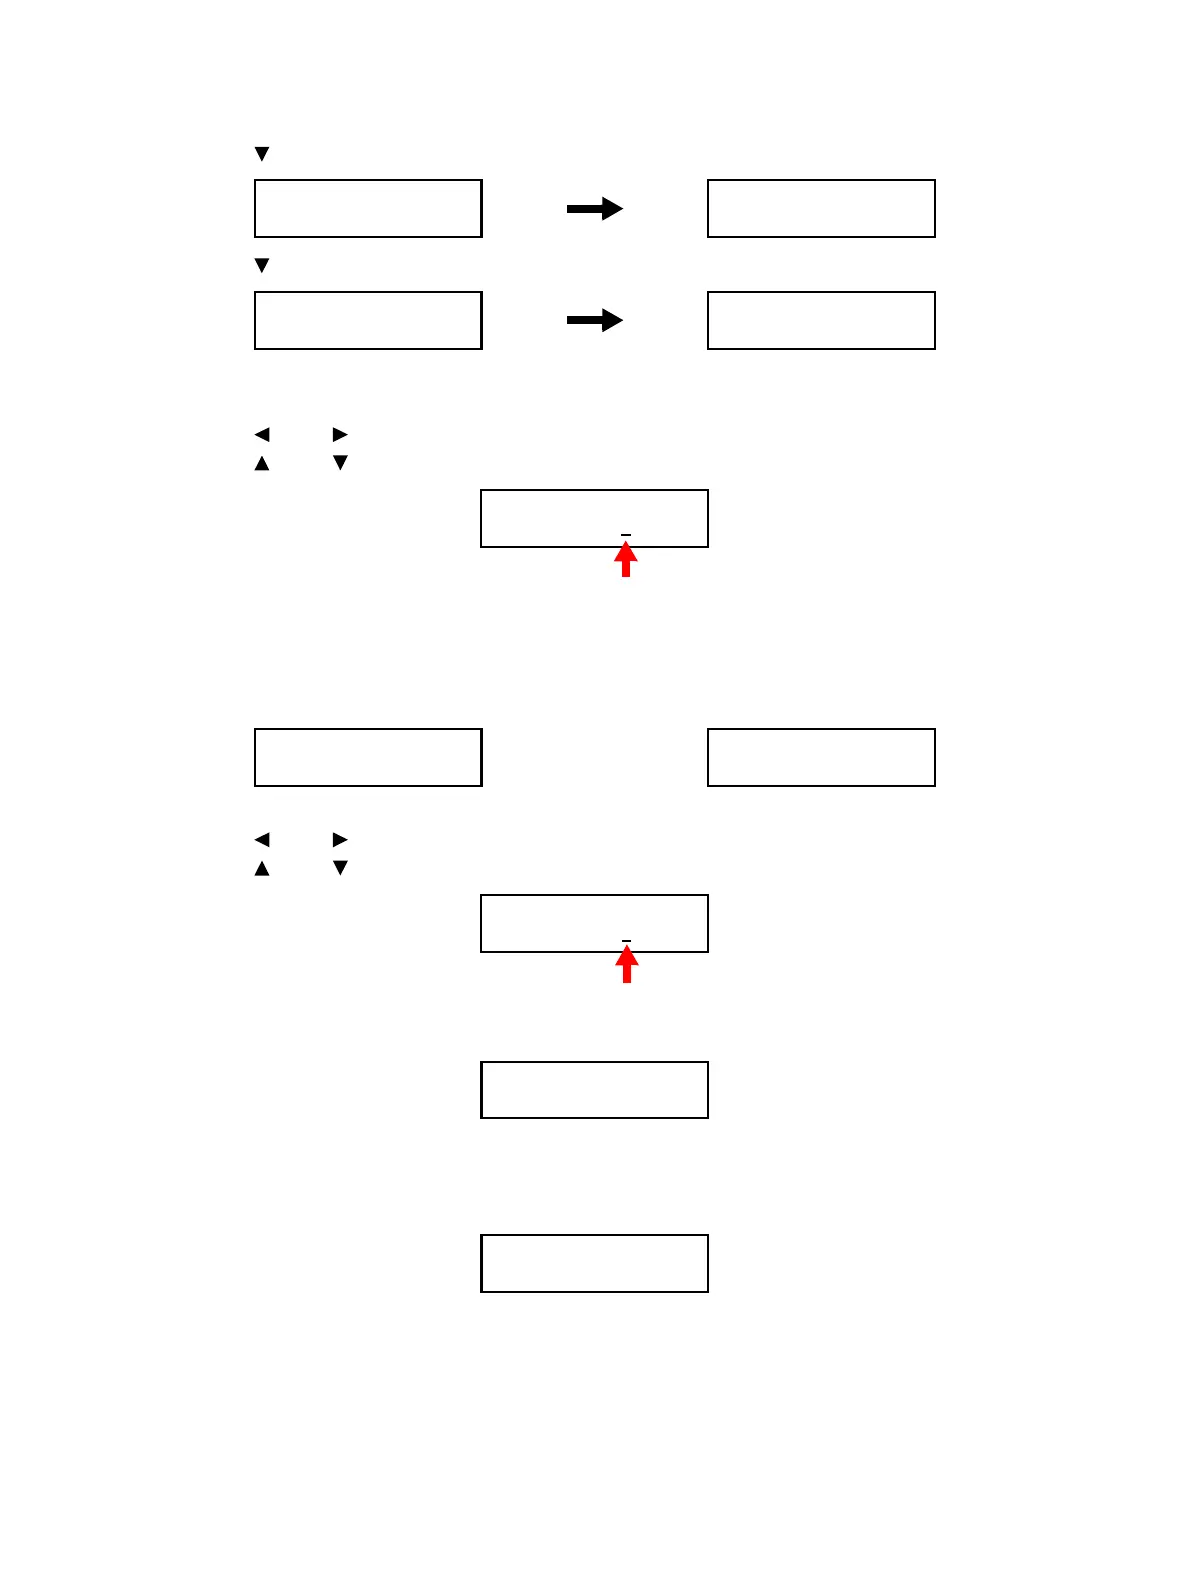
3. Use the [ ] button to select [Engine Diag], and press the OK button.
4. Use the [ ] button to select [NVM Settings], and press the OK button.
5. Press the OK button.
6. Enter the Chain-Link number.
Use the [ ] and [ ] buttons to move the cursor to right and left.
Use the [ ] and [ ] buttons to increase or decrease the value where the cursor is placed.
7. Press the OK button to confirm the Chain-Link number.
When there is a relevant Chain-Link No., the screen displays the current NVM value and the cursor.
When there is no relevant Chain-Link No., the screen displays “NG”. In this case, press the Back
button to enter the Chain-Link No. again.
8. Specify the NVM value.
Use the [ ] and [ ] buttons to move the cursor to right and left.
Use the [ ] and [ ] buttons to increase or decrease the value where the cursor is placed.
9. Press the OK button to start writing the new NVM value.
10. Press the Back button to return to the previous screen.
Back
11. Press the Back button to return to the [Printer Diag] screen.
12. Exit Service Mode. See “How to Exit Service Mode” on page 2-10.
Printer Diag
Engine Diag
Engine Diag
Sensor Test
Engine Diag
NVM Settings
NVM Settings
Edit NVM
CL No.000-000
Cursor
008-002
0000000000
008-002
Number NG
008-002
0000000001 *
Cursor
 Loading...


