6 Printer Environment Settings
50
8.
Configure required settings.
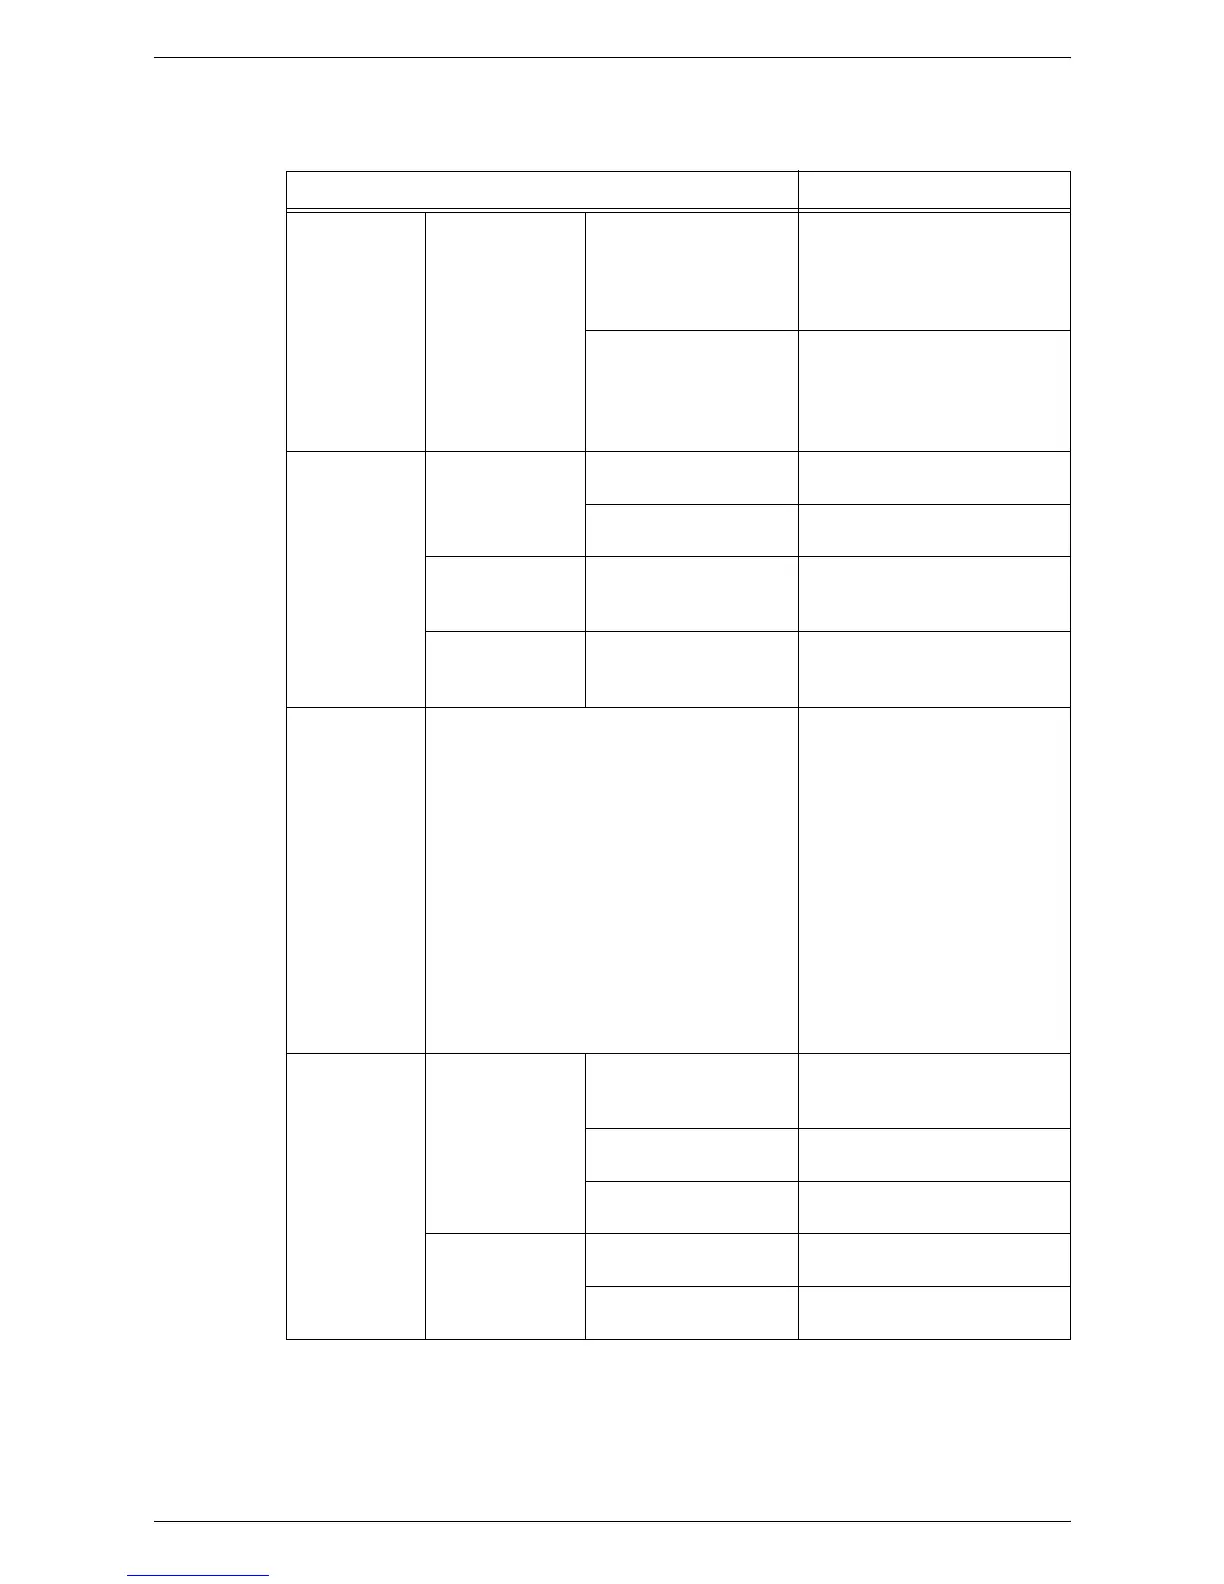
The following table shows the items that can be set.
9.
Click [Apply].
10.
If prompted, enter the System Administrator user ID and passcode, and click [OK].
Setting Items Description
SNMP
Configuration
SNMP Properties [Edit SNMP v1/v2c
Properties] button
Displays the [SNMP
Configuration > Edit SNMP v1/
v2c Properties] page which
allows you to set the SNMP
v1/v2c properties.
[Advanced] button Displays the [SNMP
Configuration > Advanced]
page that contains the [Add
UDP IP Address] and [Delete]
buttons.
SNMP
Configuration
> Edit SNMP
v1/v2c
Properties
Community
Names
Community Name
(Read Only)
Enter the community name
used for display.
Community Name
(Read/Write)
Enter the community name
used for display and update.
Default Trap
Community
Name
TRAP Community
Name
Enter the trap notification
community name.
System
Administrator's
Login ID
System Administrator's
Login ID
Enter the ID of the System
Administrator
SNMP
Configuration
> Advanced
Trap Destination Adresses Displays a page that contains
the [Add UDP IP Address] and
[Delete] buttons.
• [Add UDP IP Address]
button
This button displays the
[SNMP Configuration] page.
• [Delete] button
Selecting a trap on the
[SNMP Configuration >
Advanced] page and
clicking this button deletes
the trap. You can select and
delete multiple traps at
once.
SNMP
Configuration
IP Trap
Destination
Address
IP Address Enter the IP address of the
SNMP agent that you are
setting up to receive traps.
UDP Port Number Enter the UDP port number of
the SNMP agent.
SNMP Version Select the SNMP version of
the SNMP agent.
Traps TRAP Community
Name
Enter the trap community
name of the SNMP agent.
Trap to be Received Select the types of traps to
receive from the SNMP agent.

 Loading...


