6 Adjustments
6.5.2 One-parameter Tuning Procedure
6-40
7
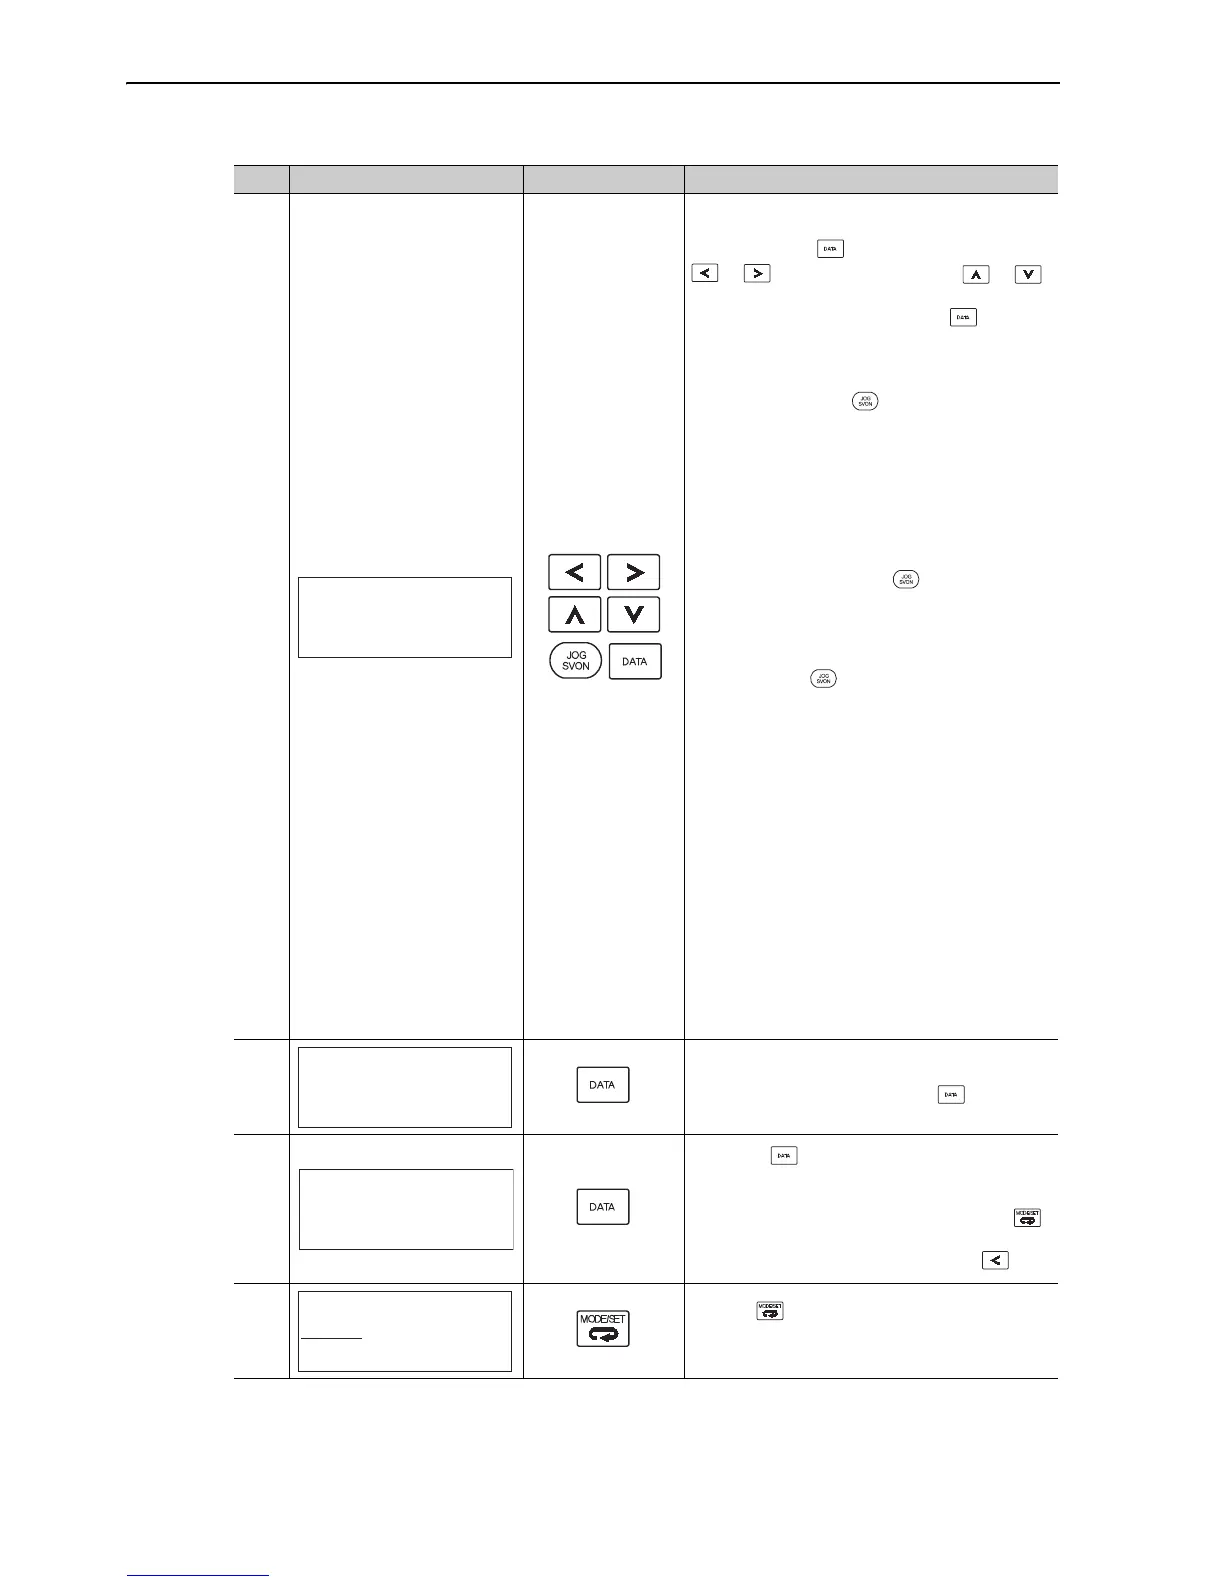
Adjusts the responsiveness by changing the FF and
FB levels.
After pressing the Key, select the digit with the
or Keys, adjust the level with or
Keys.
After the setting is changed, press the Key.
The higher the level, the greater the responsiveness
will be. If the value is too large, however, vibration
will occur.
If that occurs, press the Key. The SERVOPACK
will automatically detect the vibration frequencies
and make the notch filter or anti-resonance control
settings. When the notch filter is set, "NF1" or "NF2"
will be displayed on the bottom row.
When the anti-resonance control is set, "ARES" is
displayed on the bottom row.
Notes:
• If the vibration is great, the vibration frequency
will be detected even if the Key is not pressed
and a notch filter or anti-resonance control will be
set.
• If the vibration is too small, the SERVOPACK may
not automatically detect the vibration frequencies.
If so, press the Key to forcibly start the detec-
tion.
• The higher the FF level, the shorter the positioning
time will be. If the level is too high, however, over-
shooting will occur.
• If the FF level is changed when the servomotor is
stopped and no reference is input, this new value
will be effective, and the servomotor’s responsive-
ness will be changed. To safely adjust the FF level,
wait until all operations have been completed and
check the responsiveness. When the FF level is
changed largely, vibration may occur because the
responsiveness is changed rapidly.
• The message, “FF LEVEL”, blinks until the
machine reaches the effective FF level. If the ser-
vomotor does not stop approximately 10 seconds
after the FF level is changed, the setting is no
longer effective and will automatically return to the
previous setting.
8
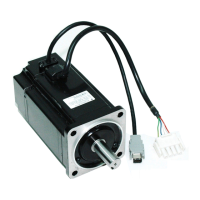
A confirmation screen is displayed after level adjust-
ment. Check the value and press the Key.
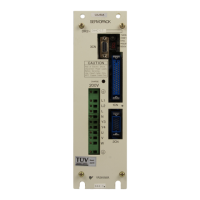
9
• Press the Key. The adjusted values will be
written to the SERVOPACK, "DONE" will be dis-
played.
• Not to save the values set in step 3, press the
Key.
The screen in step 3 will appear with the Key.
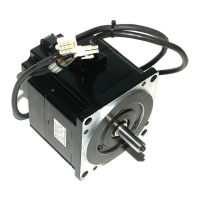
10
Press the Key to complete the one-parameter
tuning operation. The screen in step 1 will appear
again.
Step Display after Operation Keys Operation
㧾㨁㧺ޓ 㧻㨚㨑㧼㨞㨙㨀㨡㨚
㧲㧲ޓ㧸㧱㨂㧱㧸㧩㧜㧜㧡㧜㧚㧜
㧲㧮ޓ㧸㧱㨂㧱㧸㧩㧜㧜㧠㧜㧚㧜
ޓ㧺㧲㧝ޓޓޓޓޓޓޓ㧭㧾㧱㧿
㧺㧲㧞
㧾㨁㧺㧻㨚㨑㧼㨞㨙㨀㨡㨚
㧼㨚㧝㧜㧜㧩㧜㧜㧠㧜㧜
㧼㨚㧝㧜㧝㧩㧜㧜㧞㧜㧜㧜
㧼㨚㧝㧠㧝㧩㧜㧜㧡㧜㧜
㧺㧲㧝