ZEISS 7 Troubleshooting | 7.2 Column
Procedure
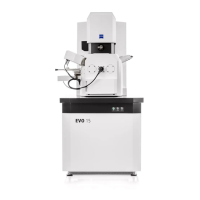
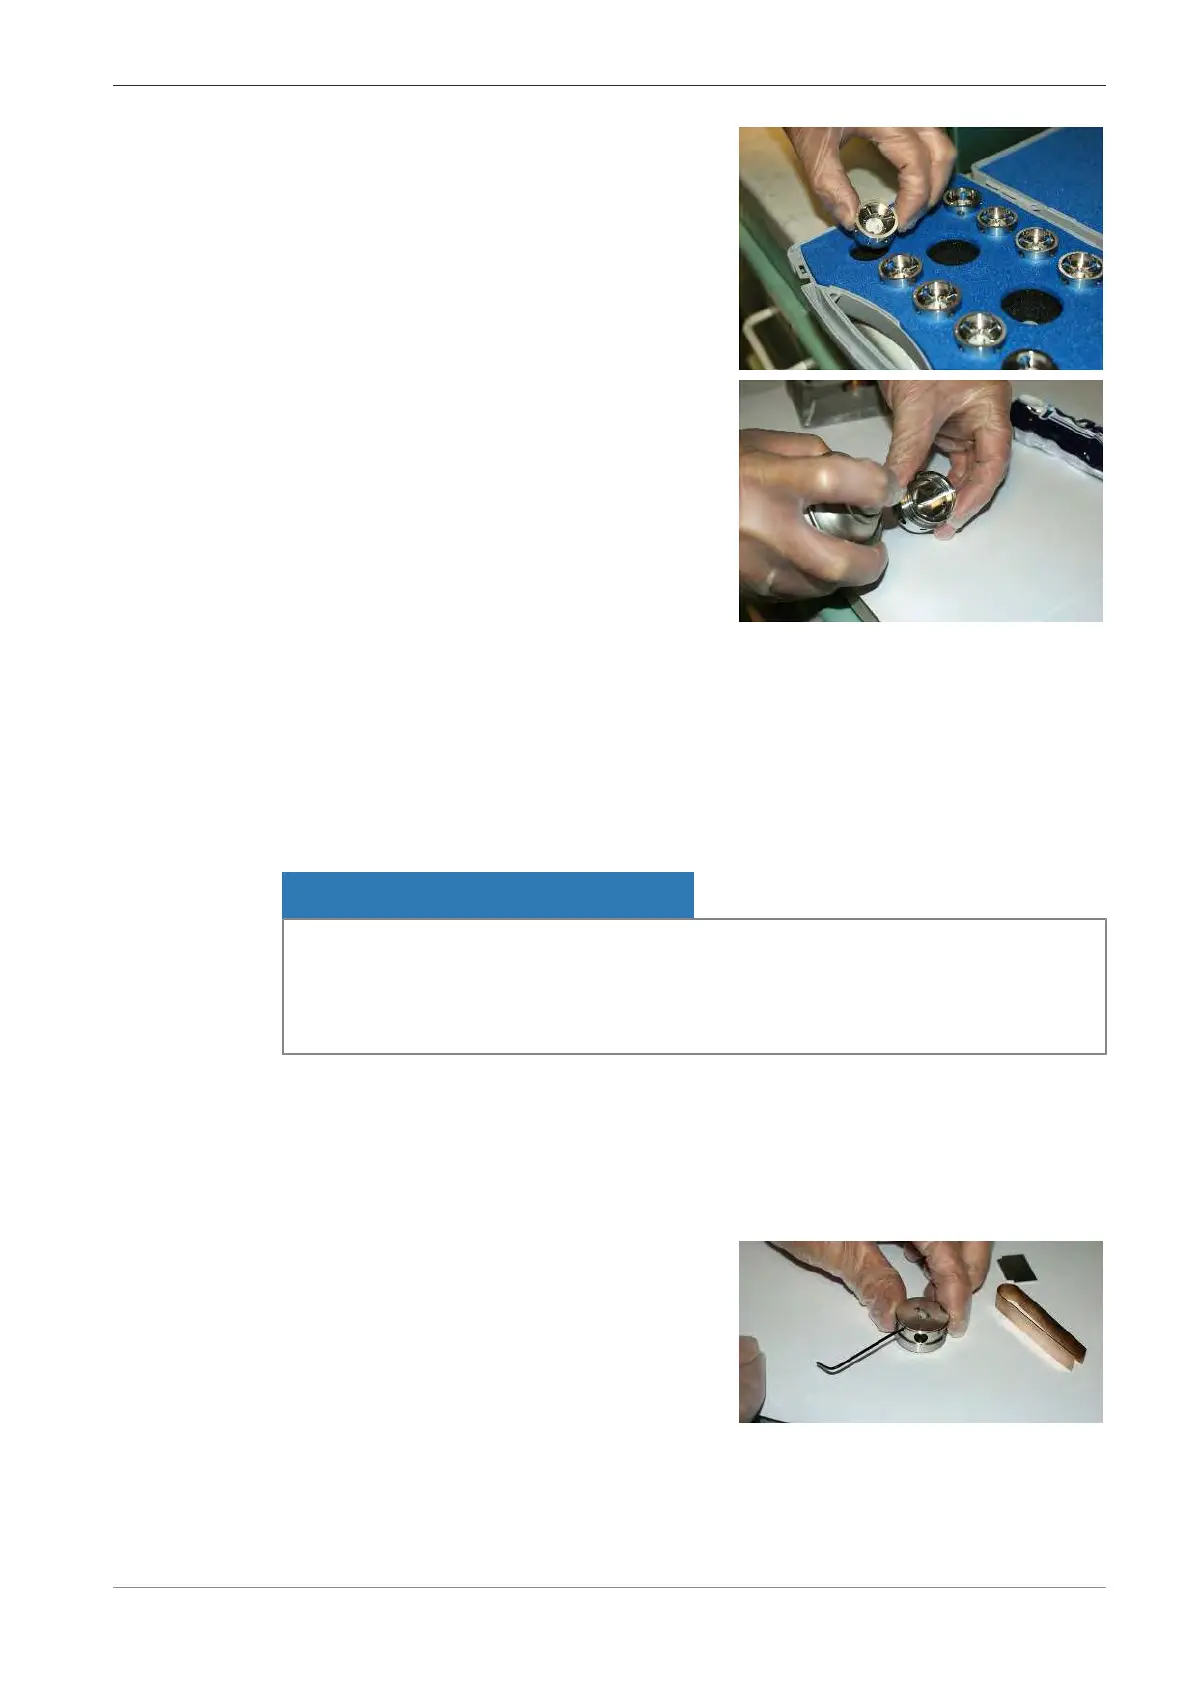
1. Take a new pre-aligned filament holder from
the box.
2. Use the can of compressed air to blow out any
dust particles from the filament holder and the
firing unit.
9 The new filament holder is ready for installation.
7.2.2.3 Tungsten (Not-Pre-Aligned) and LaB₆
7.2.2.3.1 Disassembling the Filament Holder | Tungsten (Not Pre-Aligned) and LaB₆
Before you can install a new filament to the filament holder, you first need to disassemble the fila-
ment holder.
NOTICE
Contamination by dust particles or fingerprints
Dust particles or skin grease can cause contaminations, which lead to flashovers or to bad vac-
uum.
4 Wear lint-free gloves throughout the whole procedure of replacing the filament.
Parts and Tools
Lint-free gloves
Hex key, 1.5 mm (000000-0151-883)
Adjust key (350061-1904-000)
Prerequisite
ü
The firing unit is disassembled.
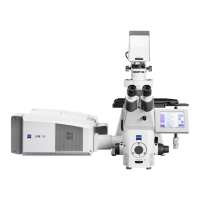
Procedure
1. Use a hex key 1.5mm to remove the four
screws.
INFO: These screws have rounded ends.
Instruction Manual ZEISS EVO | en-US | Rev. 10 | 354706-0780-006 133