ZEISS 5 First Operating Steps | 5.5 Modifying Gun Parameters and Optibeam Mode
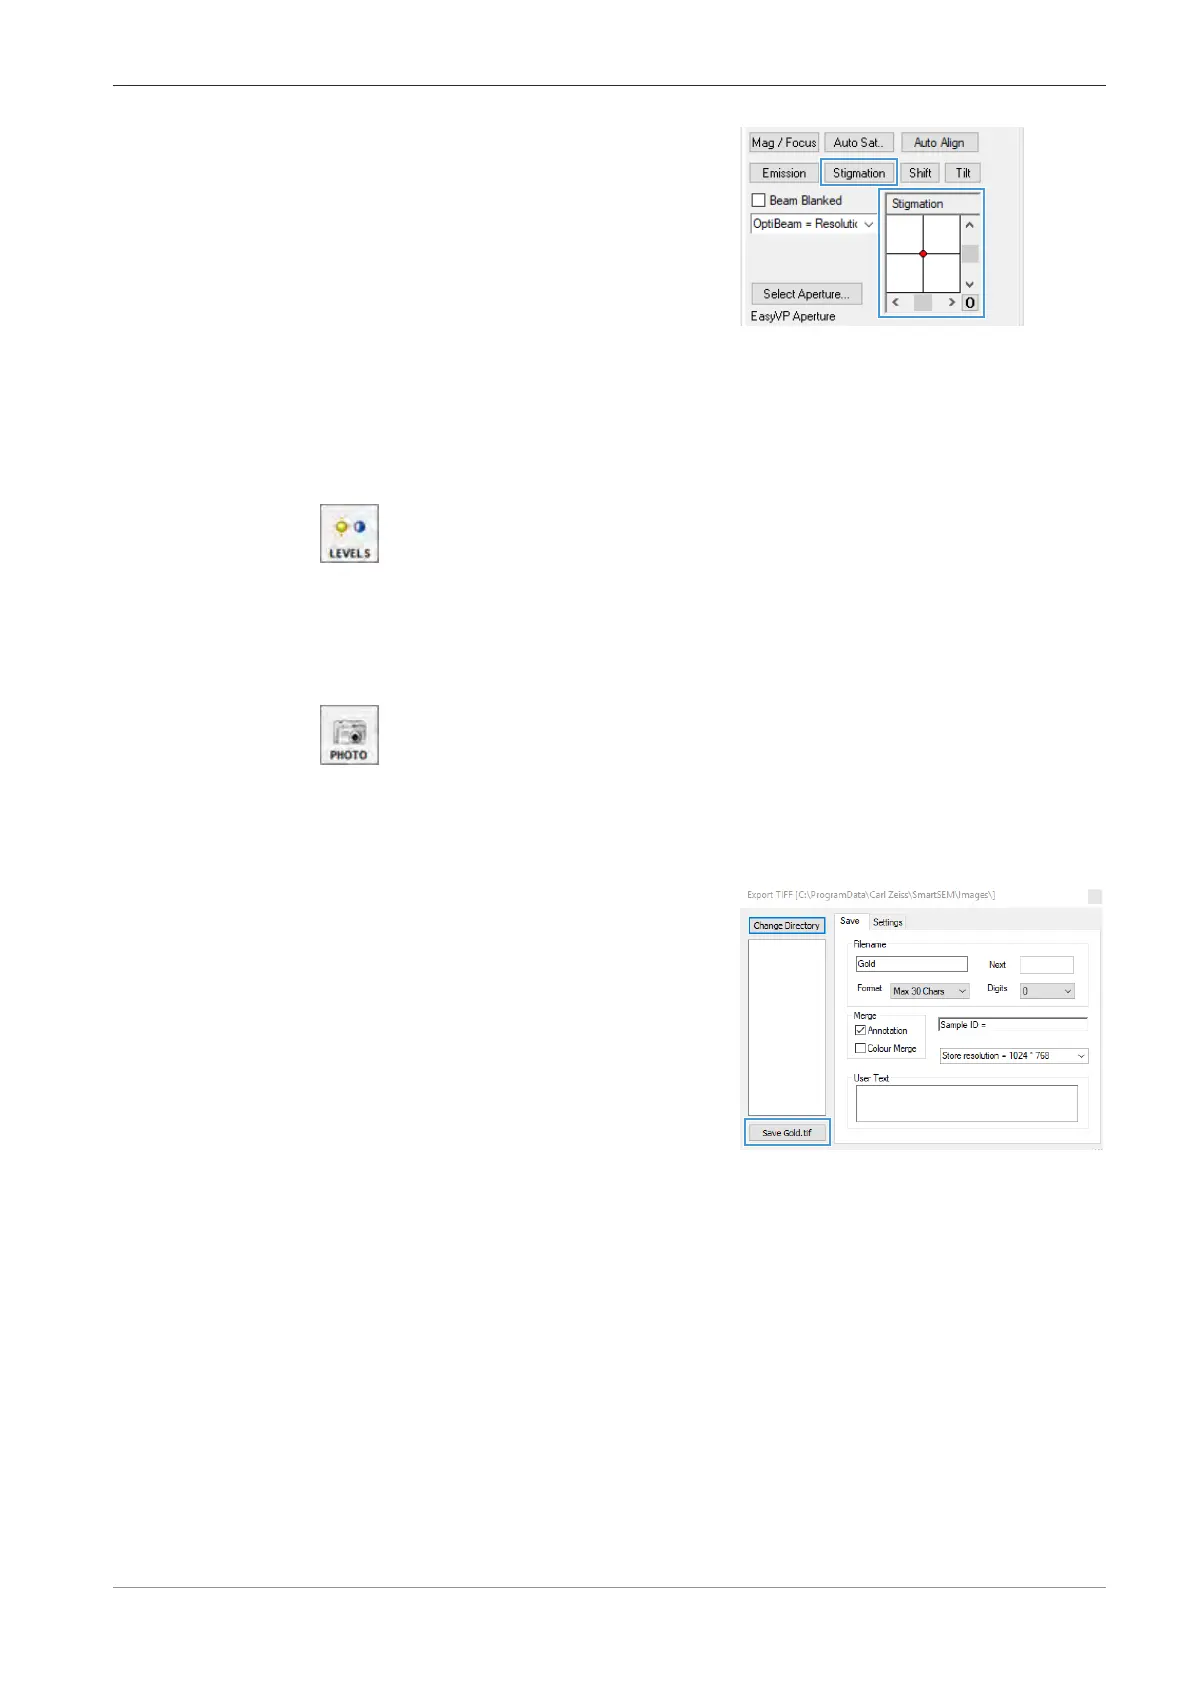
5. In the Stigmation navigation box, use the
scroll bars or the red marker to obtain the
sharpest possible image.
INFO: The specimen detail should just be pul-
sating without shifting.
INFO: To obtain optimum results, alternately
correct focus and astigmatism.
6. To deactivate the reduced raster, in the Toolbar, click the REDUCE icon.
5.4.10.7 Adjusting Final Magnification, Contrast and Brightness
Procedure
1. Reduce the magnification to the required value (e.g. 25,000x).
2. To activate auto contrast and brightness, click the LEVELS icon in the Toolbar.
5.4.11 Saving the Image
Procedure
1. Once a steady contrast and brightness level is reached, click the PHOTO icon in the Tool-
bar.
INFO: This runs a macro that automatically changes the scan speed to 8, the noise reduc-
tion to line integration with 4 lines and freezes the image at the end of the frame.
à A red dot at the right bottom of the image area indicates that the image is frozen.
2. From the Menu Bar, select File > Save Image.
à
The Export TIFF dialog is displayed.
3. To change the save path, click Change Directory.
à A file explorer window is displayed.
4. To confirm the selected path, click Select Folder.
5. Enter the file name in the Filename input field.
6. Click Save <file name>.tif.
7. To continue imaging, middle-click the PHOTO icon.
5.5 Modifying Gun Parameters and Optibeam Mode
5.5.1 Using the Automatic Gun Alignment Functions
Automatic gun align is used to automatically align the shift and/or the tilt of the beam, to the cen-
ter of the column.
Two automatic gun align functions are available:
Instruction Manual ZEISS EVO | en-US | Rev. 10 | 354706-0780-006 79