5 First Operating Steps | 5.4 Acquiring an Image ZEISS
5.4.7 Setting up the LaB₆ Source
Procedure
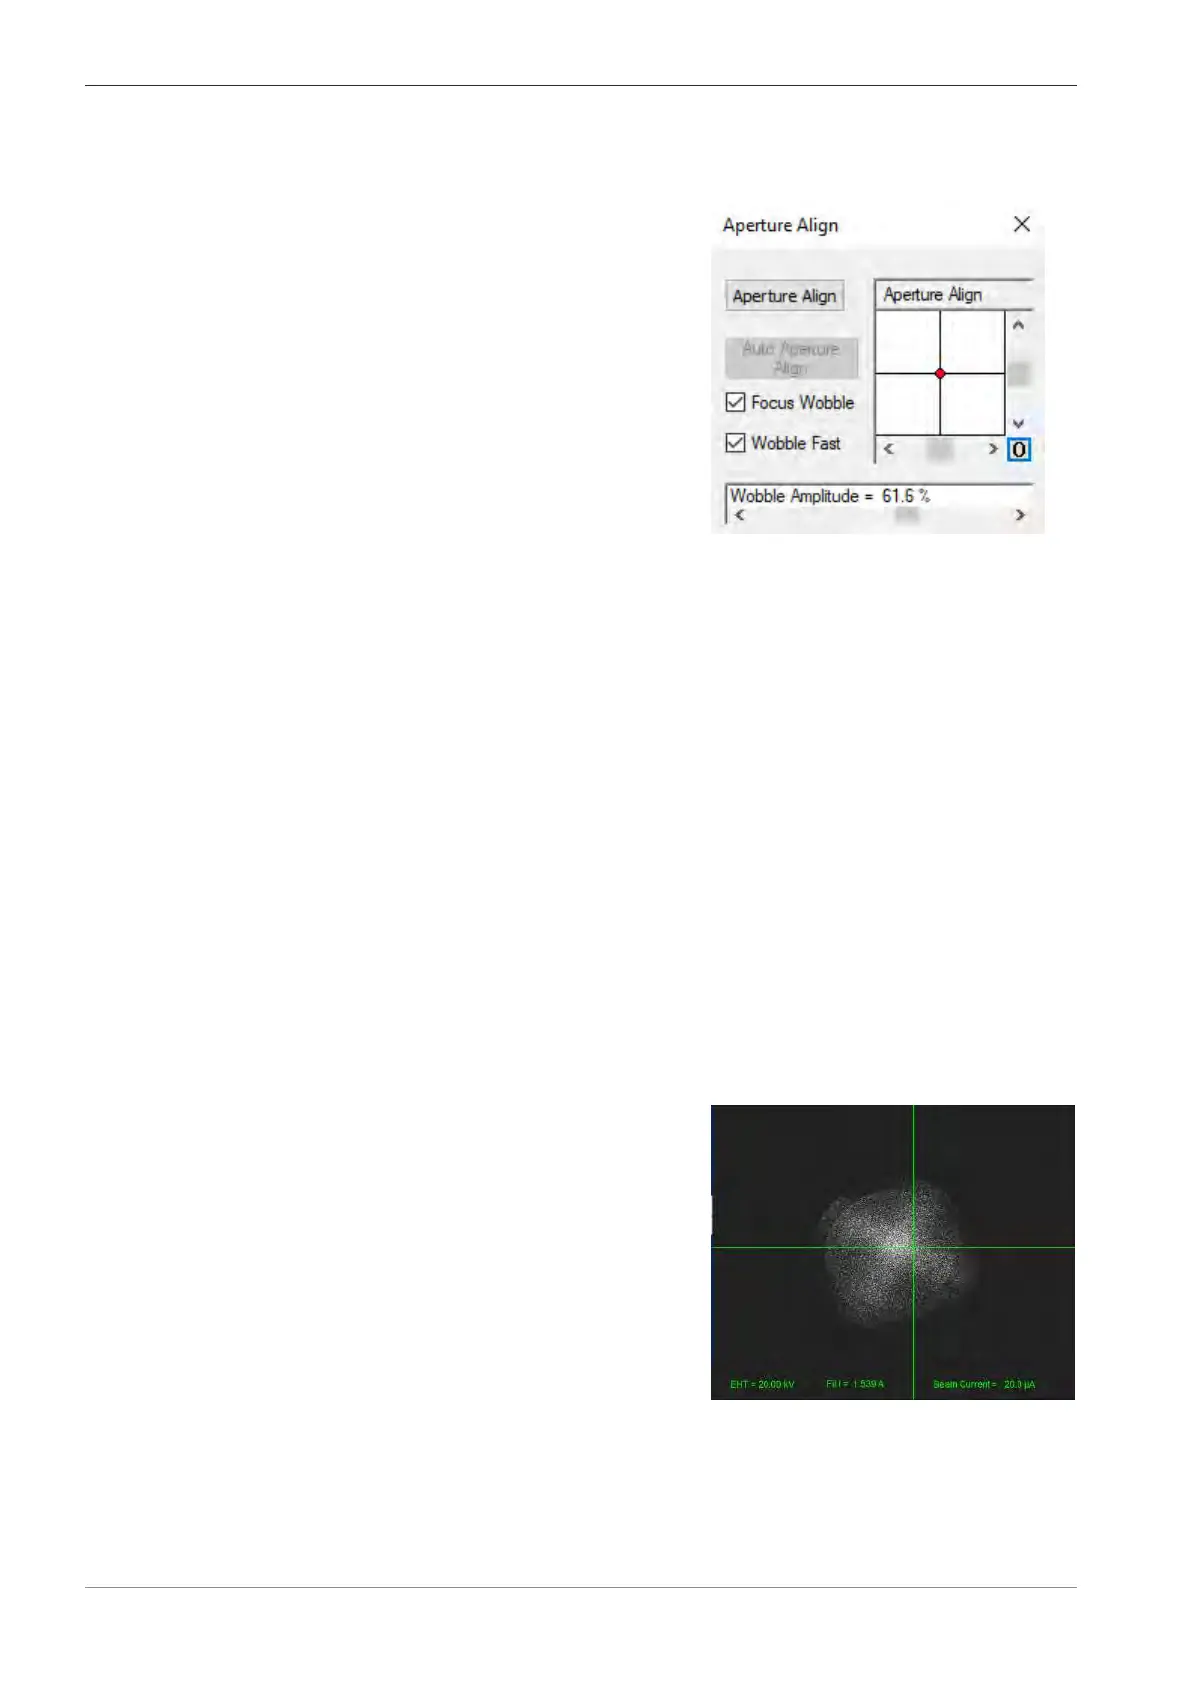
1. From the Panel Configuration Bar, select Aperture Align.
à
The Aperture Align window is displayed.
2. To set the Aperture Align value to zero, click the 0 button.
3. From the SEM Controls panel, select the Apertures tab.
4. From the Optibeam drop-down list, select Optibeam = Resolution.
5. Select the correct mid-column aperture from the Aperture Size drop-down list.
Info: For VP and EP systems make sure that the EasyVP aperture is fitted. The EasyAlign
aperture needs to be fitted on HV tools.
6. In the Gun tab set the EHT Target to 20 kV.
7. Set the I Probe value to 100 pA.
8. If using the long filament life mode is preferred:
– Set the Beam Current value to 40 µA.
– Set the Filament I target to 2.050 A.
– Switch to the long filament life mode by ticking the Long Fil. Life box on the Gun tab.
– Turn the Beam = On.
– Go to the Apertures tab and click Emission.
– Adjust the Contrast until the emission can clearly be seen.
– Then go to step 17 and continue with the alignment of the beam.
9. If using the normal mode is required, ensure that checking the filament saturation and the
beam alignment is done frequently (once per day) and follow the steps below.
10. Set the Beam Current value to 20 µA (requires changing the default value, i.e. 40 µA).
11. Set the Filament I target around or below the first peak such as 1.55A (1550mA).
12. Turn the Beam=On.
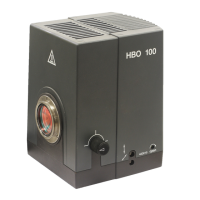
13. Go to the Apertures tab and click Emission.
Fig.39: Emission image when LaB₆ is un-
dersaturated at 1.539A
14. Adjust the Contrast until the emission can clearly be seen.
70 Instruction Manual ZEISS EVO | en-US | Rev. 10 | 354706-0780-006