5 First Operating Steps | 5.6 Finding Appropriate Detector Settings ZEISS
Info
The C2D detector requires VP pressures of at least 20Pa to acquire a good signal.
A good starting point is EHT=20kV, I Probe=500pA, Chamber pressure=30Pa,
WD=10mm, and scan speed=5.
Procedure
1. In the SEM Controls panel, select the Detectors tab.
2. From the Signal A drop-down list, select C2D F2.
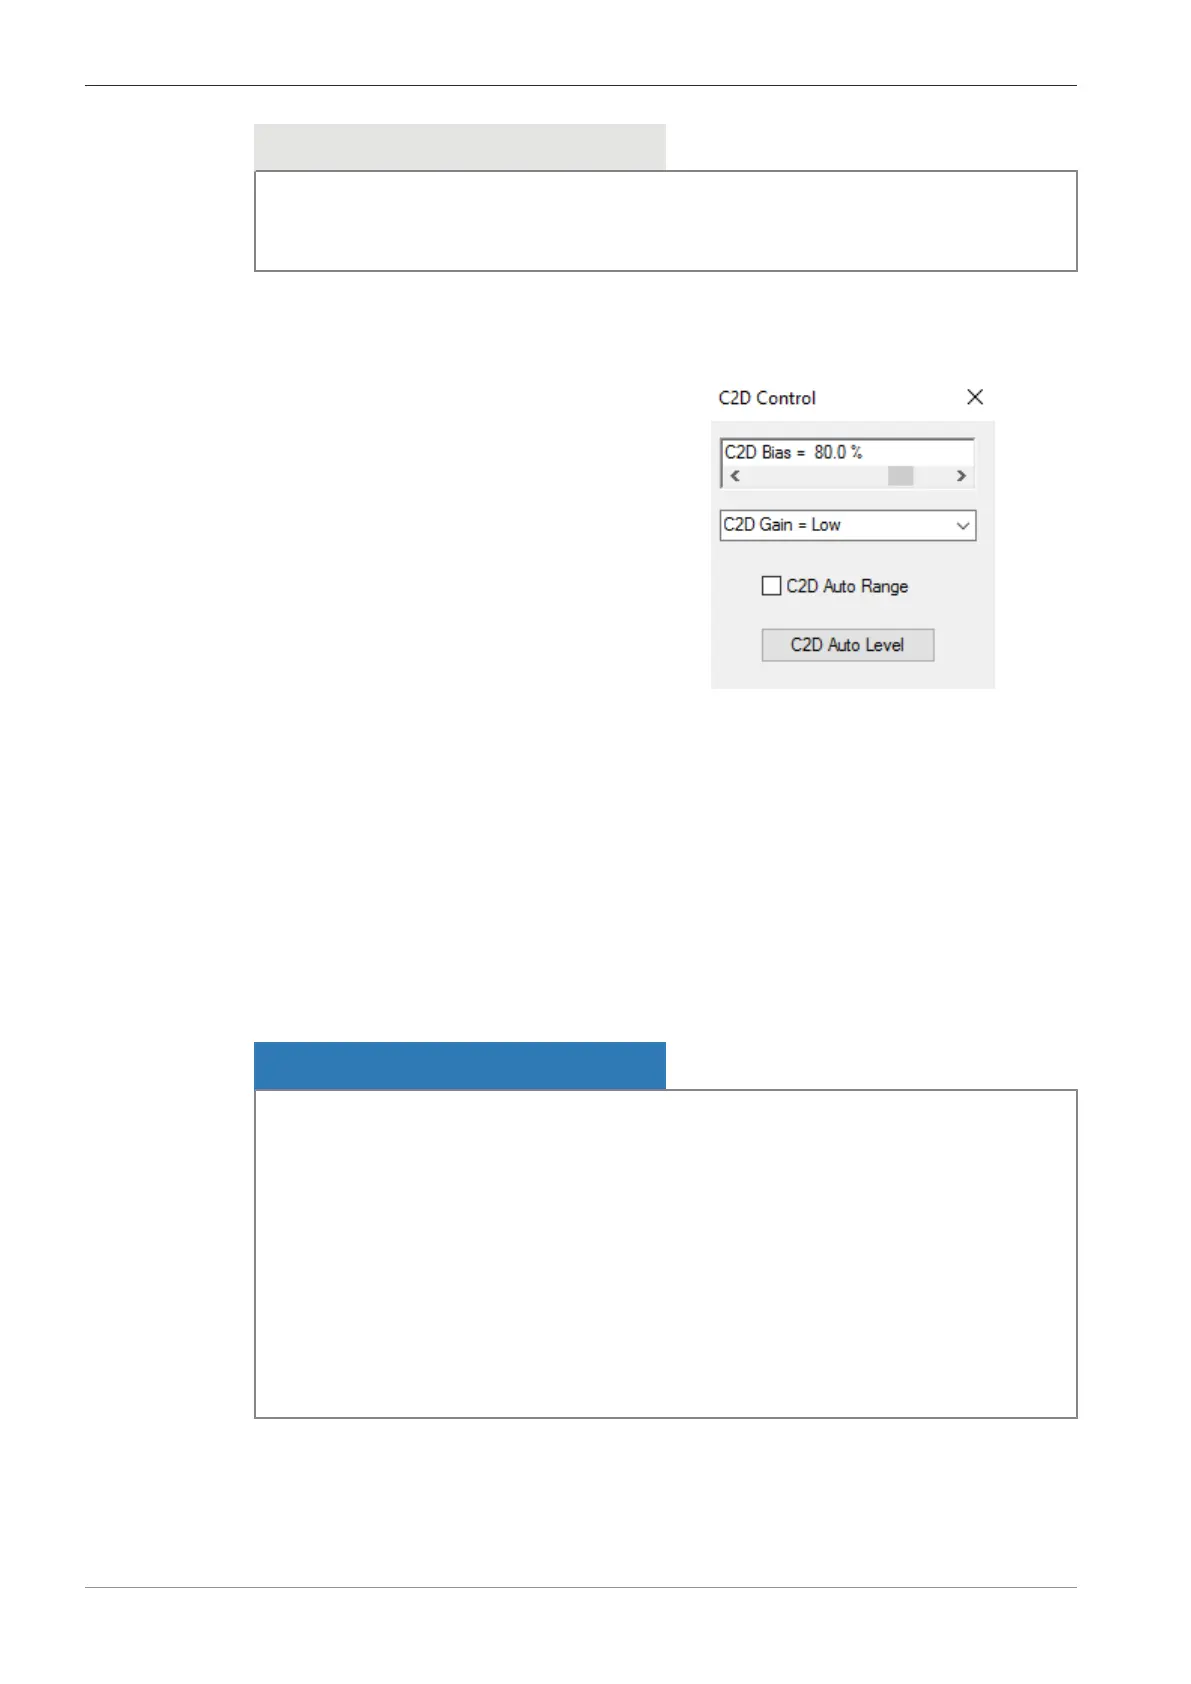
3. In the Panel Configuration Bar, select C2D Control.
à
The C2D Control panel is displayed.
4. Select C2D Gain = Low.
5. Adjust the C2D Bias scroll bar to 80%. This is usually a good starting value.
INFO: Too high bias can cause electrical breakdown in the detector. If you observe bright
lines or flashing in the image reduce the C2D Bias until the artifacts disappear.
6. Click C2D Auto Level.
INFO: The brightness offset is canceled out and the image is readjusted to a centered his-
togram, at a brightness value of 50%
7. Adjust the contrast of the image.
8. If you are unable to reach saturation or if the image quality is not good, increase C2D Bias
or set C2D Gain = High. Repeat steps 6 and 7.
5.6.4 Setting up the C2DX Detector
NOTICE
Inserting the C2DX detector
When you manually insert the detector, there is a risk to damage the C2DX detector.
4 Use the chamberscope image to observe if there is enough space between the objective
lens and the specimen.
4 If there is not enough space between the objective lens and the specimen, then lower the
stage position before you insert the detector.
4 Insert the C2DX detector carefully and observe the moving C2DX detector via the cham-
berscope.
4 If the BSD detector is mounted on the lens, then ensure that the C2DX can be inserted
without touching the BSD. This is best done with the chamber vented so that it can be ob-
served directly.
84 Instruction Manual ZEISS EVO | en-US | Rev. 10 | 354706-0780-006