1003D Systems, Inc.
4. Navigate to http://cubify.com/en/Cube/Activate. Select CALIBRATION FILES.
5. Extract the les to your computer.
6. Navigate to the appropriate le and save it to the root directory (rst level of your
le structure) of your USB mass storage device.
NOTE: The print le should correspond with the type of material
(PLA, ABS, etc.) currently installed in the printer.
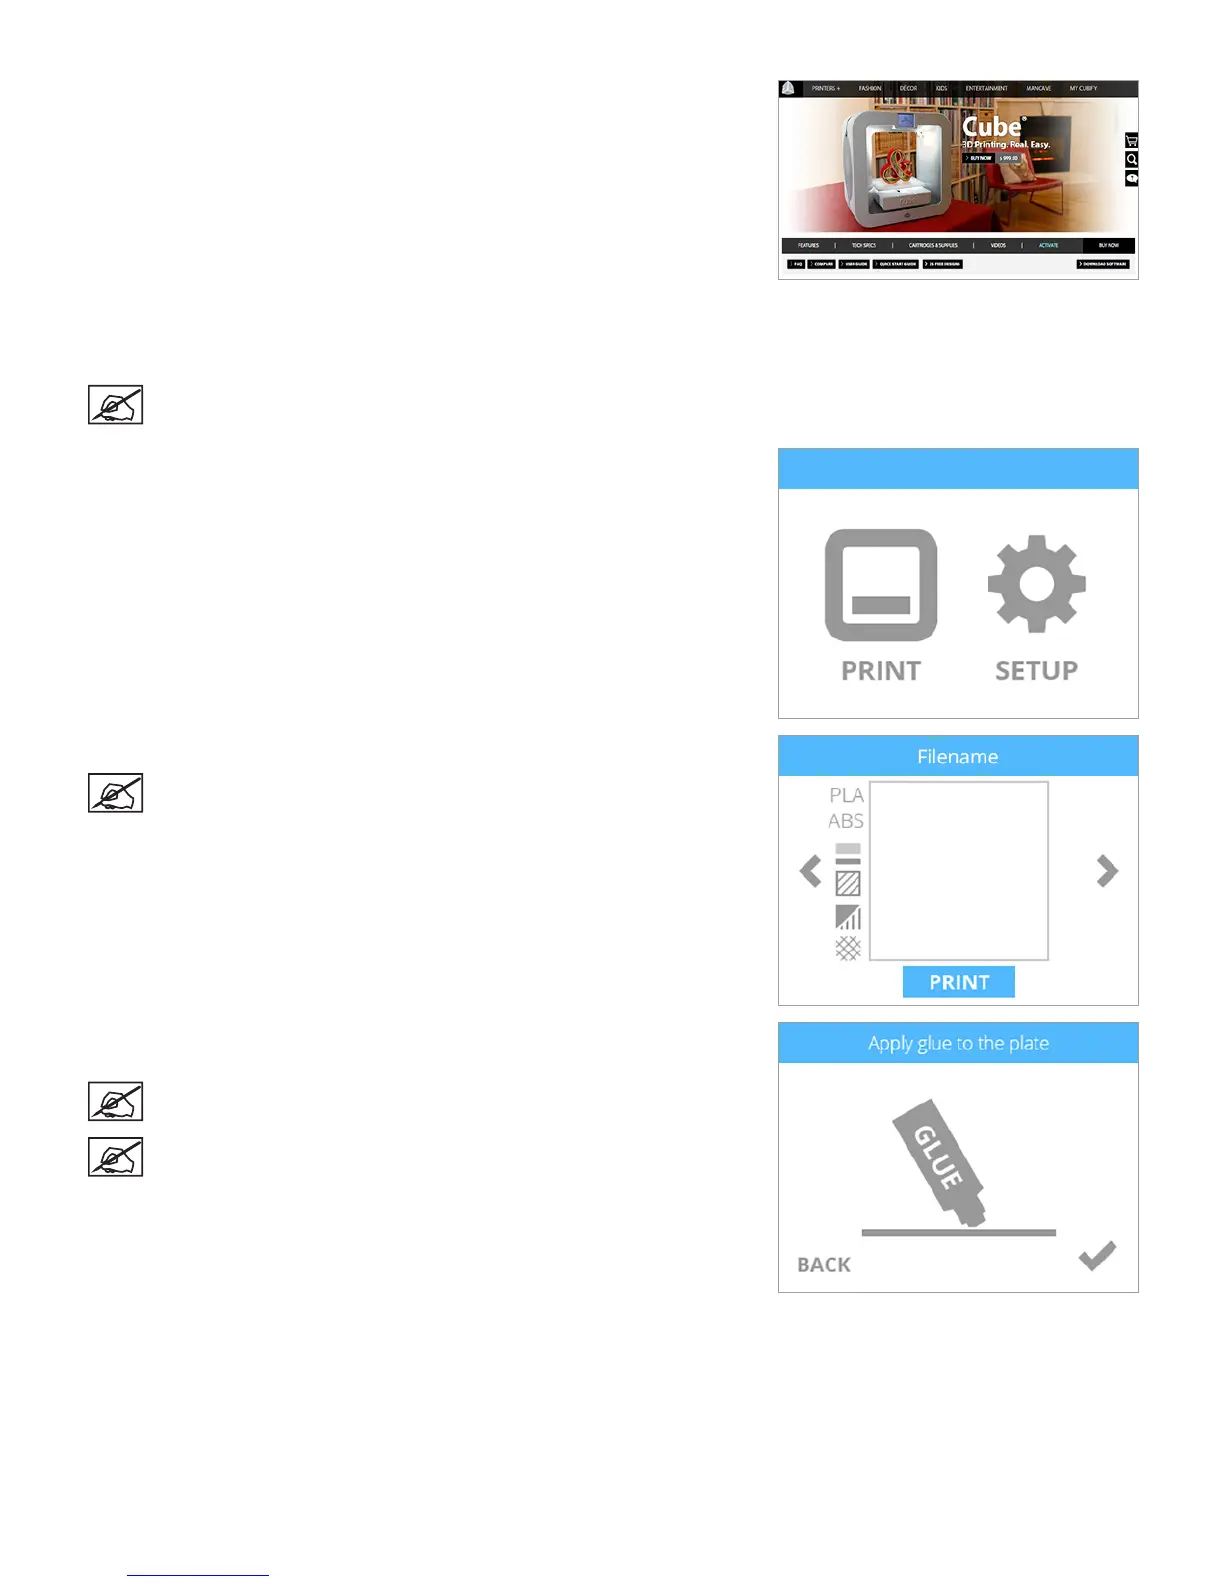
7. Insert the USB mass storage device into the printer’s USB inlet port. Select
PRINT.
8. Using the arrows, navigate to the le name of the calibration le. Select PRINT.
NOTE: The le name will appear at the top of the display.
9. Apply two thin layers of Cube Glue to the center of the print pad. Select the
checkmark to continue.
NOTE: Apply enough glue to cover a square area of 3” (8 cm).
NOTE: For best results, allow the glue to dry before printing.