813D Systems, Inc.
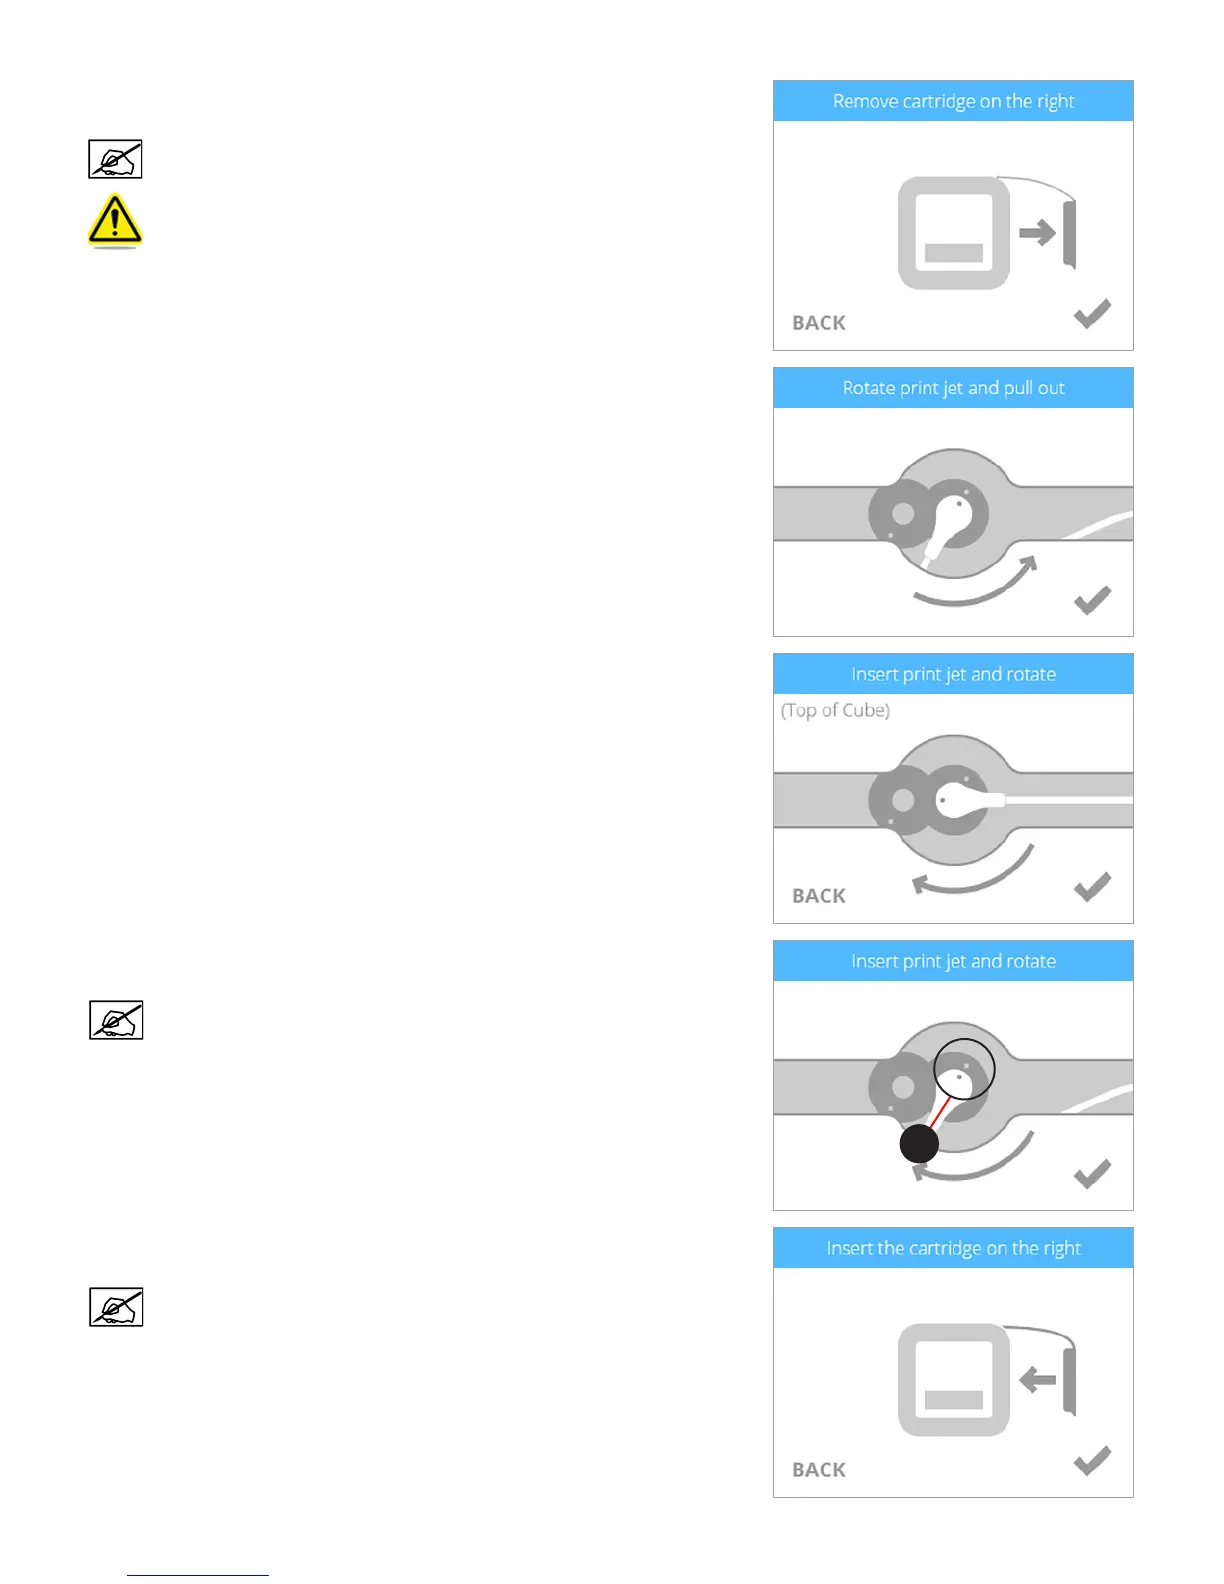
4. When prompted, remove the right side cartridge. Select the checkmark to
continue.
NOTE: Press the two cartridge tabs inward to release the cartridge
from the printer.
CAUTION: The cartridge must be removed rst before proceeding.
Attempting to remove the print jet before being prompted to do so
will damage the cartridge.
5. Rotate the cartridge print jet counter-clockwise and remove the print jet from the
printer. Select the checkmark to continue.
6. Insert the cartridge print jet from the replacement cartridge into the print jet
opening on top of the printer.
7. Rotate the cable clockwise until the dots (A) align. Select the checkmark to
continue.
NOTE: As the print jet is rotating, ensure the print jet tube is tucked
under the top of the printer cover.
Mount the new cartridge to the right side of the printer. Select the checkmark to
continue.
NOTE: Ensure the print jet tube is tucked under the top of the printer
cover.
A