MODULE 5: MISCELLANEOUS
ARCHITECT
®
RSH System Service Training Guide 5-7
201532-102 FOR INTERNAL USE ONLY
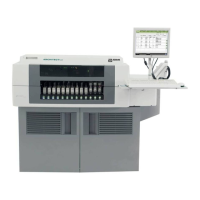
Integration-ci8200
®
System
Use the ARCHITECT RSH and corresponding ARCHITECT System Service and Support
Manual, Section 7 Pre-Site Interview and Inspection and Section 8 Installation to view the
checklists discussed below.
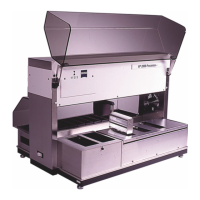
This section discusses the procedures associated with integrating an ARCHITECT
®
c8000
®
and i2000
SR
®
System to create an ARCHITECT ci8200
®
System. This involves
• combining two RSH extrusions to form one continuous sample handler
• leveling c8000 Processing module
• jumper configuration on i2000
SR
Card Cage
• installing interface brackets and filler pieces
• hanging the RSH on i2000
SR
and marking a reference line on the front of the module
• switching the priority bay (as needed)
• installing a longer carrier transport belt
• installing mounting and alignment pins at the interface
• modifying cable routing
• Connecting Cables from Card Cage to RSH
• Installing RSH covers and end caps
• Calibration of robotic positions
• Performance Verification Test
NOTE: Proper installation of RSH is critical to performance. Use care when handling
belts and cables.
Installation Tips:
• Be sure to handle the Flex Cable properly to prevent cable and Carrier Transport Sensor
damage.
• Carefully connect both PM Carrier Positioner Assembly cables at the Cable Strain Relief area
on the right side.
• When routing the belt, check to ensure it is straight prior to attaching it to the Bearing
Assembly.
• Prior to completing the RSH installation, ensure the bay partition alignment is completed for
proper tray tension.
• When adding insert screws for ci8200 System integration, be sure they are loose at the start
and each screw is equally tightened.
• Follow the leveling sequence for the i2000
SR
System to prevent RSH and i2000 errors.
• Separate the ci8200 System prior to moving/relocating the system.