Firewall, Continued
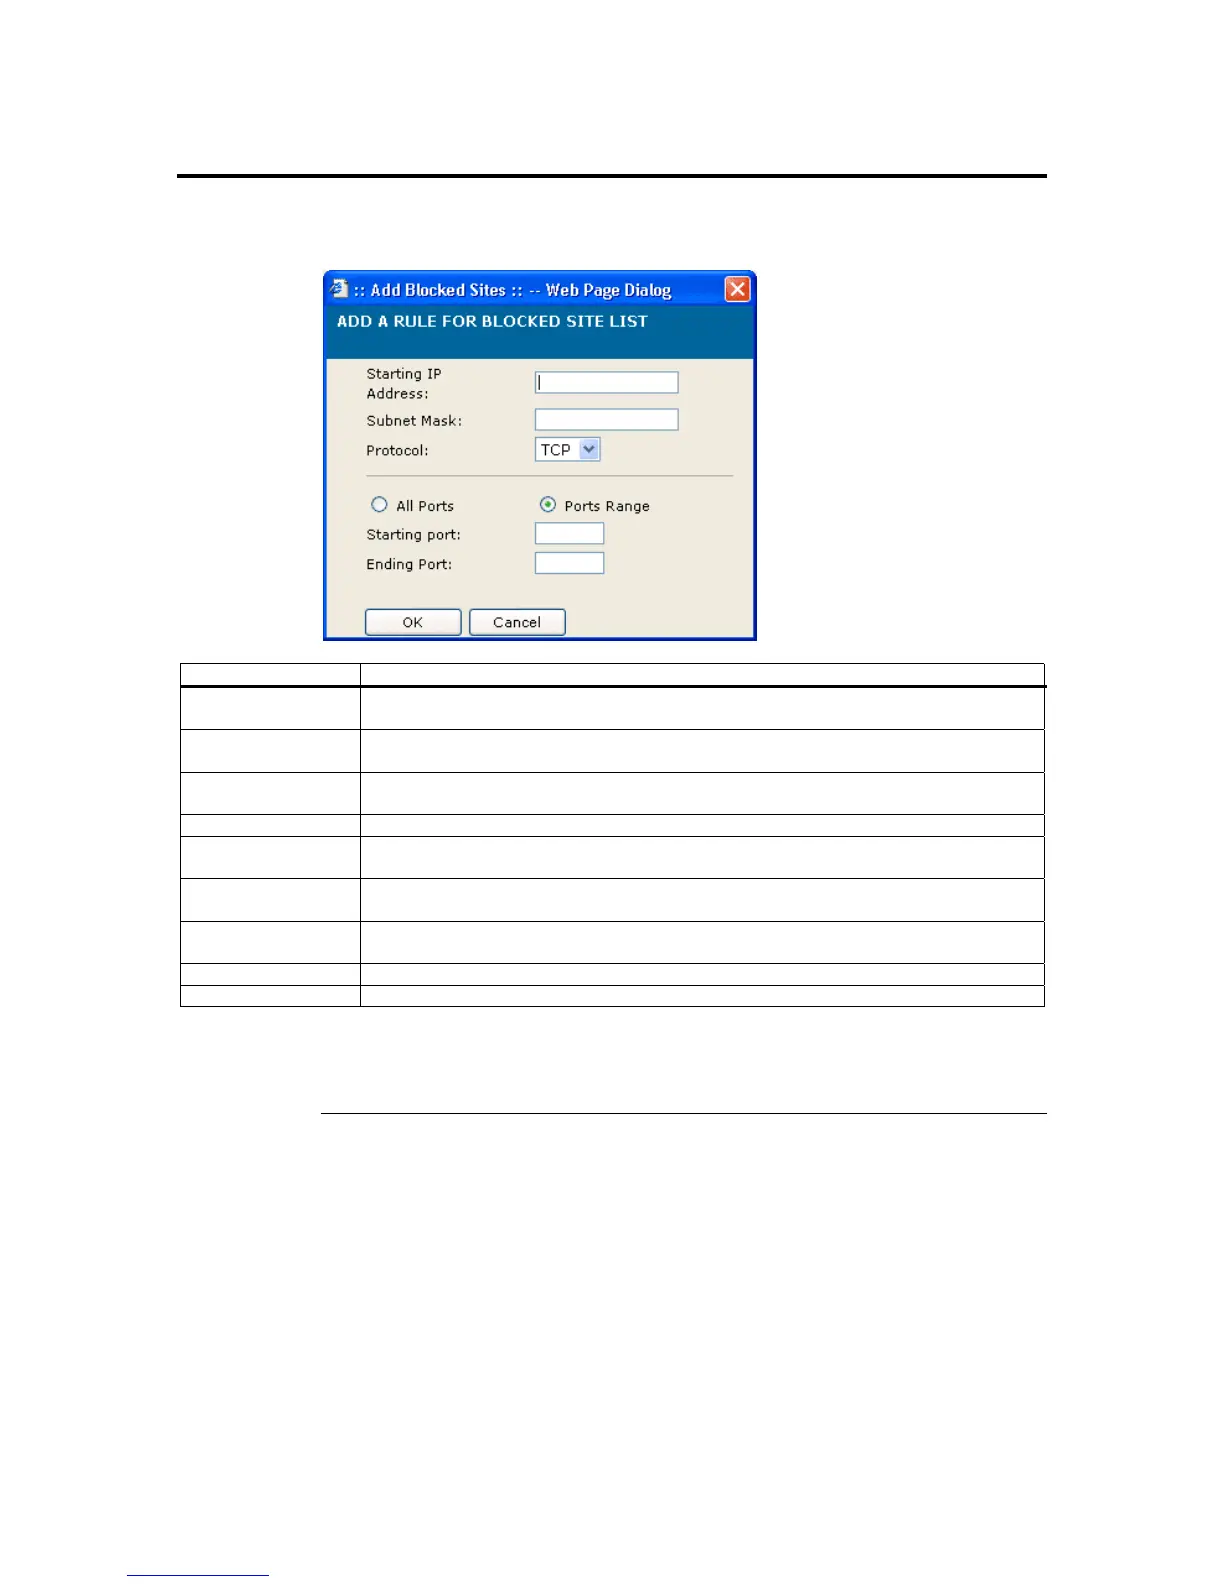
Once you left click the Add button on either the Blocked Sites or Trusted Sites, the
following dialog box opens.
Item Description
Start IP Address This field allows you to enter the start address of the subnet you want to either block
or always allow.
Subnet Mask This field allows you to enter the specific subnet of the IP address range that you want
to use.
Protocol This drop down box allows you select either the UDP protocol or TCP protocol. The
ARMC/2 can be configured to accept or ignore packets based on the type of packet.
All Ports This setting allows the ARMC/2 to accept or ignore ports 1 through 65535.
Ports Range This setting allows you to select the specific range of ports that you want the ARMC/2
to accept or ignore.
Starting Port This field allows you to enter the first port of the port range that you want the
ARMC/2 to accept or ignore.
Ending Port This field allows you to enter the last port of the port range that you want the
ARMC/2 to accept or ignore.
OK button Left click the OK button when you are satisfied with the information entered.
Cancel button Left click the Cancel button to discard changes and exit.
Note: You can edit any of the IP address ranges by selecting the IP address range from the main
Firewall Dialog Window. You can enter your adjustments and left clicking on the Modify
button for the changes to take effect.
Chapter Four : Using Your ARMC/2
91