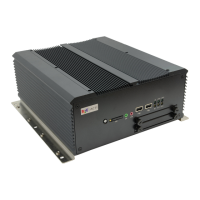
MNR-310 System Administrator’s Manual
48
System Installation Check List
MNR comes with 16-channel free license that
are already activated. For additional
channels, please purchase the license from
your system supplier and get the license
information ready before activation.
License and
Activation on page
43
Set up Active Directory
(optional)
To add users through the Active Directory
service, please make sure an Active Directory
server is available on your domain.
Get the IP cameras and
video servers
connected and ready
for use
Finish the installation and basic settings (IP
address, usernames, passwords) of all IP
cameras or video servers.
Connect external
devices to the NVR
server
Attach necessary external hardware
peripherals such as a keyboard, a mouse, a
joystick, or a microphone to the NVR server.
Press the Power Button to power on MNR,
and enter Windows after the system finishes
booting up.
Start the Unit on
page 34
Create the disk
volumes for recording
Initialize the newly-installed hard disks and
configure the volumes (RAID) for your storage
system.
Get the Hard Disks
Ready for
Recording on page
37
Login to the NVR system with default account
and password.
Log In to the System
on page 55
Activate the license
(When required number
of channels exceeds
16)
Activate your license key to get your required
number of channels ready for adding devices.
License and
Activation on page
43
Configure the storage
Settings
Activate the disks for recordings and make
sure the total size is sufficient, and how many
days the recordings are kept on disk.
Storage
Management on
page 114
Add devices to the NVR
server
Add devices and configure camera settings:
camera name, video/motion/PTZ settings.
Add Devices on
page 64;
Configure Device
Settings on page 75