Model A
2
O
®
Advanced Automated Osmometer User’s Guide
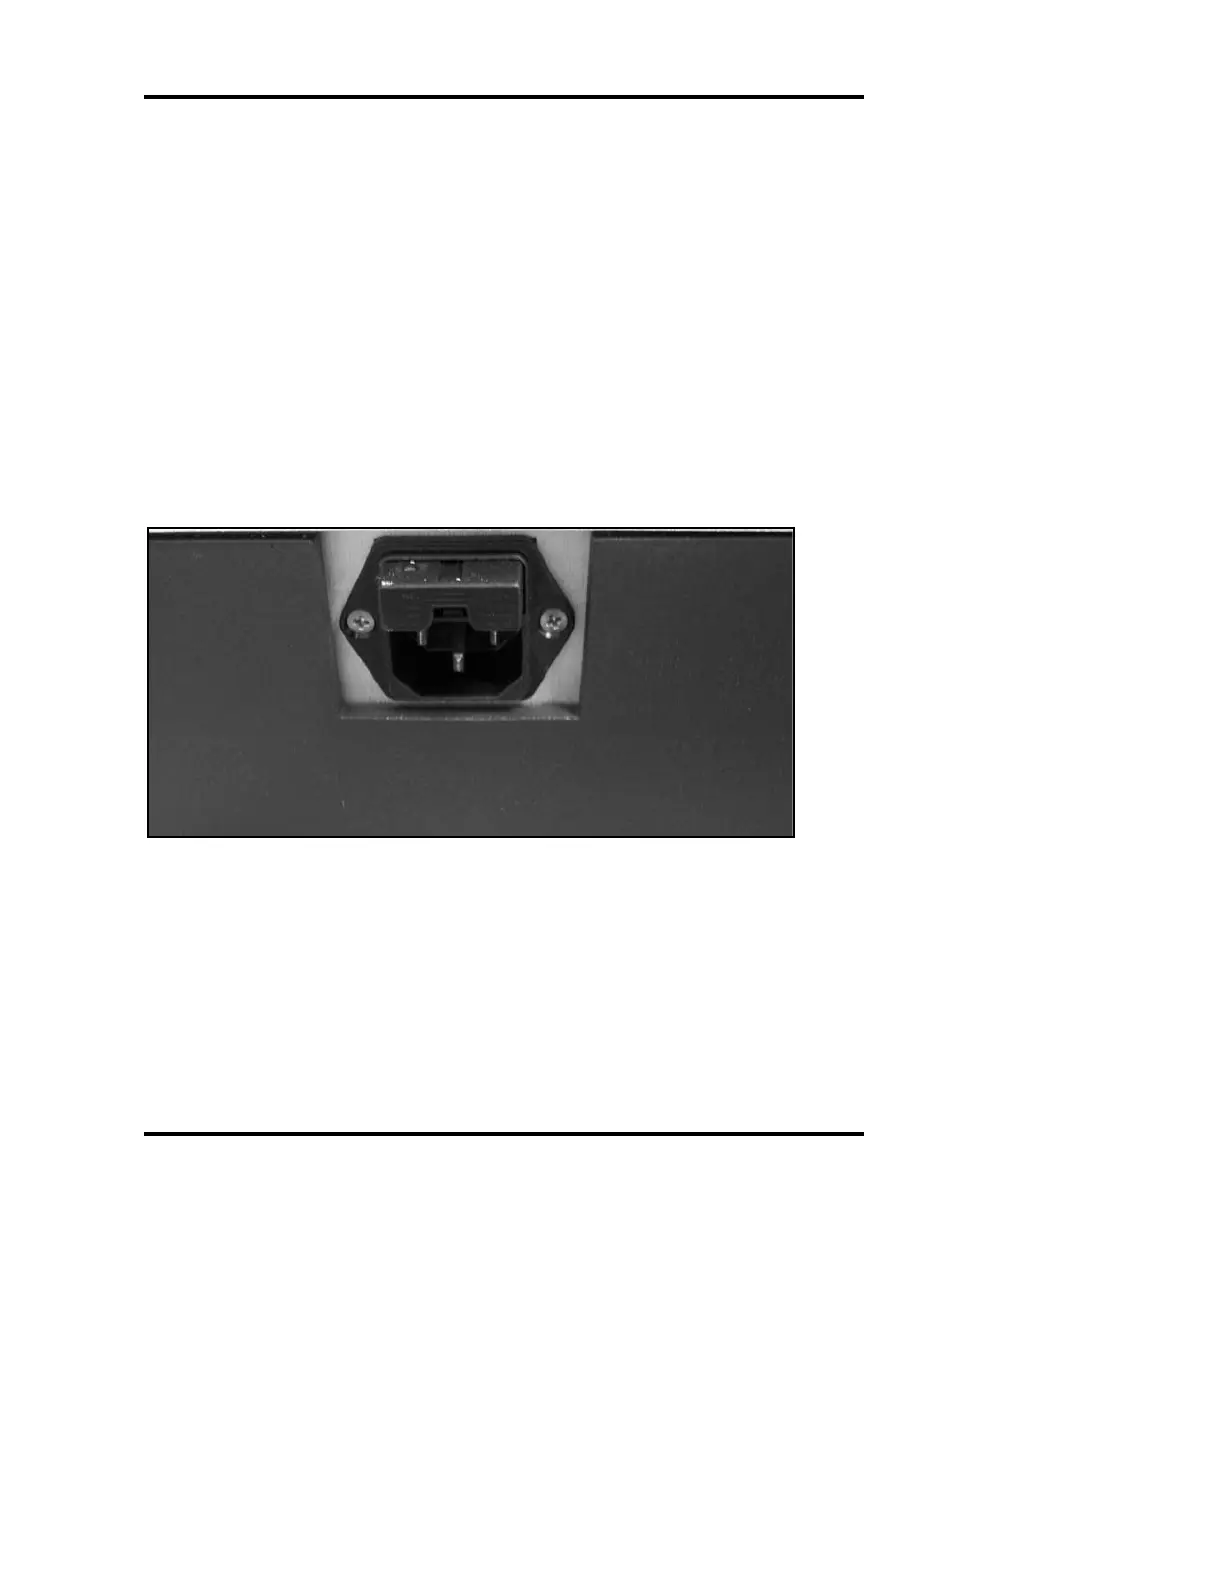
1. Switch the power switch to the off position and disconnect the
power cord (Figure 51).
2. Use a small flat-bladed screwdriver or similar tool to remove the
fuse holder door. Remove the fuse holder.
3. Double-check the values marked on the fuses. The A
2
O will
automatically adjust for voltages between 100VAC and 250VAC,
but appropriately rated fuses (2) must be installed. Use 5 x 20
mm, 250V, time delay (Type T): 5-Amp.
4. Re-install the fuse holder into the back of the instrument.
5. Reconnect the power cord and switch the power switch to the on
position. The instrument should start up as normal.
Figure 51: Fuse Replacement