Model A
2
O
®
Advanced Automated Osmometer User’s Guide
10
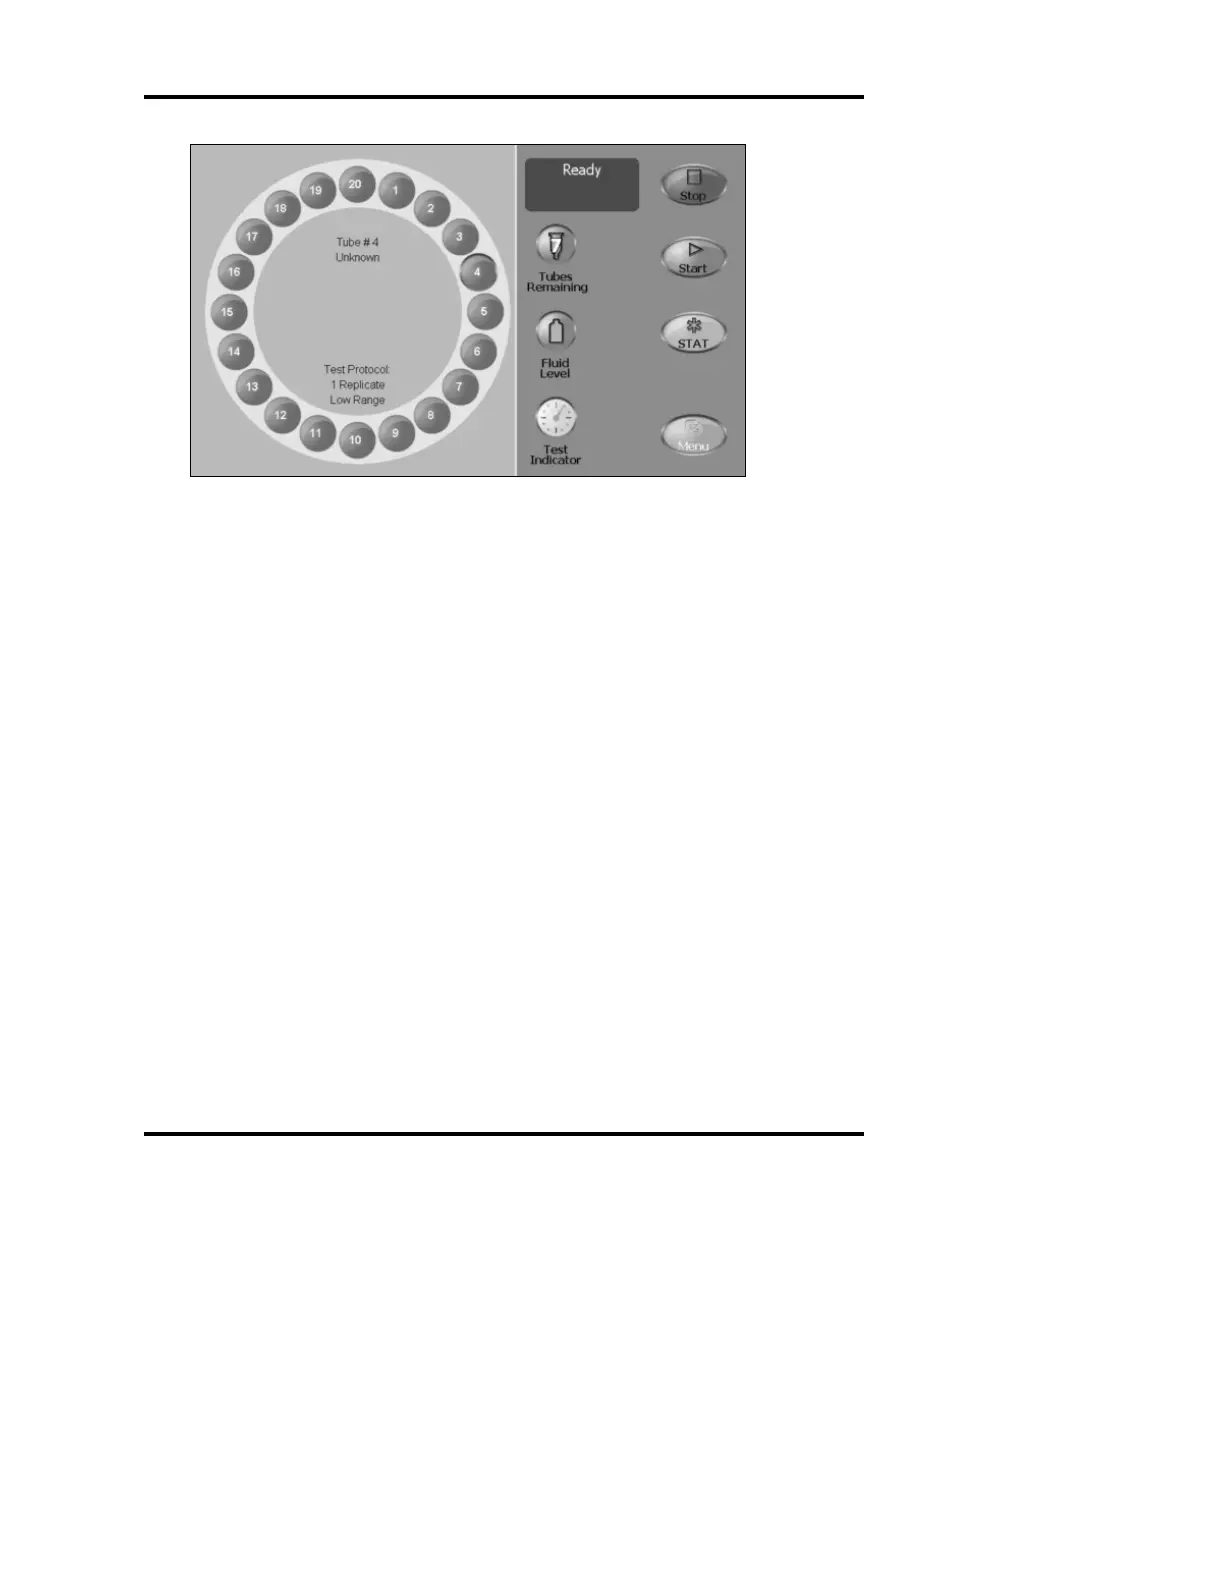
Figure 6: The Main Screen
Step 7 — Install the osmometer turntable and
primary tube carousel
1. Place a disposable plastic sample tube in each of the 20 positions in
the osmometer turntable. Place one wiper ring on the turntable,
making sure that the tab on the wiper ring is located in the recess in
the turntable. Place the wiper ring retainer on top of the wiper ring.
2. Grasp the osmometer turntable by the center knob and slide it onto
the turntable spindle on the right side of the instrument so the
turntable edge fits into the opening beneath the vertical liner. Slowly
push the turntable forward while spinning it, until it drops down
over the mating drive spindle (Figure 7), using care not to strike the
probe assembly.
3. Hold the outer edge of the osmometer turntable with one hand while
turning the knurled turntable locking screw (Figure 7) fully clock-
wise with the other hand to lock the turntable on the drive spindle.
Make sure it is secure, but do not over-tighten.