Model A
2
O
®
Advanced Automated Osmometer User’s Guide
4
Step 3 — Remove the shipping stops
CAUTION Do not apply electrical power before removing the
osmometer and pipettor shipping stops. Damage to the
motors will result.
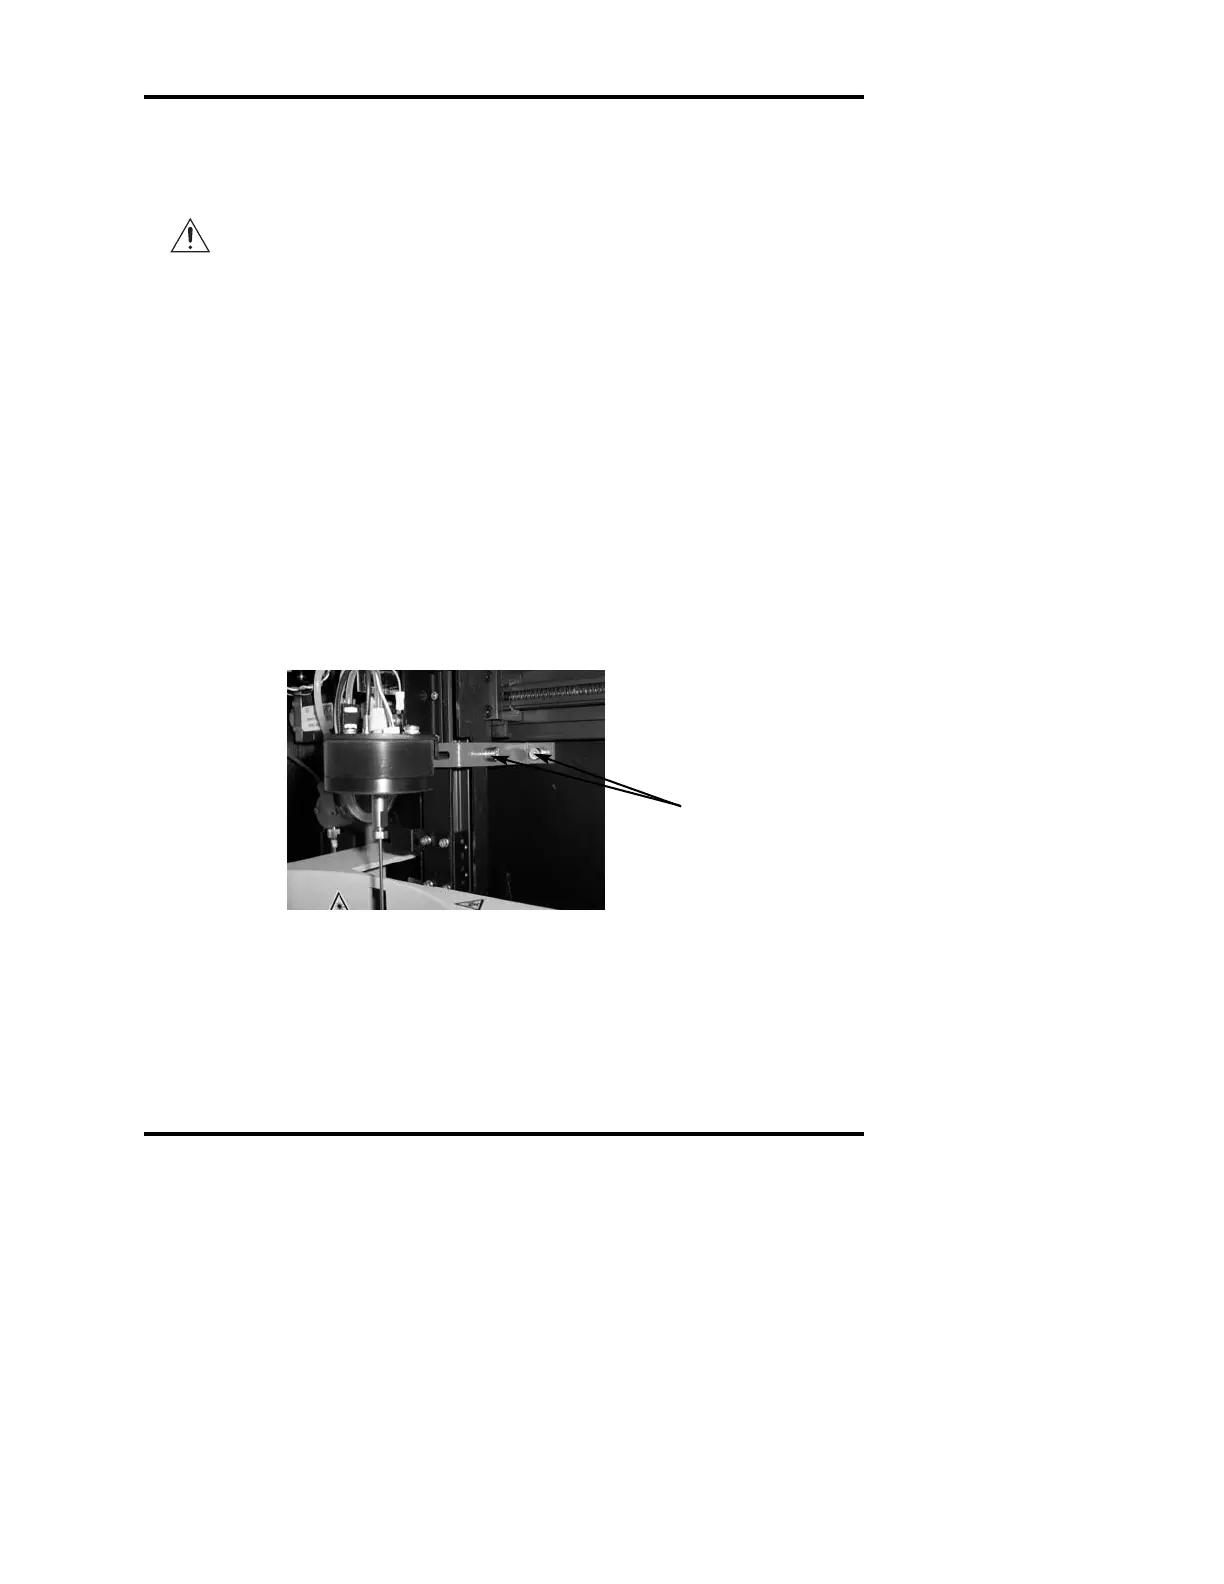
1. Open the front door of the osmometer. The pipettor assembly is posi-
tioned in the center of the work area. Using a screwdriver, loosen the
two
captive screws securing the shipping stop to the pipettor assem-
bly and the center panel (Figure 1) and remove it from the product.
Store the shipping stop in the box with the carousel adapter set.
2. Using a screwdriver, loosen the three screws securing the vertical
liner over the osmometer module (Figure 2) and remove it. Loosen the
captive screws securing the shipping stop to the osmometer module
(Figure 2) and remove it from the product. Reverse the orientation of
the shipping stop and reinstall it on the right side of the osmometer
module using the same screws, as shown in Figure 2. Position the
vertical liner over the osmometer module and install the three screws.
Figure 1
: Remove Shipping Stop from Pipettor Assembly
Loosen to remove
shipping stop