9.
Remove the timing gear casing cover (engine front cover).
10.
Lock the tappets up.
Locking removes the risk of the tappets falling down when removing the camshaft, preventing the
installation of the camshaft.
11.
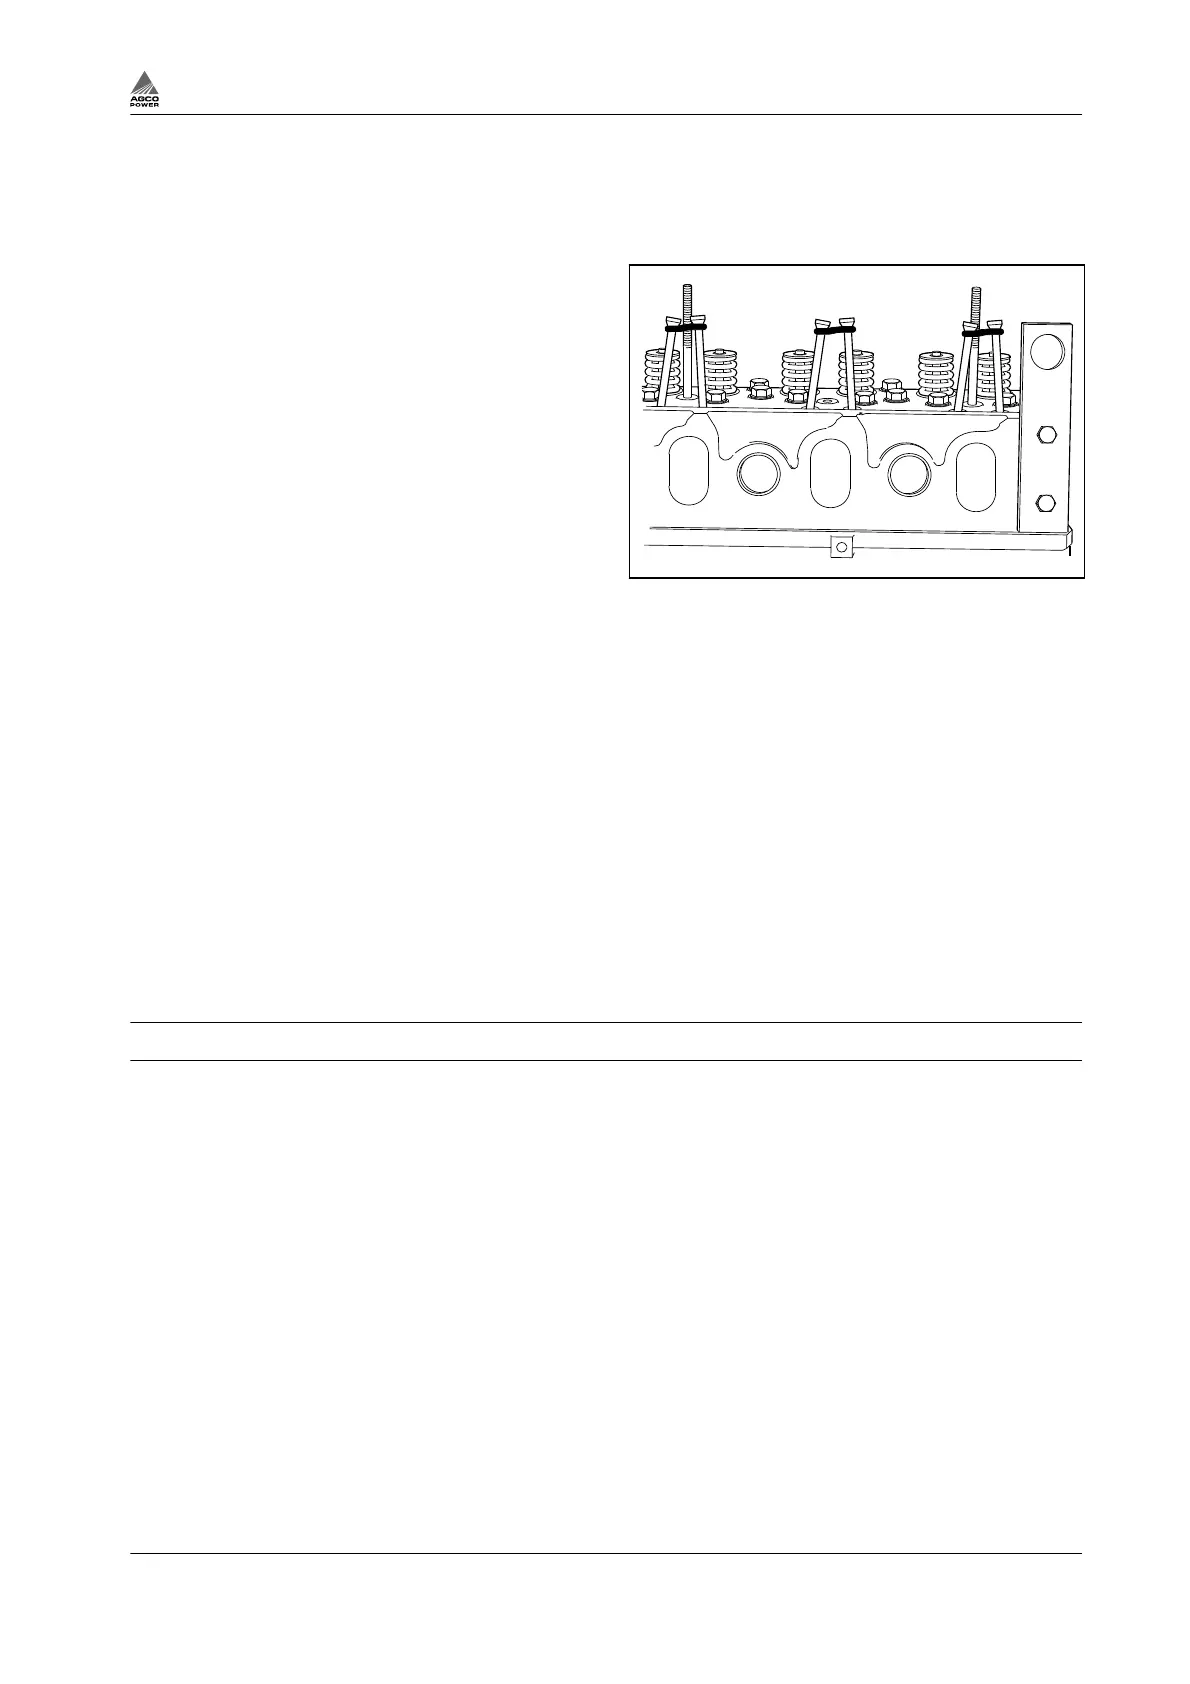
Prevent the push rods from falling through.
a) Lift two next to another push rods up,
extending the push rods a little toward
each other.
b) Connect the push rods in pairs, using O-
rings or elastic bands.
NOTE: Do not connect the push rods too
tightly as this can cause the push rods to
bend or break.
12.
Crank the engine until the aligning marks on
the idler gear and camshaft gear are facing
each other. Drag the camshaft.
13.
Separate the camshaft from the gear wheel.
14.
Clean the parts which are to be used again.
15.
Fit the key in its groove and fit the gear on
the camshaft. Tighten the nut to 200 Nm.
16.
Lubricate bearing surfaces and lobes and
insert the shaft in the cylinder block.
Make sure that the aligning marks on the
gears match.
17.
Fit the timing gear casing cover, the hub,
damper and crankshaft belt pulley.
18.
Free the push rods and fit the rocker arm
mechanism.
19.
Adjust the valves.
20.
Fit the valve cover.
21.
Fit the other removed parts.
Fig. 35
3.4.3 Adjusting valves
NOTE:
See the valve clearances adjusting intervals in the maintenance chart.
The nominal clearance of both inlet and exhaust valves is 0,35 mm. The valve clearances can be checked
regardless of whether the engine is cold or hot. The valve clearances of a certain cylinder can be adjusted
when the piston is at its compression stroke top dead centre. The valves for different cylinders are
adjusted in the same sequence as the order of injection.
3. Maintenance
4th Generation Engines 3-23
8370 79492