3.6 Connecting rods and pistons
3.6.1 Removing pistons together with connecting rods
Procedure
1.
Remove the oil sump and the oil inlet and pressure pipes.
2.
Remove the cylinder head.
3.
Scrape off any soot in the cylinder liner. If the turning edge is clearly marked, smooth it down
carefully with a scraper.
4.
Remove the big-end bearing caps and bearing shells. Place the shells in order if they are to be re-
used.
5.
Push up the piston and connecting rod with the shaft of a hammer or similar wooden tool.
6.
Remove the piston pin snap rings. Push out the pin.
NOTE: If the piston pin does not move under thumb pressure, the piston should be heated to 100°C.
3.6.2 Changing connecting rod bearings
3.6.2.1 Piston pin bushing
Procedure
1.
Clean the connecting rod and bearing shells.
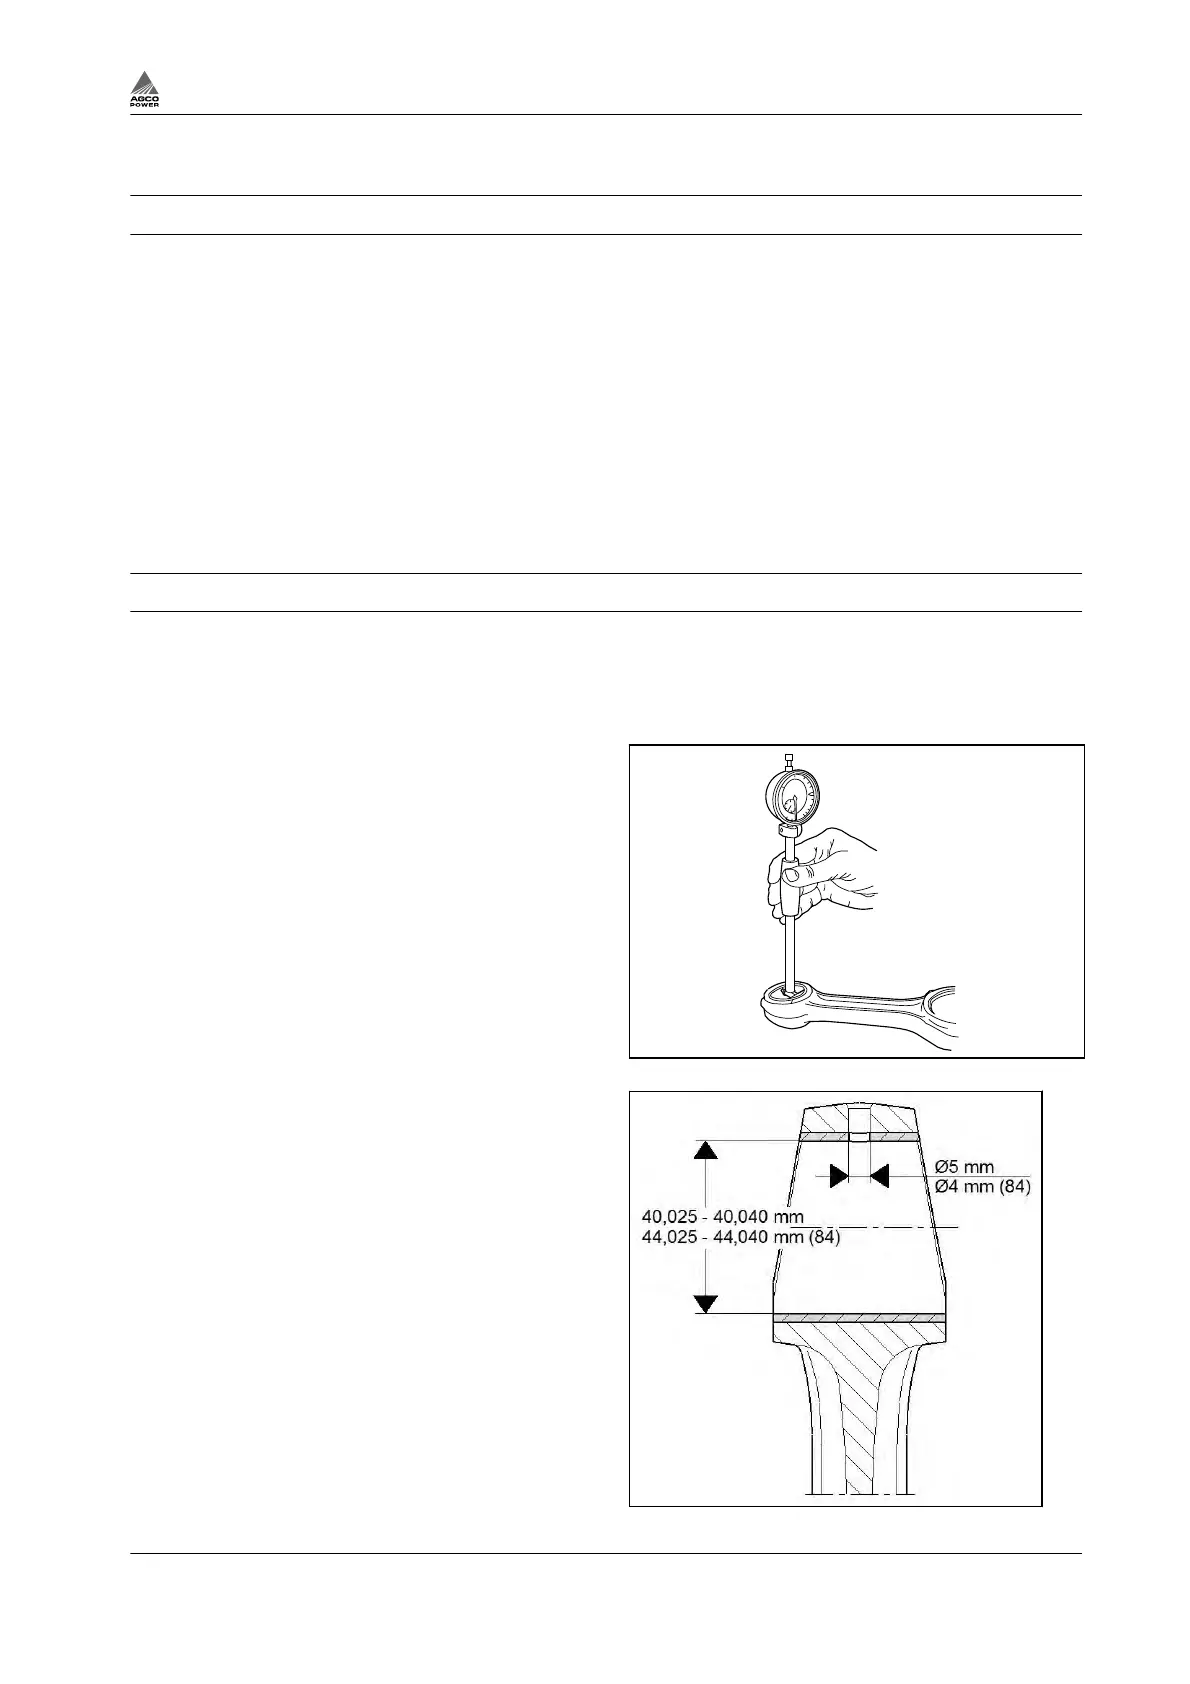
2.
Measure the I.D. of the piston pin bushing
using a cylinder gauge.
3.
Drive the piston pin bushing out using a drift,
if the piston pin bushing is worn.
4.
Press the new piston pin bushing in position.
Fig. 48
5.
Make sure that the oil hole in the piston pin
bushing coincides with the respective hole in
the connecting rod by size and location.
a) 33-74 engines: Cut and ream the piston
pin bushing to obtain correct shape and
diameter.
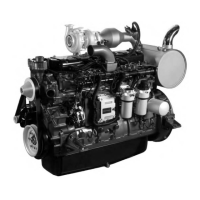
b) 84-98 engines: Ream the piston pin
bushing to obtain correct diameter.
NOTE: The connecting rod can, if needed, be
fitted with a 0.5 mm oversize bushing.
Fig. 49
3. Maintenance
4th Generation Engines 3-31
8370 79492