Chapter 2 Dispensing to SpectroCHIP Arrays46
USG-CUS-059 Rev05MassARRAY® Nanodispenser RS1000 v2.1 User Guide
For Research Use Only. Not for use in diagnostic procedures.
5. Place the SCOUT plate back onto the processing deck (Figure 2.37):
a. Place the left edge of the SCOUT plate down first, against the alignment post at
the left of the SCOUT plate deck position.
b. Press down the right edge of the plate or adapter until the spring-loaded
positioners engage firmly against the plate.
6. Close the main door.
7. Tap the HOME button in the safety interlock is disengaged! message.
Wait for the pin array assembly to move to home position (all the way left, forward,
and up).
2.8 Starting the dispensing run
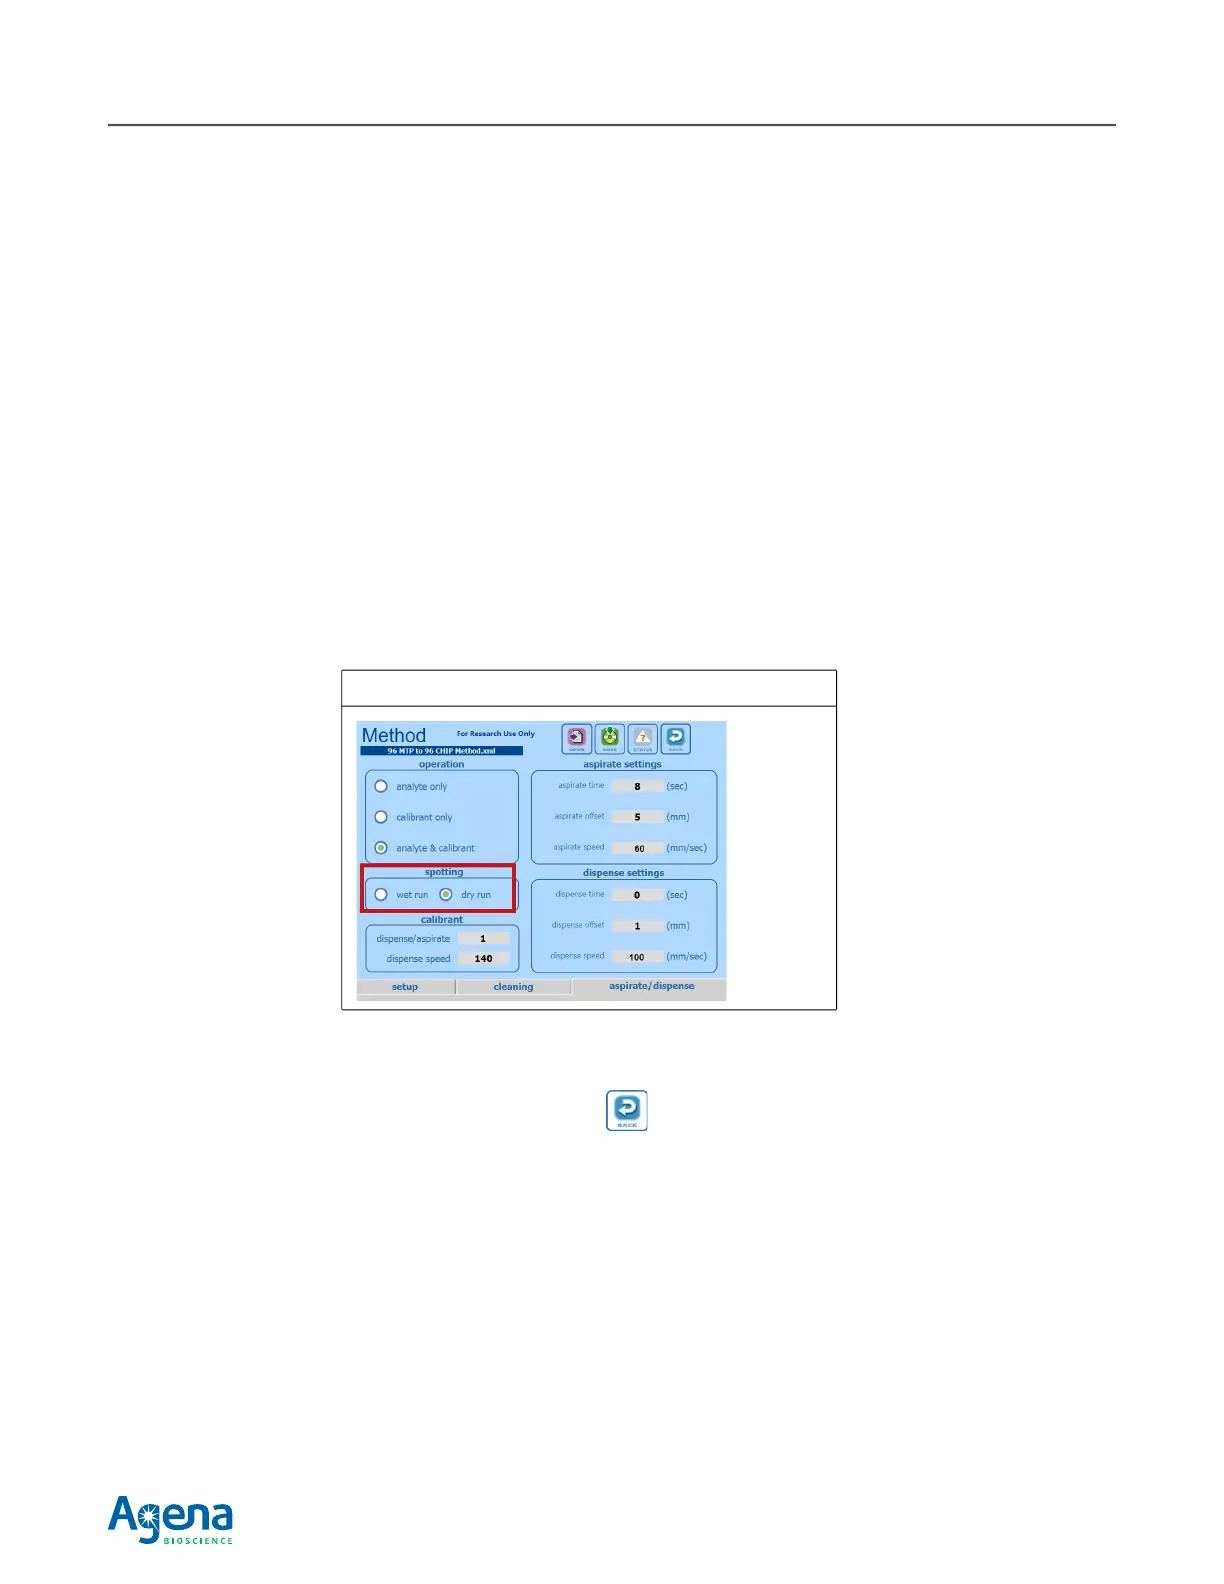
If you want to do a dry run before actual dispensing, tap the Dry Run button in the
aspirate/dispense tab before proceeding. Use this mode to test dispensing runs. All
normal movement and operations occur, but the pin array remains in a raised position.
The pins do not dip into microplates or wash stations, and they do not lower onto
SpectroCHIP Arrays.
To start a dispensing run:
1. Return to the Transfer screen:
a. Tap the BACK button on the Method screen (Figure 2.40).
b. Tap Apply, SAVE, or Discard in the warning message that appears.
Apply – This option is recommended. It loads the settings to instrument memory
for use in dispensing runs, but does not save them to a method file.
SAVE – Saves the settings to a method file and loads them to instrument memory
for use in dispensing runs. See page 72 for more information.
Discard – Discards any changes that were made.
Figure 2.39 Selecting a Dry Run