28
Installing the Autosampler
Installing the Thermostatted Autosampler
Installing the Thermostatted Autosampler
1 Place the Thermostat on the bench.
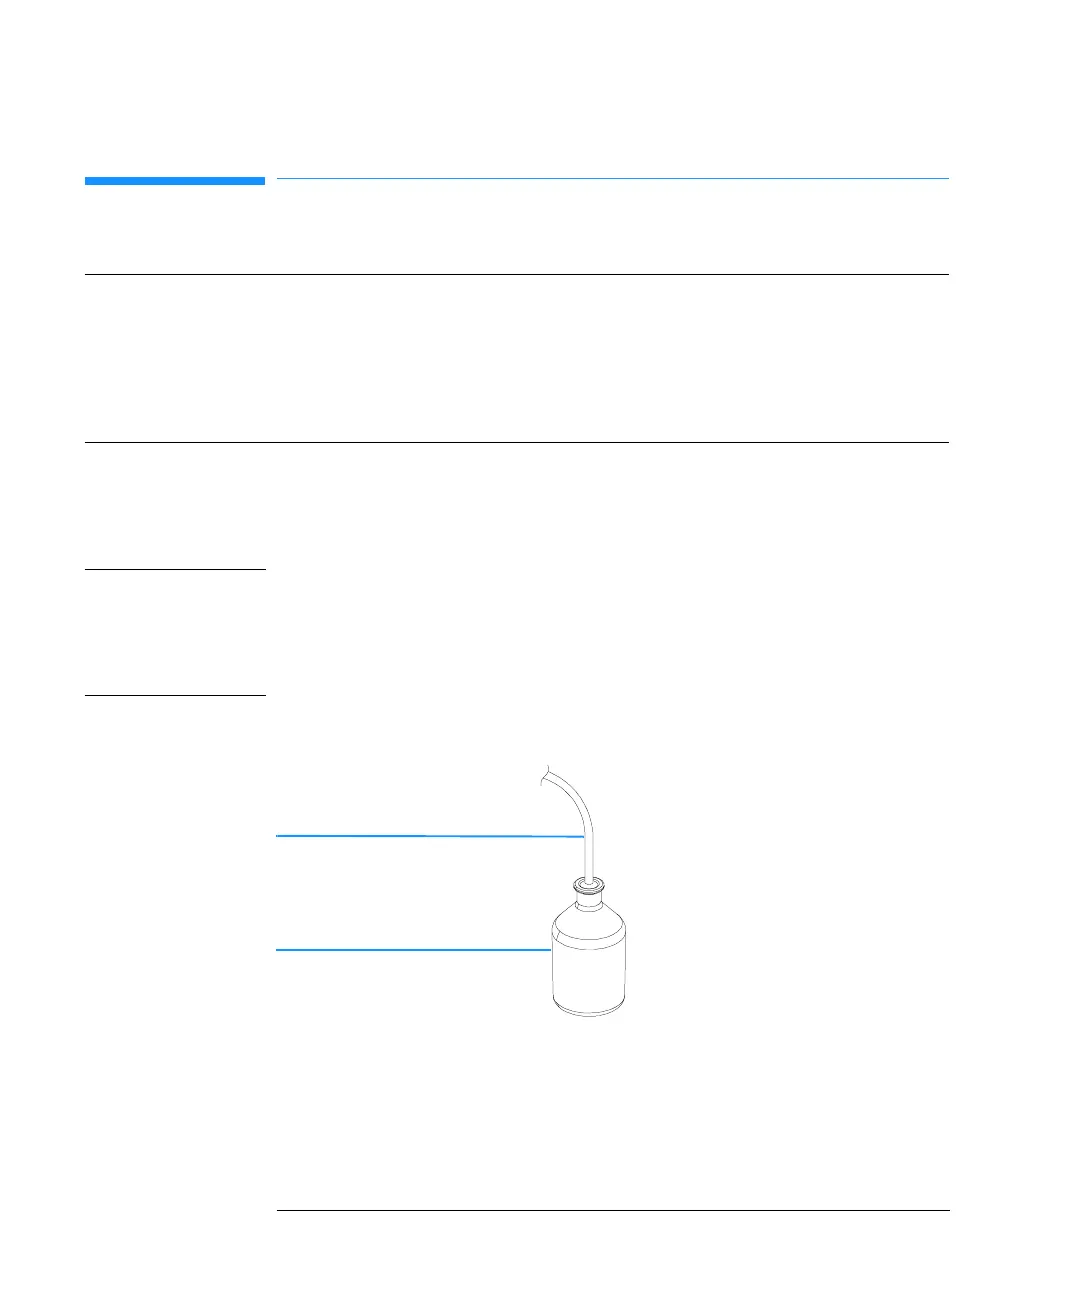
2 Remove the front cover and route the condensation drain tube to the waste.
WARNING Make sure that the condensation tube is always above the liquid level in
the vessel. If the tube is located in liquid the condensed water cannot
flow out of the tube and the outlet is blocked. Any further condensation
will then remain in the instrument. This may damage the instruments
electronics.
Figure 7 Condensation Leak outlet
3 Install the LAN interface board in the sampler (if required), see “Agilent
1100 Series Interface Board to general purposes” on page 198.
4 Remove the adhesive tape which covers the front door.
5 Remove the front door and remove the transport protection foam.
Preparation Locate bench space
Provide power connection
Unpack the Sampler and the Thermostat
Parts required Sampler and Thermostat
Power cord, for the other cables see below and “Cable Overview” on page 185
Chemstation and/or Control Module G1323B.
Condensation drain tube
Waste bottle