Page 5–10
UPLC-II™ System Manual
5.4 PC Setup for Communication
with the UPLC-II™
PC to UPLC-II™ communication is established;
1. Via front or rear Ethernet ports directly
through an Ethernet cable. (may use either
cross-over or straight-through cable, as it
automatically detects the cable)
2. Via rear Ethernet ports through a
router/switch over private Ethernet network.
3. Via front RS-232 port.
All require making some one-time settings on your
PC. The Ethernet port connection is the easiest to
set up and operates 100X faster than the RS-232
port. So when possible, this is the best port to use.
5.4.1 Ethernet Port – PC/UPLC-II™
Setup
Note: The front Ethernet port, although always
mounted on the front door, will only be operational
if you ordered the Ethernet option. This option is a
small auxiliary board that mounts on the
Transceiver board. See the Ethernet board section
in Chapter 2 for details.
The default UPLC-II™ IP address when shipped is
192.168.0.10 and can only be changed by accessing
the unit through its front panel keypad. The IP
address will need to be changed when putting the
UPLC-II™ on a corporate LAN to match up with
that system. Otherwise, if just accessing directly
with a laptop, without being on a corporate LAN,
then you can just use the default IP address.
5.4.1.1 Changing the UPLC-II™ Default IP
Address (when needed)
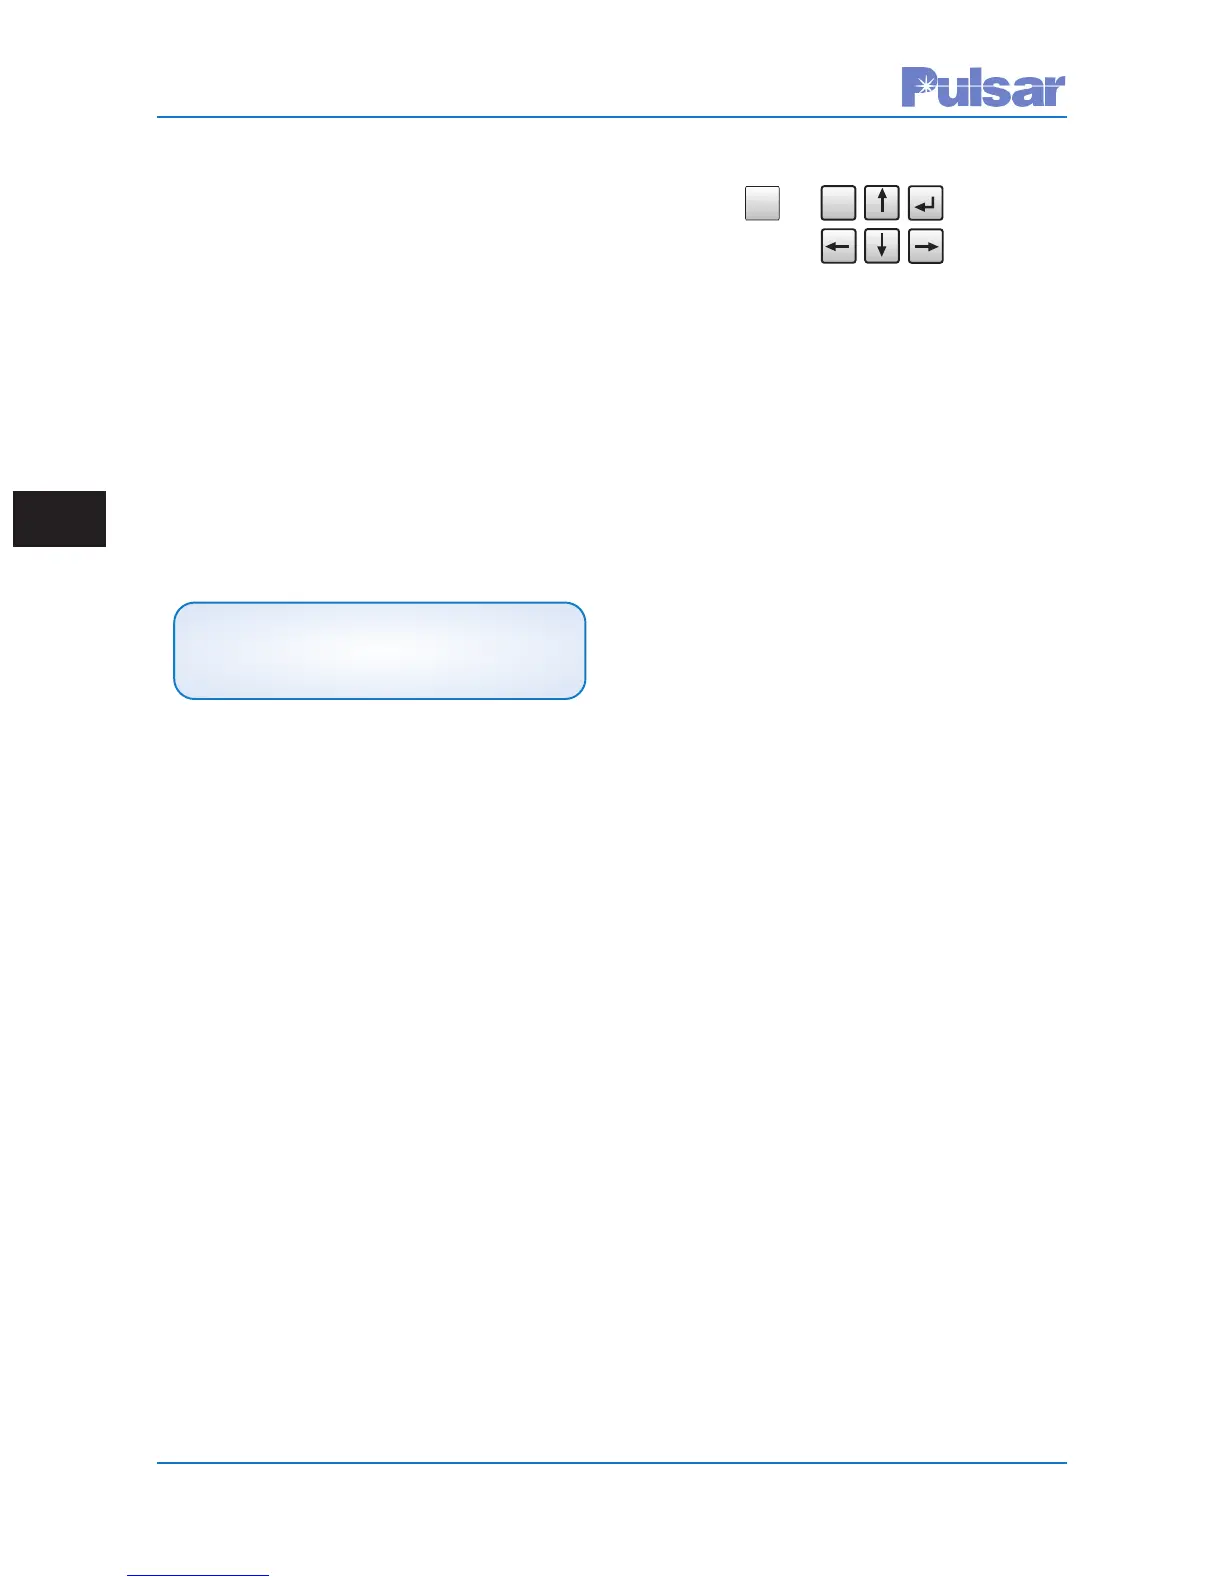
Note: On the front keypad, the SET button is the
same as an “enter” key and must be pressed after
entering a value usually. The ESC (Escape) key is
used to back out of menus.
1. Using the front keypad, press the SET but-
ton. You will be prompted for the password
(default is “4050”) to enter using the keypad.
(Also displayed below the prompt will be the
11-digit UPLC-II™ electronic catalog num-
ber.)
2. Press “2” = menu choice “Configure”.
3. Press “2” = menu choice “IP Address”.
4. Press the SET button and then it will allow
you to edit the IP address by entering the
four 3-digit number groups separated by
periods. Use the keypad numbers and for-
ward/back arrow scroll keys to modify as
needed. Press the SET button again to enter.
5. Scroll down to change the default Gateway
to match with the IP address with the last
digits of the gateway address usually being
“001”.
6. The Mask default of 255.255.255.0 should
normally not need to be changed.
7. After entering, press the ESC key to escape
out of the menu and to automatically save
the settings.
5.4.1.2 PC Setup – Direct Ethernet
Connection
A static IP address must be set up on your computer
to directly connect to the UPLC-II™ as all comput-
ers are by default set to automatically assign an IP
address. The IP address of your computer needs to
be manually assigned to be on the same subnet as
the UPLC-II™, but with a different IP address. For
example, if the UPLC-II™ has the IP address of
192.168.0.10 then your computer’s IP address can
be set for 192.168.0.9 or any other number not end-
ing in 10 with the same subnet. The procedure for
changing your computer’s IP address is dependent
on the type of computer operating system being
used. See Appendix B.
NOTE
The “PING” command is disabled in the
UPLC-II™. And can not be used.
ESC
00
TEST VIEW ALM
DISP ON
ACK ALM
S
ET
SET
 Loading...