Page 5–32
UPLC-II™ System Manual
nals must be calibrated in the same manner before
c
ontinuing. Also, the line tuners and line traps at all
line terminals must be tuned. The line tuner must be
tuned for minimum TX reflected power at the
appropriate TX frequency.
After the above steps are completed at all terminals,
the receivers may be calibrated. The transmitter at
the remote end of the line must be transmitting
guard in the case of an FSK channel type or keyed
on to the normal blocking level in the case of an
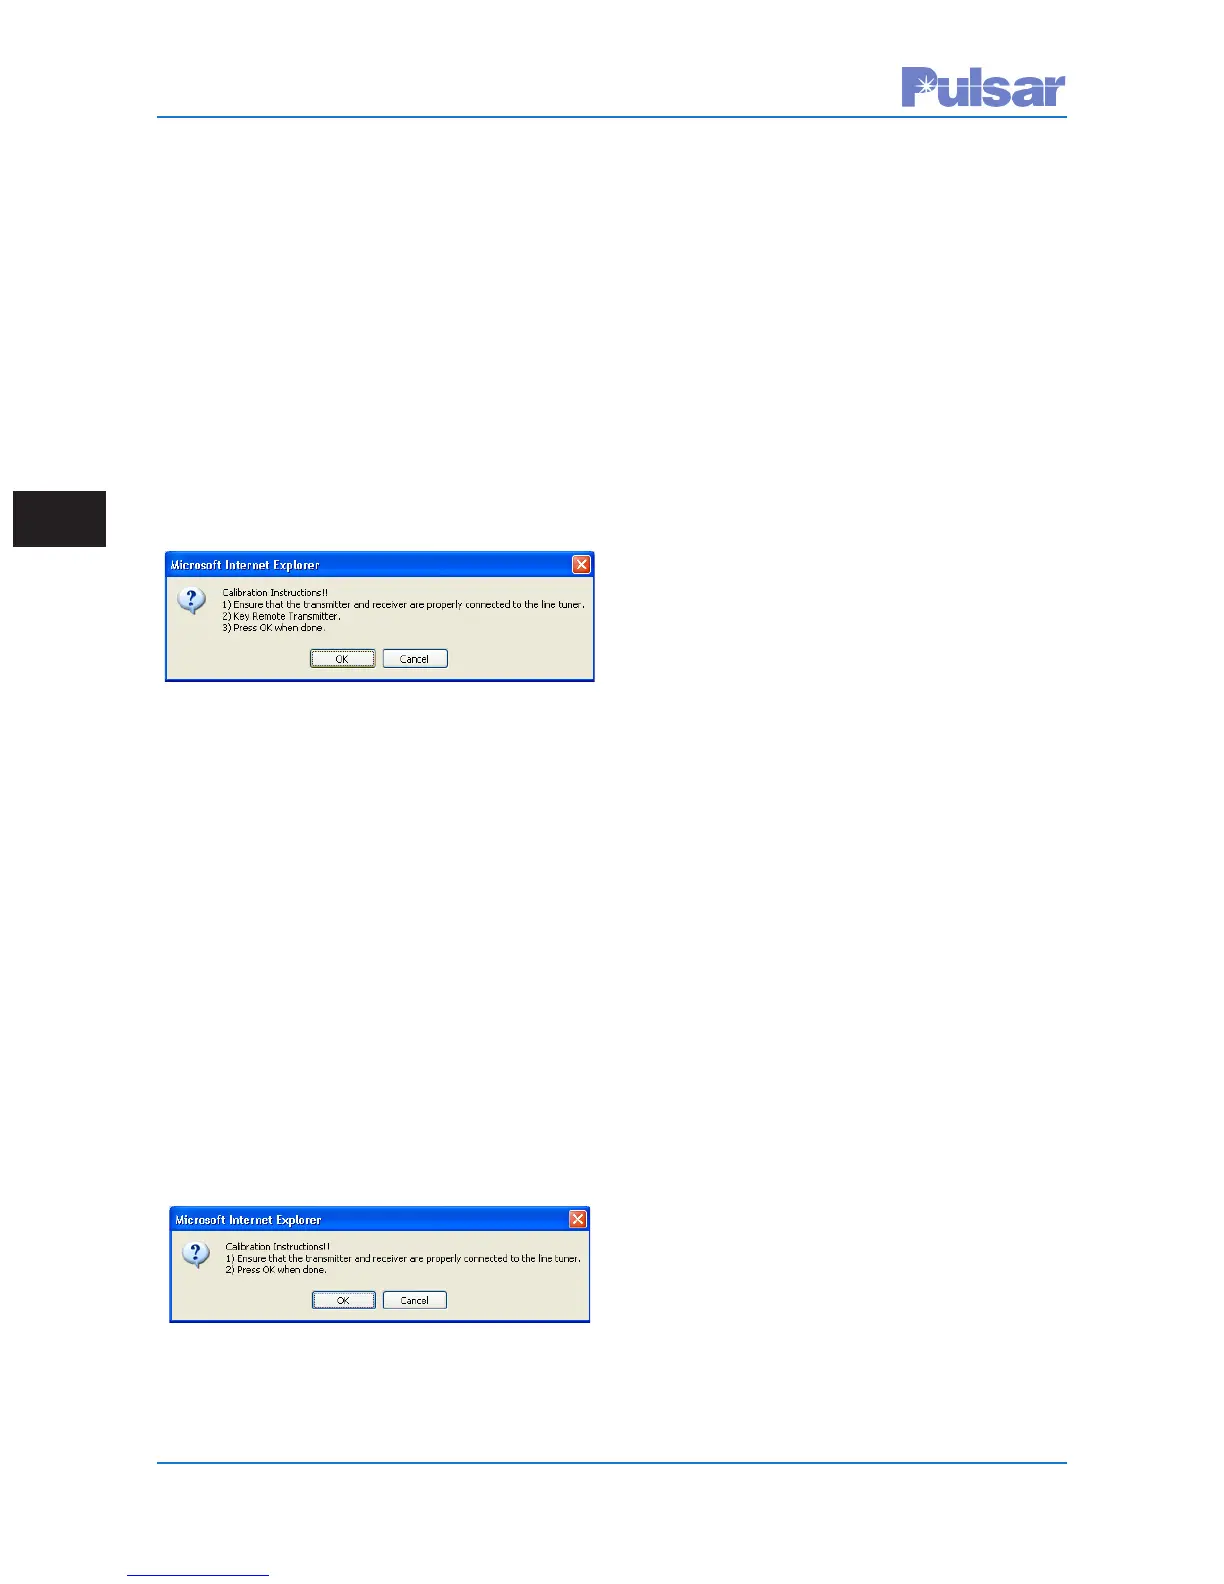
ON/OFF channel type. Now select the “Rx to
Remote Tx” button on the calibrate web page.
When this button is selected the following dialog
box will appear.
Calibration Instructions Dialog Box
If things are set up as instructed then click on the
OK button. The web page and the display on the
front panel will show the calibration progress. If the
channel type is FSK then this will complete the cal-
ibration of the UPLC-II™. If the channel type is
ON/OFF then one more step is needed to complete
the process. Figure 5–14 shows the calibration web
page for the ON/OFF channel type. Note that there
is one extra button on the calibration web page for
an ON/OFF channel type. This is the “Rx to Local
Tx” button. In an ON/OFF channel type, the receiv-
er must be calibrated to the signal it receives from
the remote transmitter and also the signal it sees
from the local transmitter, since both are on the
same frequency. To complete the calibration click
the “Rx to Local Tx” button. The remote transmit-
ter must be off. The following dialog box will pop
up.
Calibration Instructions Dialog Box
Click the OK button and the local TX will automat-
ically be keyed on. The web page and the display on
the front panel will show the RX calibration
p
rogress.
This completes the calibration process for the
UPLC-II™. With the settings made and the unit cal-
ibrated you are now ready to go through your nor-
mal end-to-end testing of the system to ready it for
service.
5.9 SOE Log
See Fig. 5–16. The Sequence of Events (SOE) logs
will show the history of the events that have
occurred to the unit. Many different events are
time-tagged and listed in the SOE Log. Appendix E
lists the events per the configuration. All the events
in the log, except for one, are time tagged to the
nearest 1ms. The “Power off” event is time tagged
to the nearest 1 second. The unit can store as many
as 4096 events. After 4096 events are stored then
the oldest ones will be erased as new ones are
added. When the web page is first opened you will
see the 15 most current events. You can obtain older
events by clicking on the “Next” button. When you
click the Next button you will be presented with the
next oldest 15 events. If you click the “Back” but-
ton you will be presented with the next 15 later (in
time) events. Thus, by using the Next and Back but-
tons you can scroll through the events 15 events at
a time. A quick way to get to the oldest set of 15
events is to click the “Bottom” button, and in the
same fashion you can go to the latest set of 15
events by clicking on the “Top” button.
You may also filter the events if you wish. By plac-
ing your cursor over the filter events at the top of
the web page, you will get a pull down menu as
shown in Figure 5–16. You may filter by Event
Number Date/Time or Types (of events). There is
also a “Clear All Filters” command on this drop
down list. When you set up a filter it will be remem-
bered when you display events until it is cleared. So
it is important to remember to clear event filters
when you are done. That way the next person
accessing the unit will be able to see all events.
The quickest way to view all SOEs is to download
the list of events to a comma-delimited file (.csv)
that can be used in most any spreadsheet applica-
tion. If a filter is in place at the time of the down-
load then that filter is used to download only those
 Loading...