Installation
- 7 -
Connections
1. Remove all the plastic packaging from
the
e-m@iler.
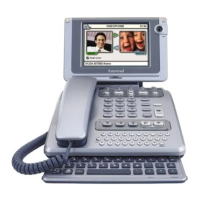
2. The e-m@iler is supplied with the
screen display laid flat. Once you have
unpacked the unit, tilt the display up to
a suitable position. During use, you can
adjust this position to achieve the
optimum viewing angle.
3. Place the handset into position.
4. The trailing wire from the back of the e-m@iler connects to your
telephone line – plug it into your phone socket on the wall.
♦ Alternatively, if you have a fax machine, leave the fax machine plugged into your
phone socket on the wall, and plug the
e-m@iler into the phone socket on the fax
machine itself. (Only fax machines that include a phone socket are usable with
the
e-m@iler.)
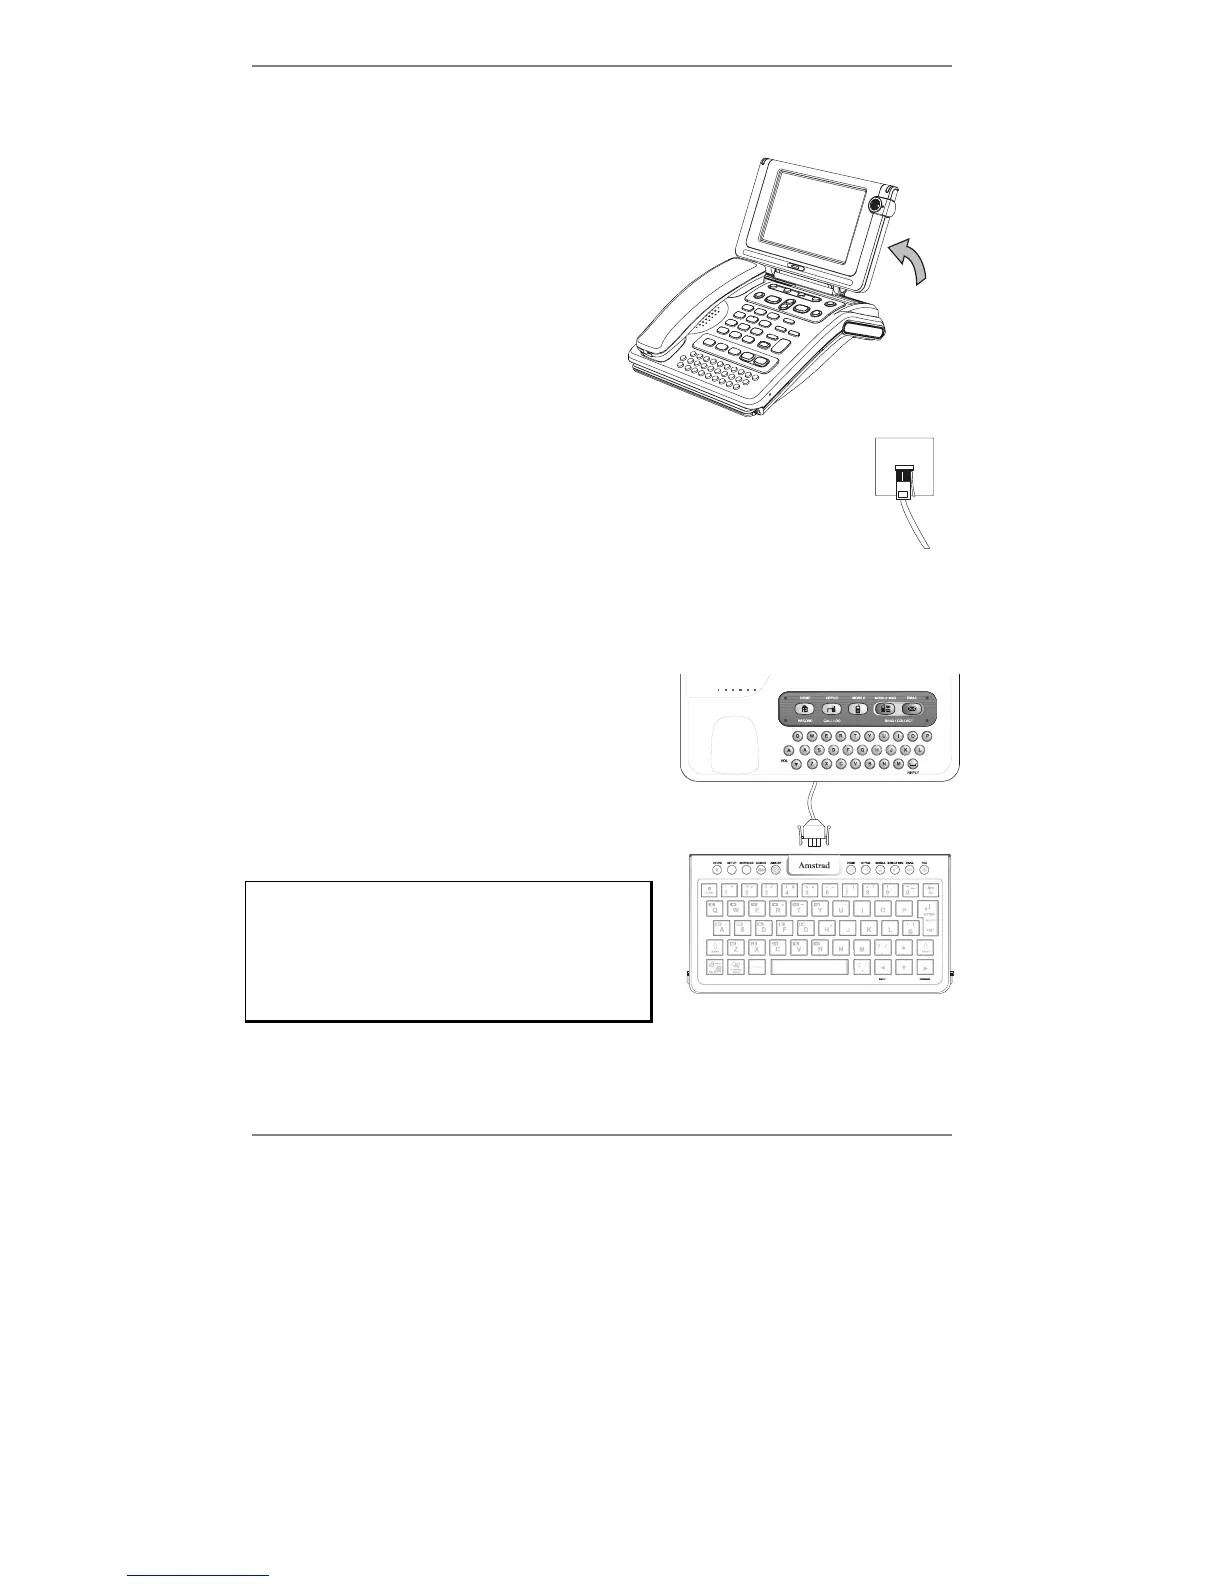
5. Slide the keyboard out from under the front
of the
e-m@iler and carefully remove its
plastic packaging. Note the keyboard
comes ready-connected to the e-m@iler.
The GamePad should be fitted between the
e-m@iler and the keyboard. If you wish to
connect the GamePad, first unplug the
keyboard (see right):
Note, to remove the keyboard plug, squeeze
together its outer tabs and gently pull out
the plug. Before reconnecting the keyboard
plug, always make sure that its central lug
is face up.
Never force the plug into the keyboard.