2.2 Power Connection
2-5
2.2 Power Connection
This section describes the procedures for supplying power.
2.2.1 Power Requirements
For normal operation of the instrument, observe the power voltage range
described below.
Power source Voltage range Frequency
100 Vac system 100 to 120 V 50 to 60 Hz
200 Vac system 200 to 240 V 50 to 60 Hz
Vac-system changeover is automatically made between 100 Vac and 200
Vac.
CAUTION
Supplying power exceeding the above range may result in
electrical shock, fire, failure, or malfunction.
2.2.2 Connecting the Power Cord
Check that the main power switch on the front panel is turned off
(switched to the (O) side).
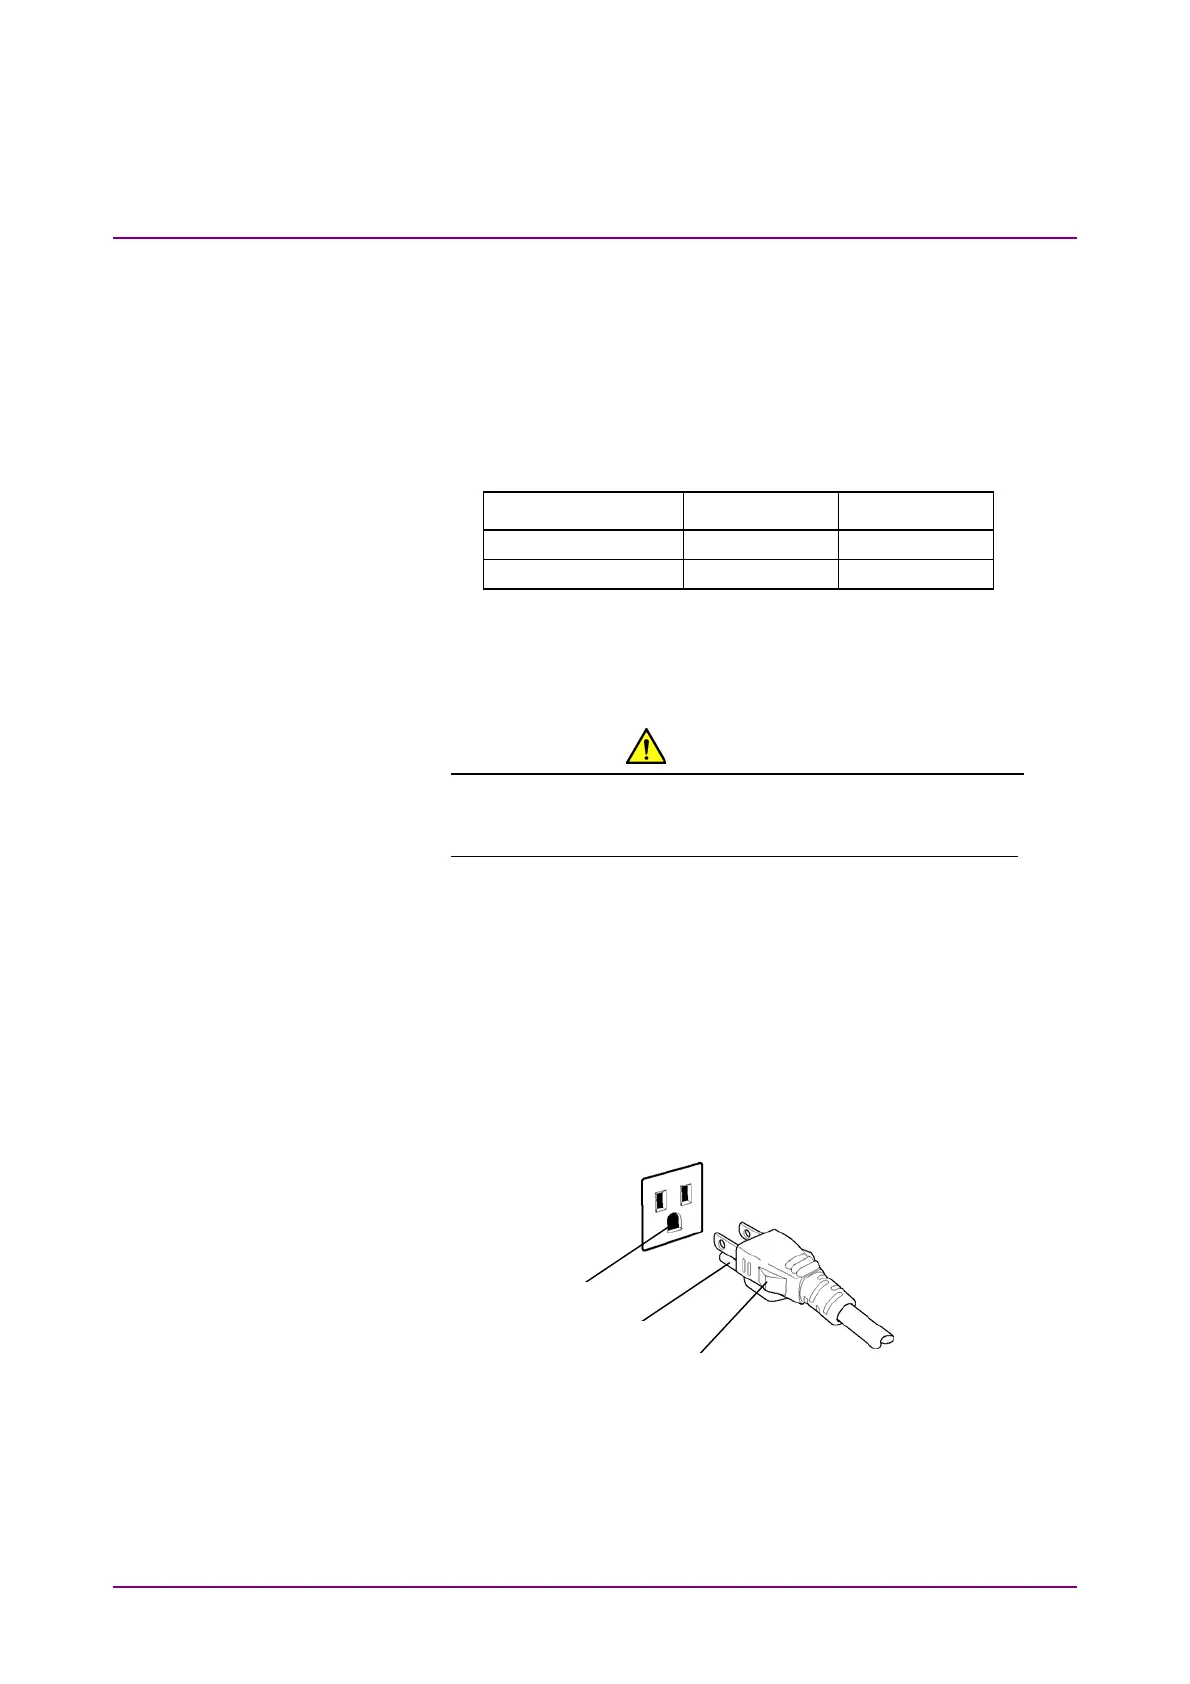
Insert the power plug into an outlet, and connect the other end to the
power inlet on the rear panel. To ensure that the instrument is
grounded, always use the supplied 3-pin power cord, and insert the plug
into an outlet with a ground terminal.
Ground hole
3-pin power cord
Ground pin
Plug