We’ll build a system that Tweets a message when the temperature in your
working room or office exceeds a certain threshold—32 degrees Celsius (90
degrees Fahrenheit). Build the temperature sensor example from Increasing
Precision Using a Temperature Sensor, on page 86, again (try to do it without
looking at the circuit) and upload the following sketch to your Arduino:
Ethernet/TwitterTemperature/TwitterTemperature.ino
#define CELSIUS
Line 1
const unsigned int TEMP_SENSOR_PIN = 0;
-
const unsigned int BAUD_RATE = 9600;
-
const float SUPPLY_VOLTAGE = 5.0;
-
void setup() {
5
Serial.begin(BAUD_RATE);
-
}
-
-
void loop() {
-
const int sensor_voltage = analogRead(TEMP_SENSOR_PIN);
10
const float voltage = sensor_voltage * SUPPLY_VOLTAGE / 1024;
-
const float celsius = (voltage * 1000 - 500) / 10;
-
#ifdef CELSIUS
-
Serial.print(celsius);
-
Serial.println(" C");
15
#else
-
Serial.print(9.0 / 5.0 * celsius + 32.0);
-
Serial.println(" F");
-
#endif
-
delay(5000);
20
}
-
This is nearly the same sketch we’ve used before. Keep in mind that you have
to set
SUPPLY_VOLTAGE
to
3.3
in line 4 if you’re using an Arduino that runs with
3.3V instead of 5V.
We support both Celsius and Fahrenheit values now, and you can use a
preprocessor constant to control which unit should be used. If you set the
constant
CELSIUS
in the first line, the application outputs the temperature in
degree Celsius. If you remove the first line or turn it into a comment line, the
application will use Fahrenheit.
To change the application’s behavior, we use the
#ifdef
preprocessor directive.
It checks whether a certain preprocessor constant has been set, and then it
report erratum • discuss
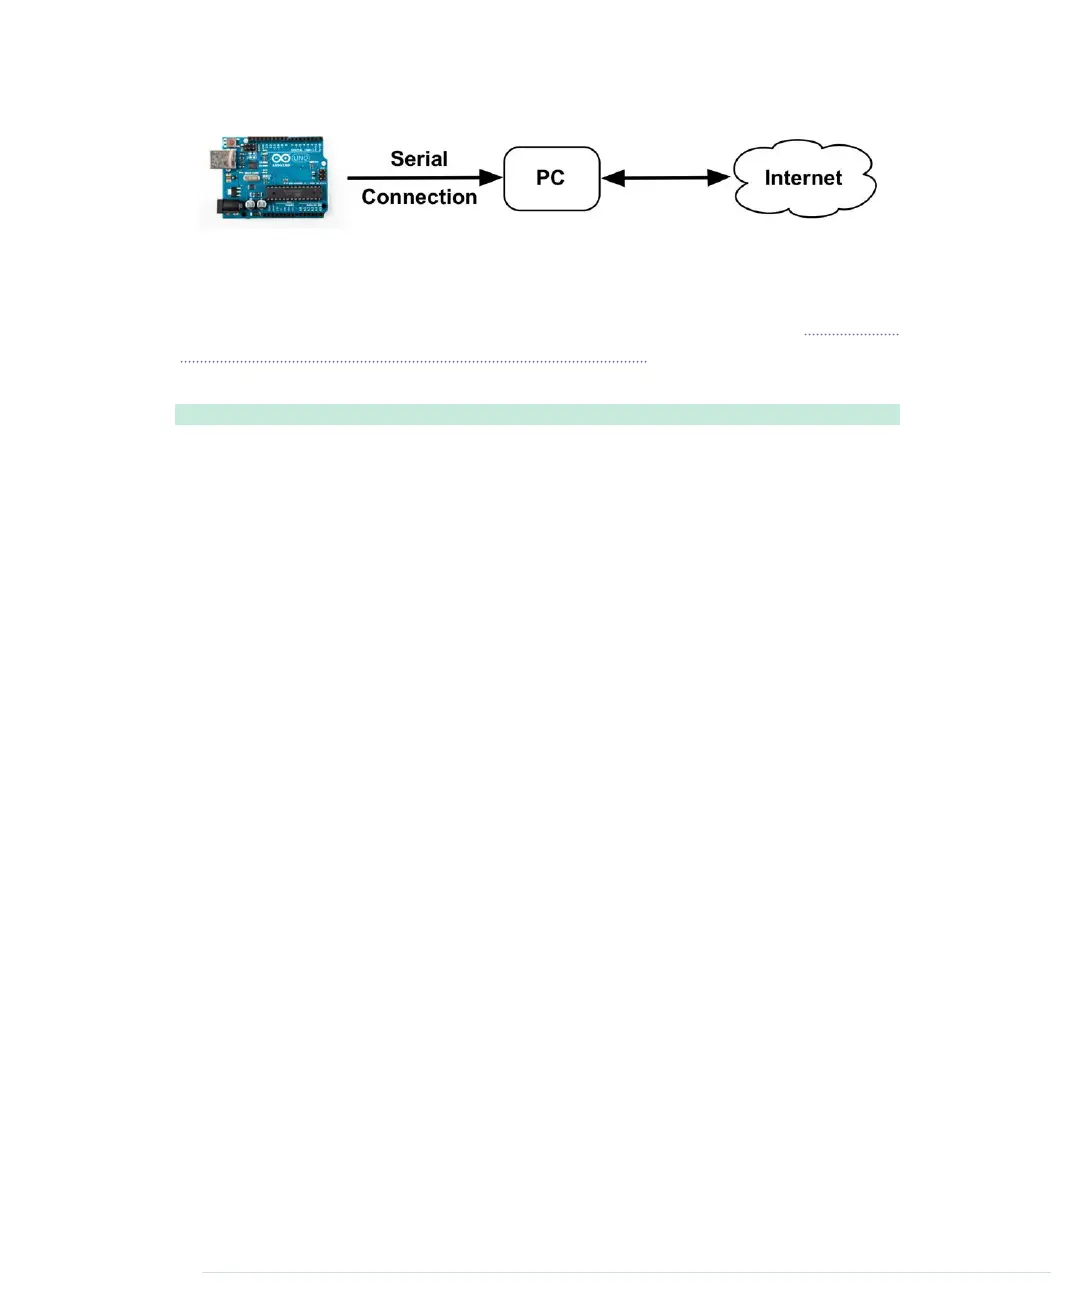
Using Your PC to Transfer Sensor Data to the Internet • 165
www.it-ebooks.info

 Loading...


