variable, and when we encounter a newline character, we also set the
input_available
flag to true. This way, the
loop
function can determine whether a
new command has been received and which command it was.
In
loop
, we wait for commands. When a new command arrives, we check
whether it’s supported. If it is supported, we send the corresponding control
code. Otherwise, we print an error message.
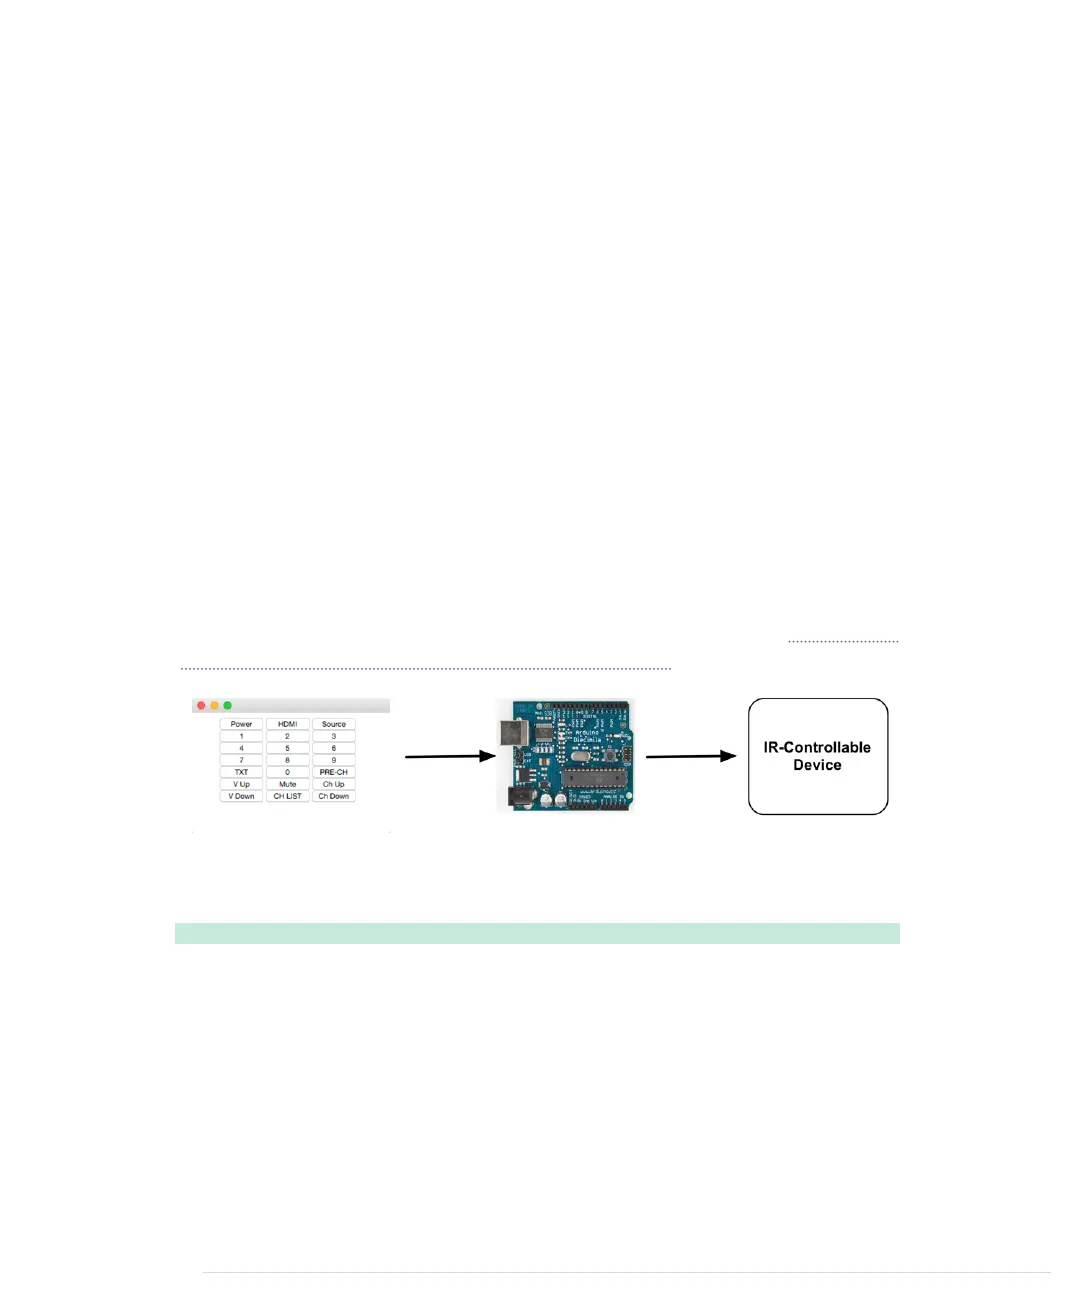
Compile and upload the sketch, and you can control the TV of your choice—a
Samsung TV, in this example—using any serial monitor, which is quite cool
already. The interface is still awkward for less geeky people, so in the next
section, you’ll learn how to create a more user-friendly interface.
Controlling Infrared Devices Remotely with Your Browser
We’ve already created several projects that you can control using a serial
monitor. For programmers, that’s a nice and convenient interface, but as
soon as you want to present your projects to your nontechnical friends, you’d
better have something more user-friendly and colorful.
Now we’ll implement a Google Chrome app to create a nice user interface for
our cloned remote control. Before you proceed, you should read Appendix 4,
Controlling the Arduino with a Browser, on page 267, if you haven’t already.
The Chrome app’s
manifest.json
file contains no surprises. It defines the appli-
cation name and grants the application access to the serial port.
RemoteControl/TvRemoteUI/manifest.json
{
"manifest_version": 2,
"name": "TV Remote Emulator",
"version": "1",
"permissions": [ "serial" ],
"app": {
"background": {
"scripts": ["background.js"]
}
},
"minimum_chrome_version": "33"
}
Chapter 12. Creating Your Own Universal Remote Control • 212
report erratum • discuss
www.it-ebooks.info

 Loading...


