EasyManua.ls Logo

Arduino uno User Manual

Arduino uno
311 pages
To Next Page IconTo Next Page
To Previous Page IconTo Previous Page
Page #219 background image
many purposes, such as controlling devices in a typical household, it’s an
excellent choice.
But infrared also has some drawbacks. It doesn’t work through walls or doors,
and the distance between the remote control and the operated device is fairly
limited. Even more importantly, the infrared signal is subject to interference
from other light sources.
To keep possible distortions caused by other light sources to a minimum, the
infrared signal has to be modulated. That means you turn the LED on and
off at a certain frequency, usually somewhere between 36 kHz and 40 kHz.
That’s one of the problems that complicates building a robust infrared remote
control. The biggest problem is that vendors have invented countless incom-
patible protocols. They all use different frequencies, and they all interpret
data differently. Some interpret “light on” as a 1 bit, while others treat it as
0, and they all define their own commands that have different lengths. So, to
work successfully with different remote control protocols, you need to know
how to obtain all of these properties for a specific remote control.
To get this information, we’ll take a pragmatic approach. In the next two
sections, you’ll learn how to read infrared signals from a commercial-grade
remote control, and you’ll also learn how to reproduce them.
Grabbing Remote Control Codes
Because remote controls from different vendors rarely use the same protocol
or even the same commands, before we start sending remote control codes
ourselves, we should know what we have to send to achieve a certain result.
We have to get as much information as possible about the remote control
we’d like to emulate.
We have two options for obtaining remote control codes for a specific device:
we could use a remote control database on the Internet, such as the Linux
Infrared Remote Control project,
1
or we could use an infrared receiver to read
them directly from our device’s remote. We’ll choose the latter approach
because you can learn a lot from it.
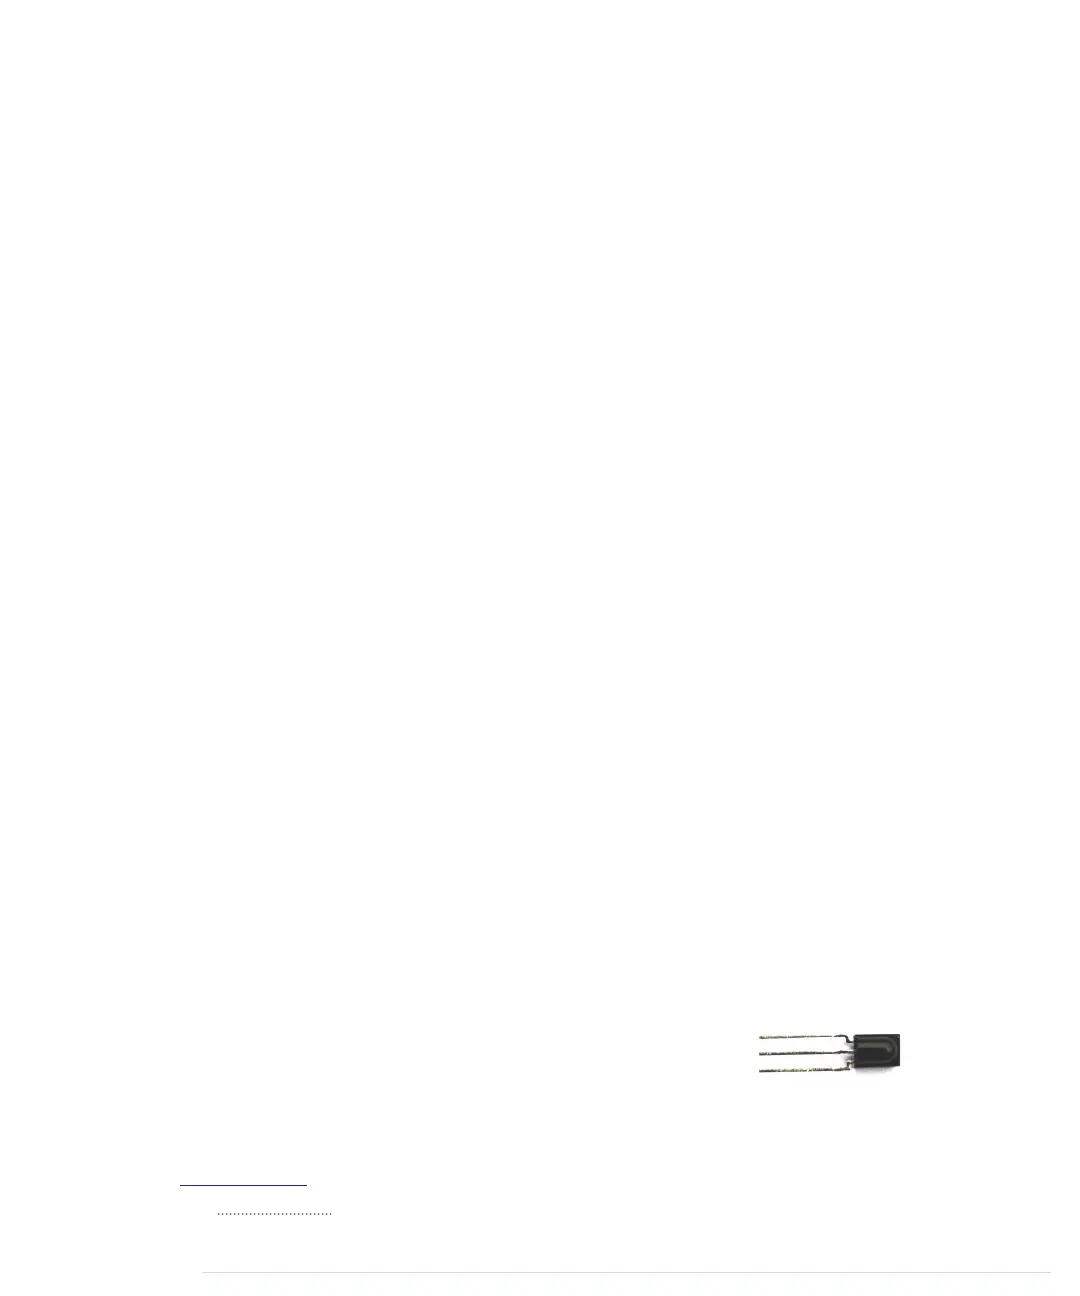
Infrared receivers are fairly complex on the inside, but they’re
easy to use. They automatically observe the infrared light
spectrum at a certain frequency (usually between 36 kHz
and 40 kHz), and they report their observations using a single pin. So, when
1.
http://www.lirc.org/
report erratum • discuss
Grabbing Remote Control Codes • 203
www.it-ebooks.info

Table of Contents

Other manuals for Arduino uno

Question and Answer IconNeed help?

Do you have a question about the Arduino uno and is the answer not in the manual?

Arduino uno Specifications

General IconGeneral
Form factorArduino
CertificationRoHS, FC, CE
Processor model-
Processor frequency- MHz
Microcontroller modelATmega328
Microcontroller frequency16 MHz
DC input voltage7-12 V
Operating voltage5 V
DC current per I/O pin40 mA
Flash memory0.032 MB
Maximum internal memory- GB
SRAM (Static Random Access Memory)2 KB
EEPROM (Electrically Erasable Programmable Read-Only Memory)1 KB
Wi-FiNo
Number of analog I/O pins6
Number of digital I/O pins14
Weight and Dimensions IconWeight and Dimensions
Board dimensions53.4 x 68.6 mm

Summary

Arduino Uno and the Arduino Platform

The Parts You Need

Chapter 1: Welcome to the Arduino

Installing the Arduino IDE

Provides step-by-step instructions for installing the Arduino Integrated Development Environment.

Hello, World!

Introduces the first project: making an LED blink using the Arduino.

Compiling and Uploading Programs

Explains how to compile and upload sketches to the Arduino board.

Chapter 2: Creating Bigger Projects with the Arduino

Changing Preferences

Explains how to customize Arduino IDE settings for better workflow.

Using Serial Ports

Explains serial communication for data exchange between Arduino and computer.

Chapter 3: Building Binary Dice

Working with Breadboards

Explains how breadboards work and how to connect components.

First Version of a Binary Die

Implements the first version of a binary die using three LEDs.

Working with Buttons

Details how pushbuttons work and how to connect them to the Arduino.

Building a Dice Game

Completes the dice project by adding a guess button and game logic.

Chapter 4: Building a Morse Code Generator Library

Building a Morse Code Generator

Starts the implementation of the Telegraph C++ class.

Fleshing Out the Morse Code Generator’s Interface

Defines the Telegraph class interface and Morse code data arrays.

Installing and Using the Telegraph Class

Guides on integrating the custom Telegraph library into Arduino IDE.

Chapter 5: Sensing the World Around Us

Measuring Distances with an Ultrasonic Sensor

Introduces ultrasonic sensors and builds a distance measuring device.

Increasing Precision Using a Temperature Sensor

Integrates a temperature sensor to refine distance measurements.

Chapter 6: Building a Motion-Sensing Game Controller

Wiring Up the Accelerometer

Details connecting the ADXL335 accelerometer to the Arduino.

Bringing Your Accelerometer to Life

Reads and outputs raw accelerometer data for three axes.

Building Your Own Game Controller

Integrates a pushbutton and refined accelerometer data for a game controller.

Chapter 7: Writing a Game for the Motion-Sensing Game Controller

Writing a GameController Class

Creates a JavaScript class for convenient access to Arduino motion data.

Creating the Game

Implements a Breakout clone using JavaScript and the motion controller.

Chapter 8: Generating Video Signals with an Arduino

Building a Digital-to-Analog Converter (DAC)

Details building a binary-weighted DAC for video signal generation.

Connecting the Arduino to Your TV Set

Describes modifying an RCA cable to connect to the Arduino.

Using the TVout Library

Introduces the TVout library for generating video signals on a TV.

Building a TV Thermometer

Creates a graphical thermometer display on a TV screen using sensors.

Chapter 9: Tinkering with the Wii Nunchuk

Wiring a Wii Nunchuk

Details wiring the Nunchuk controller to Arduino analog pins.

Building a Nunchuk Class

Creates a C++ class for interfacing with the Nunchuk controller.

Using Our Nunchuk Class

Demonstrates reading Nunchuk data (joystick, accelerometer, buttons).

Chapter 10: Networking with Arduino

Chapter 11: Creating a Burglar Alarm with Email Notification

Chapter 12: Creating Your Own Universal Remote Control

Chapter 13: Controlling Motors with Arduino

What You Need

Lists components for motor control: servo motor, wires, Arduino.

What If It Doesn’t Work?

Troubleshooting motor control: power consumption, weight, adjustments.

APPENDIX 1: Electronics and Soldering Basics

APPENDIX 2: Advanced Arduino Programming

APPENDIX 3: Advanced Serial Programming

APPENDIX 4: Controlling the Arduino with a Browser

Related product manuals