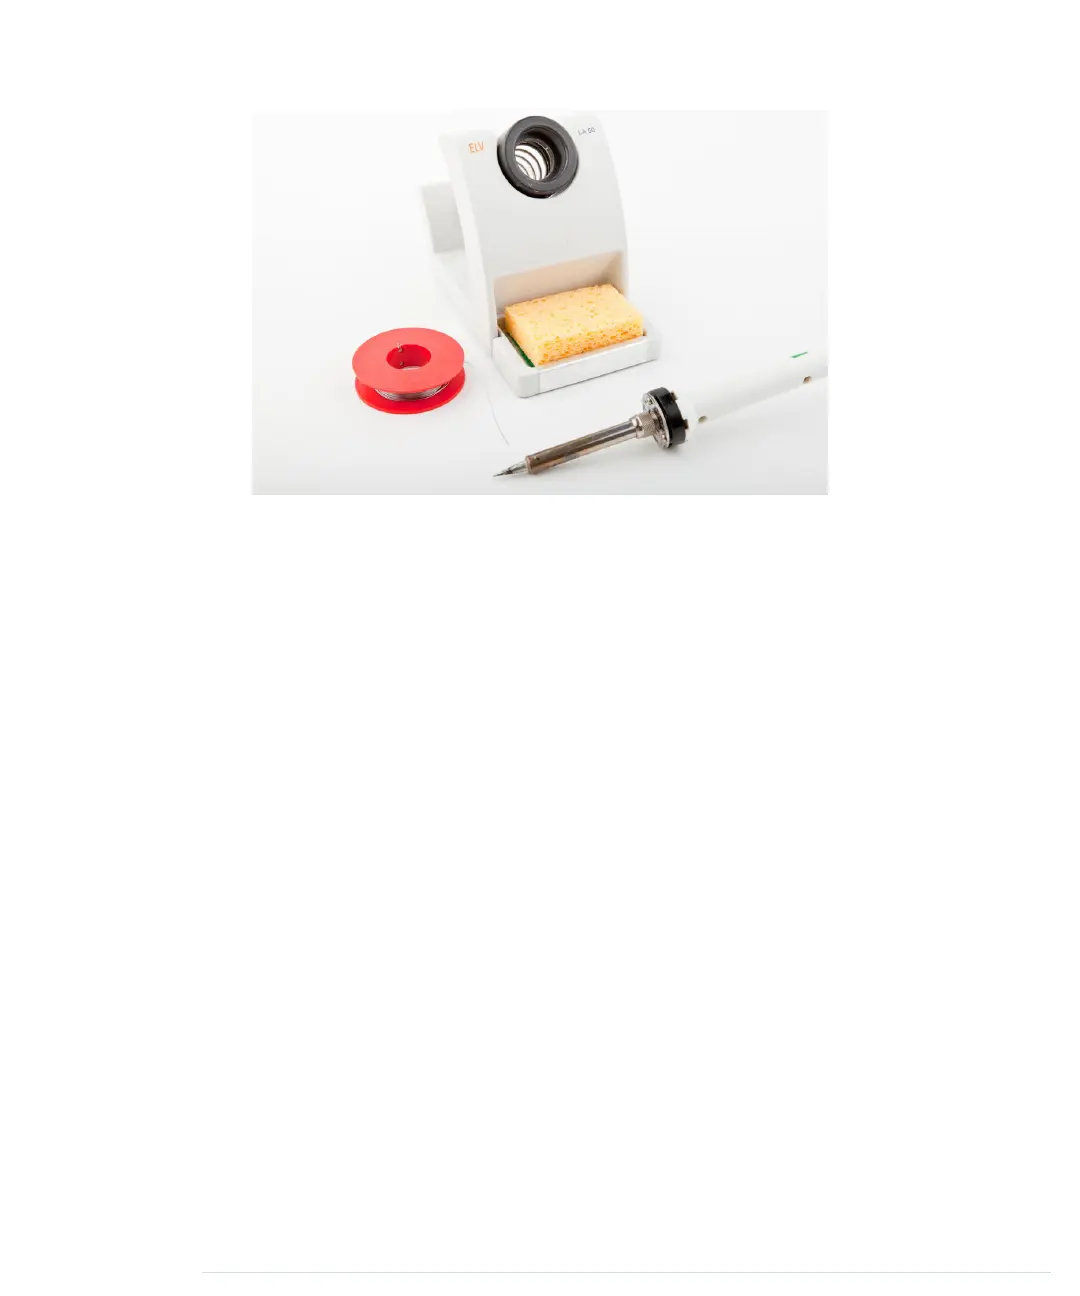
• A 25–30W soldering iron with a tip (preferably 1/16-inch) and a soldering
stand.
• A standard 60/40 solder (rosin-core) spool for electronics work. It should
have a 0.031-inch diameter.
• A sponge.
Before you start to solder, prepare your work area. Make sure you can easily
access all your tools and that you have something to protect your work area
from drops of solder. Wearing safety glasses is always a good idea! Even
seemingly simple and harmless activities such as cutting wires can be very
dangerous! Also make sure that your room has good ventilation, because the
solder fumes aren’t good for your health.
Bring all parts into the correct position: attach the pin header to the breakout
board, and make sure you can’t accidentally move it while soldering.
People get very creative when it comes to locking parts into a certain position.
But you have to be careful—don’t use flammable materials to bring parts
together. You also shouldn’t use parts that distribute heat very well, especially
if they’re in touch with other parts. Duct tape might work in some cases, but
be careful with it, too.
Try to find a piece of wood or something similar that has the right height: the
height of the pin headers. Then you can put the breakout board on top of it
and attach the pin headers. If you’re planning to solder more often and build
some electronics projects, you should always look for these little tools that
make your life easier.
Appendix 1. Electronics and Soldering Basics • 244
report erratum • discuss
www.it-ebooks.info

 Loading...


