TD 92675GB
10 January 2011/ Ver. A
Configuration Manual
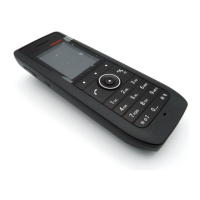
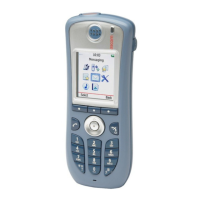
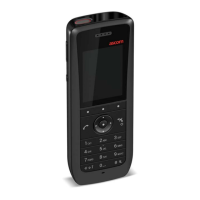
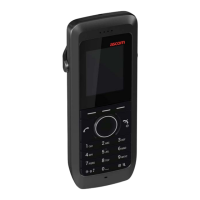
Ascom i62 VoWiFi Handset
12
7 Repeat step 3 – 6 for all handsets.
4.2 Installation without Central Device Management (IMS2)
In a small VoWiFi system, the administration can be handled using only the WinPDM.
The synchronization is in this case not handled automatically by the system when a
handset’s parameters are changed in the WinPDM. When the parameters have been
changed in WinPDM, each handset must be placed in the DP1 cradle connected to the
administrator’s computer in order to synchronize the parameters with the handset.
1Open the WinPDM.
2In the Numbers tab, click "New". The New numbers window is opened.
3In the Device Type and Parameter version drop-down lists, select the matching
device type and the parameter version for the handset to be use, respectively.
4In the Prefix field, enter the numbers’ prefix (if needed).
5 Create a range of numbers by selecting the "Range" option. Enter the start call
number and the end call number in the fields, respectively.
6Click “OK”.
7 Create a network settings template (see 4.4.1 Create a template on page 13) with
the following network parameters:
• Network settings
1
(located under Network > Network A, B, C, or D)
8 Create another template (see 4.4.1 Create a template on page 13) with the common
handset settings applicable to all handsets (exclude the network parameters and
used security settings). Example of parameters settings:
• VoIP settings
2
(located under VOIP)
• Software TFTP IP address (if any) (located under Device > General)
• Syslog settings
3
(if any) (located under Device > General)
In addition, settings for hiding menu items in the display, certain level of ring signal
and vibrators etc can also be configured.
9 Apply the network settings template to the handset, see 4.4.2 Apply a Template to a
Handset with a Number on page 14.
10 Apply the common settings template to the handset, see 4.4.2 Apply a Template to a
Handset with a Number on page 14.
11 Put the handset in the DP1 cradle.
12 In the Device Wizard window, select "Associate with number" and press "OK".
13 Select the handset to associate with. Press "OK".
The number and parameter settings saved in the WinPDM will now be synchronized with the
handset. In addition, the handset’s Device ID will also be synchronized with the number in
the WinPDM.
If certificates must be used to access a VoWiFi system, also perform the steps 14 - 19.
14 In the Numbers tab, right-click the handset’s number and select "Edit certificates". An
Edit certificate window opens.
15 In the Root tab and Client tab, click "Edit" and select the certificates to import. Click
"Close".
1. All required system settings for the WLAN. For example SSID and Security mode.
2.VoIP protocol, Gatekeeper IP address or SIP proxy IP address used to access the PBX.
3.The parameter "Syslog" must be enabled in order to set the "Syslog IP address".