TD 92675GB
10 January 2011/ Ver. A
Configuration Manual
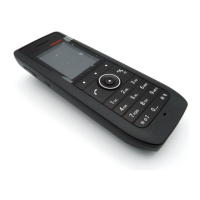
Ascom i62 VoWiFi Handset
27
3 In the Number menu, select "Rename...". Alternatively, right-click the handset and
select “Rename...” from the menu that appears.
4 In the New prefix field, enter the new prefix (if needed).
5 In the New number field, enter the new number.
Note: Make sure that the new number is not existing in another system. If several handsets
have the same number, their settings will overwrite each other when synchronizing with
IMS2/WinPDM.
6Click "OK".
The new number will be synchronized with the handset when it is connected to WinPDM or
IMS2.
5.4 Update Parameters via IMS2
This section describes the general procedure on how to change/update parameters using
the IMS2. The update starts when the handset is idle and will not interrupt an ongoing call.
Note: Only select the parameters that are changed, if all parameters are selected, the
system performance decreases.
1Open the IMS2.
2 Create a new template with only the parameters that shall be changed.
3 Select the numbers that should be updated and apply the template.
The handsets are automatically updated from the IMS2 and might be restarted
depending of which parameters that are changed.
5.5 Perform a Security Upgrade via IMS2
This section describes how to perform an update/change of the WLAN password/
authentication using the IMS2.
IMPORTANT: Change settings in the handset before change settings in the AP. Else,
synchronisation of new settings to the handset settings cannot be performed.
Tip: Leave one access point with the old configuration to allow switched off handsets to
receive the updates when they are turned on. Bring the handset to that APs coverage area.
1Open the IMS2.
2 Create a new template with the new security settings.
•Security mode
1
3 Apply the new template to the handsets.
The handsets are automatically updated from the IMS2 and restarted.
Note: At this time, the handsets have no access to the WLAN system.
4 Change the security settings for the access points.
The handsets are now able to access the WLAN.
1. All required settings for the WLAN. For example User name, Password, Regulatory domain etc.