8. Light processor assembly
1
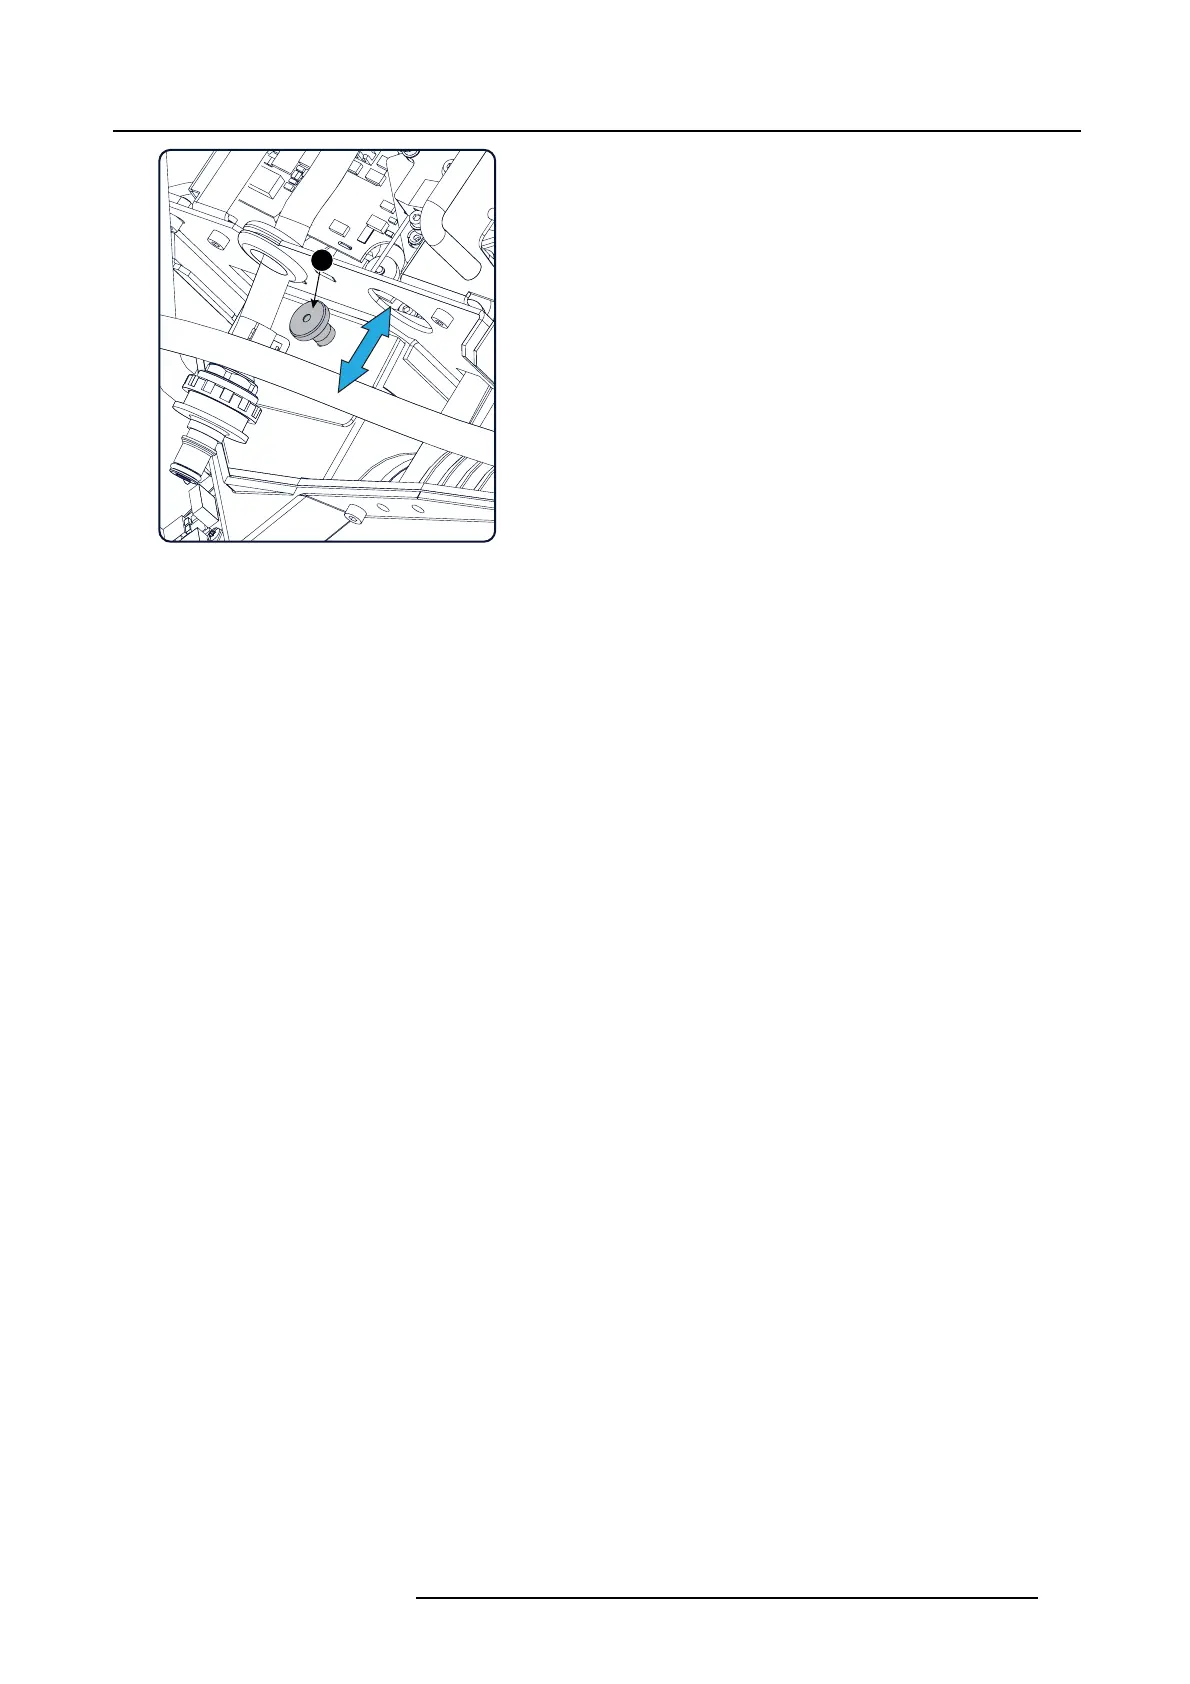
Image 8-25
Notch filter, adjustment button
2. Start up the projector and display an uncorrected red test pattern.
Tip: See user guide of the Communicator software for detail instructions abou t color calibration
3. Measure the X and Y values of the projected red test pattern. Use for that a colorimeter. Make sure that the red test pattern is
unco rre cted.
4. Slightly move the adjustment bu tton up or down until the measured X and Y values are within the required specs. (See above)
Note: The adjustment range of the notch filter is limited. For most projec
tors the mid position gives also the most optimal result.
5. Fasten the t hum b screw again (reference 1), to secure the position of the notch filter. M ake sure that the position of the notch
filter r emains unchanged w hile fastening the thumb screw.
R5905043 DP2K-12C/11CX 19/02/2018 157