219
20 08 CONTESSA
CHASSIS INFORMATION — 10
Prior to Leveling
Chassis battery voltage must be at least
12 Volts DC.
Select a level site if possible, or park
the motorhome with the front facing
downhill.
Apply the parking brake. Place the
transmission in Neutral.
(Optional) Lower the air suspension (if
applicable) by stepping on the brake
several times until system air pressure is
below 60 psi. With the ignition on, push
and hold the Air Dump switch to lower
the suspension. This reduces the amount
the jack will need to extend before
making contact with the surface.
CAUTION:
Survey the area around and under
the motorhome for obstruction
that can damage the motorhome or
undercarriage components before
lowering the air suspension. Damage to
the mud flap may occur if it is located
over a raised area.
CAUTION:
Ensure potential jack contact points are
clear of obstruction or depression before
operation. Keep all people clear of the
motorhome during the leveling system
operation. Never expose hands or other
parts of the body near hydraulic leaks.
Hydraulic lines are under high pressure.
Oil leaks may cut and penetrate the skin
causing serious injury.
CAUTION:
Hot asphalt, gravel or dirt may not
support the weight that is placed on the
hydraulic jack pads. Place thick plywood
under the jack pads to help disperse
the weight. If blocking up a rear jack
pad to gain added clearance when the
motorhome is on a slope, place a wheel
chock at the opposite set of rear wheels to
prevent the motorhome from rolling.
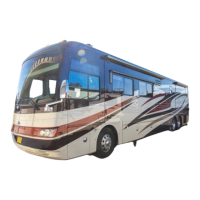
NOTE:
If additional height or
surface support is needed,
construct a 1' x 1' wooden
block made from two pieces
of ¾" plywood for a total
thickness of 1½". Drill hole
in corner and use awning
wand to slide wooden block
under jack pad.
Manual Leveling
The manual leveling mode can be used for
leveling or stabilization preference. An indicator
lamp adjacent to an extend switch indicates that
jack position(s) is low.
Manual Leveling Operation:
Follow the instructions in Prior to Leveling.
Turn the ignition switch to On or ACC
position.
Press the ON/OFF button to turn the
system on.
Press and hold the MAN (manual) button
for ve seconds. Once the indicator lamp
below the MAN button illuminates, the
system is ready.
CAUTION:
Prior to leveling the motorhome it is
important that all jacks be in contact
with the ground to stabilize and support
the frame. No single jack should be
solely used to level the motorhome.
Applying an improper leveling process
can cause excess torsion stress and/or
twisting of the chassis, frame and body,
resulting in damage to the windshield or
an entry door malfunction.
Extend the front jack(s) until contact
with the surface is made. Extend an
additional ½". This allows the front
jack(s) to act as a pivot point.
Extend the jack position according to the
indicator lamp. Example: If the indicator
lamp is lit under Jack Extend Switch - Rear,
the rear of the motorhome is low. Press
and hold the Rear button. Both rear jacks
will extend. Once level, the system will
automatically stop. The Power Gear
Level Light will illuminate. Release
the switch. Pressing Right or Left will
extend a single rear jack accordingly.
Turn off the remote panel.
Turn off the Ignition switch.
090368
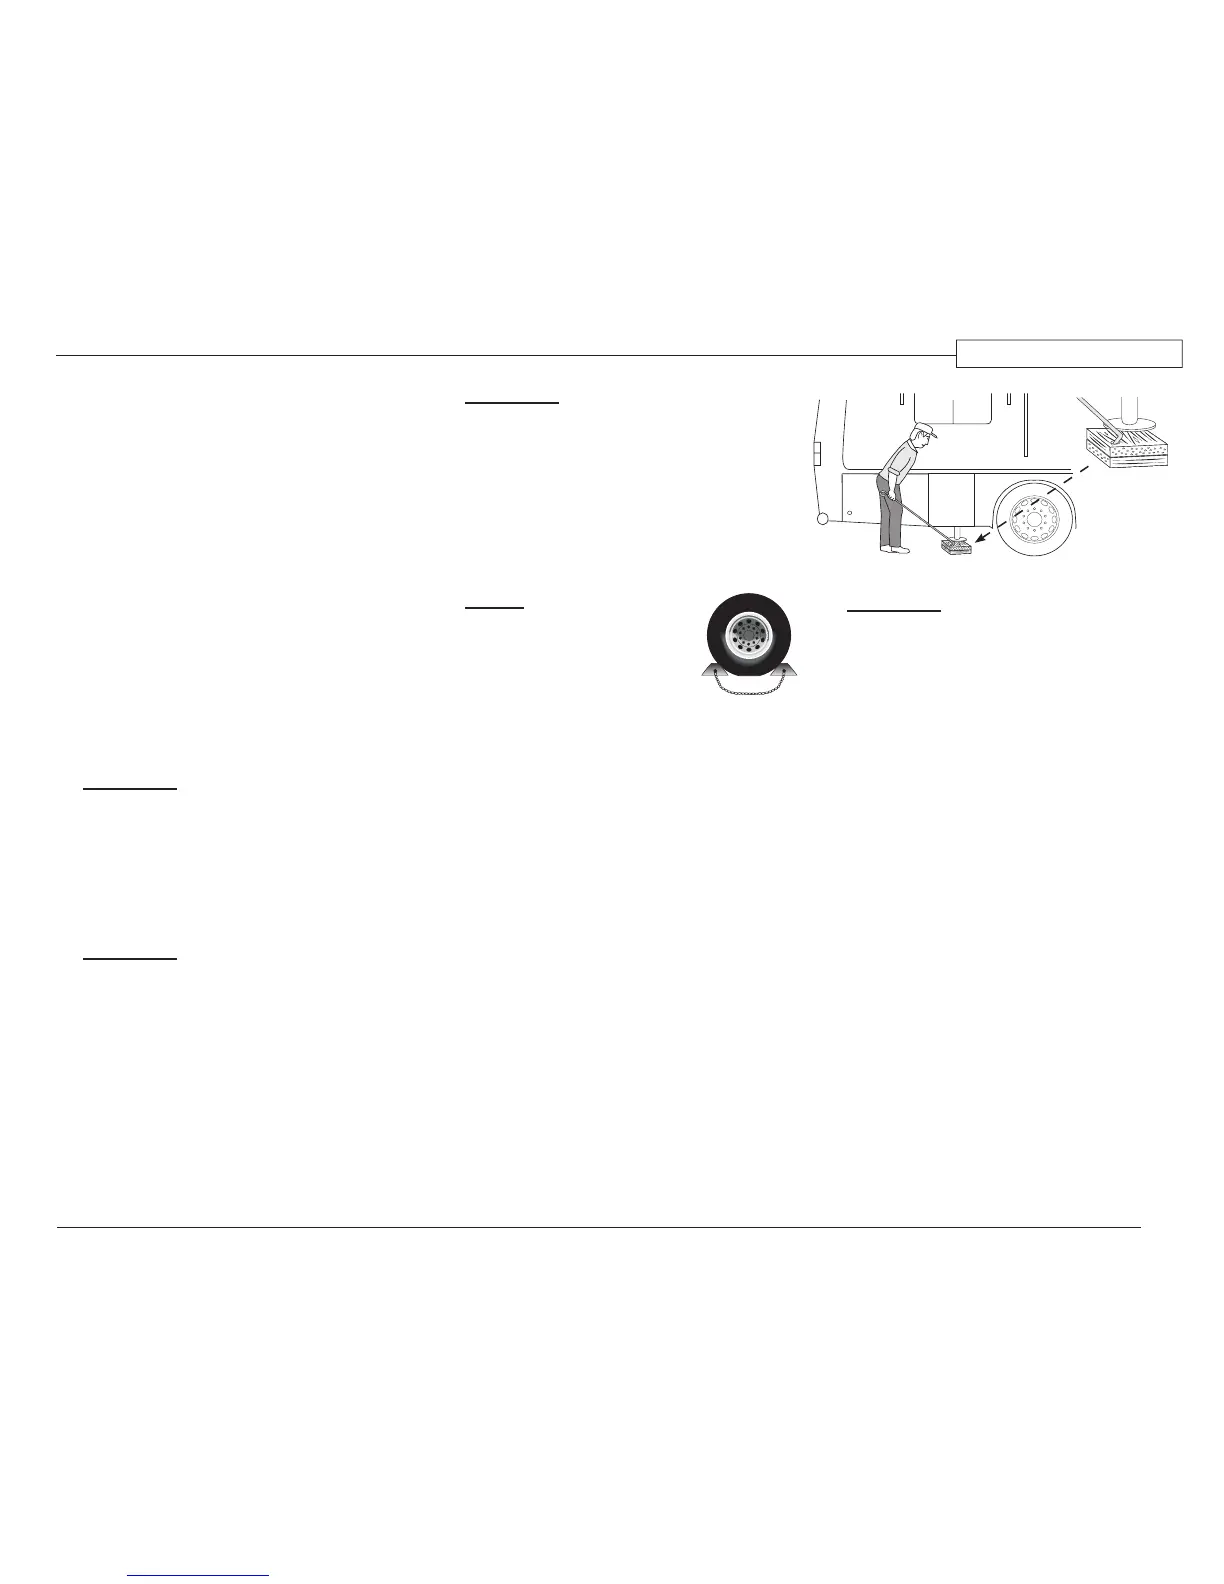
Properly chock
the wheels to
prevent the
motorhome
from rolling.
020185
Wood
Support
Block
020185b