Power On Setup Functions Power On Setup
102
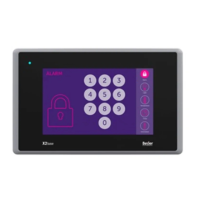
Qlarity-Based Terminal Hardware
To move within a category:
When the category heading you want to edit is highlighted, press
<Enter> to move to the first
function. Press
→ and ← to move from function to function in the category. To go back to the
category heading, go to the topmost function and press
←; or go to the bottommost function
and press
→. → and ← then move from category to category again.
To change a function:
When at a function that you want to edit, press
<Enter> to move to the available options. Press
→ and ← to toggle through the options (e.g., “off” and “on”). When the option you want is
displayed, press
<Enter> to select the option and move back to the function name.
Saving and Exiting:
When you are ready to exit Power On Setup, press either
→ or ← (with a category heading
highlighted) to move to
DONE on the last page, and press <Enter>. “Save and Exit” is high-
lighted. Press
<Enter> to save your changes and exit Power On Setup. To exit without saving
the changes, press
→ to move to Exit w/o Save and then press [Enter].
Refer to section 8.4 for information on specific functions.
8.4 Power On Setup Functions
This section describes the functions in the Power On Setup utility by category. The categories
are as follows:
• Flash Memory
• Display
• Calibration
• Network (with optional Ethernet port only)
• COM1 (and any additional installed serial ports)
• Keypad (optional)
• Keyboard (optional)
• Sound
• Feedback
• Miscellaneous
• Diagnostics (with keyboard/keypad only)
• Done