2-83
Confidential
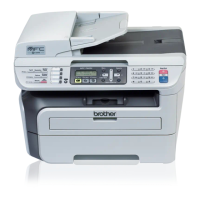
■ Poor fixing
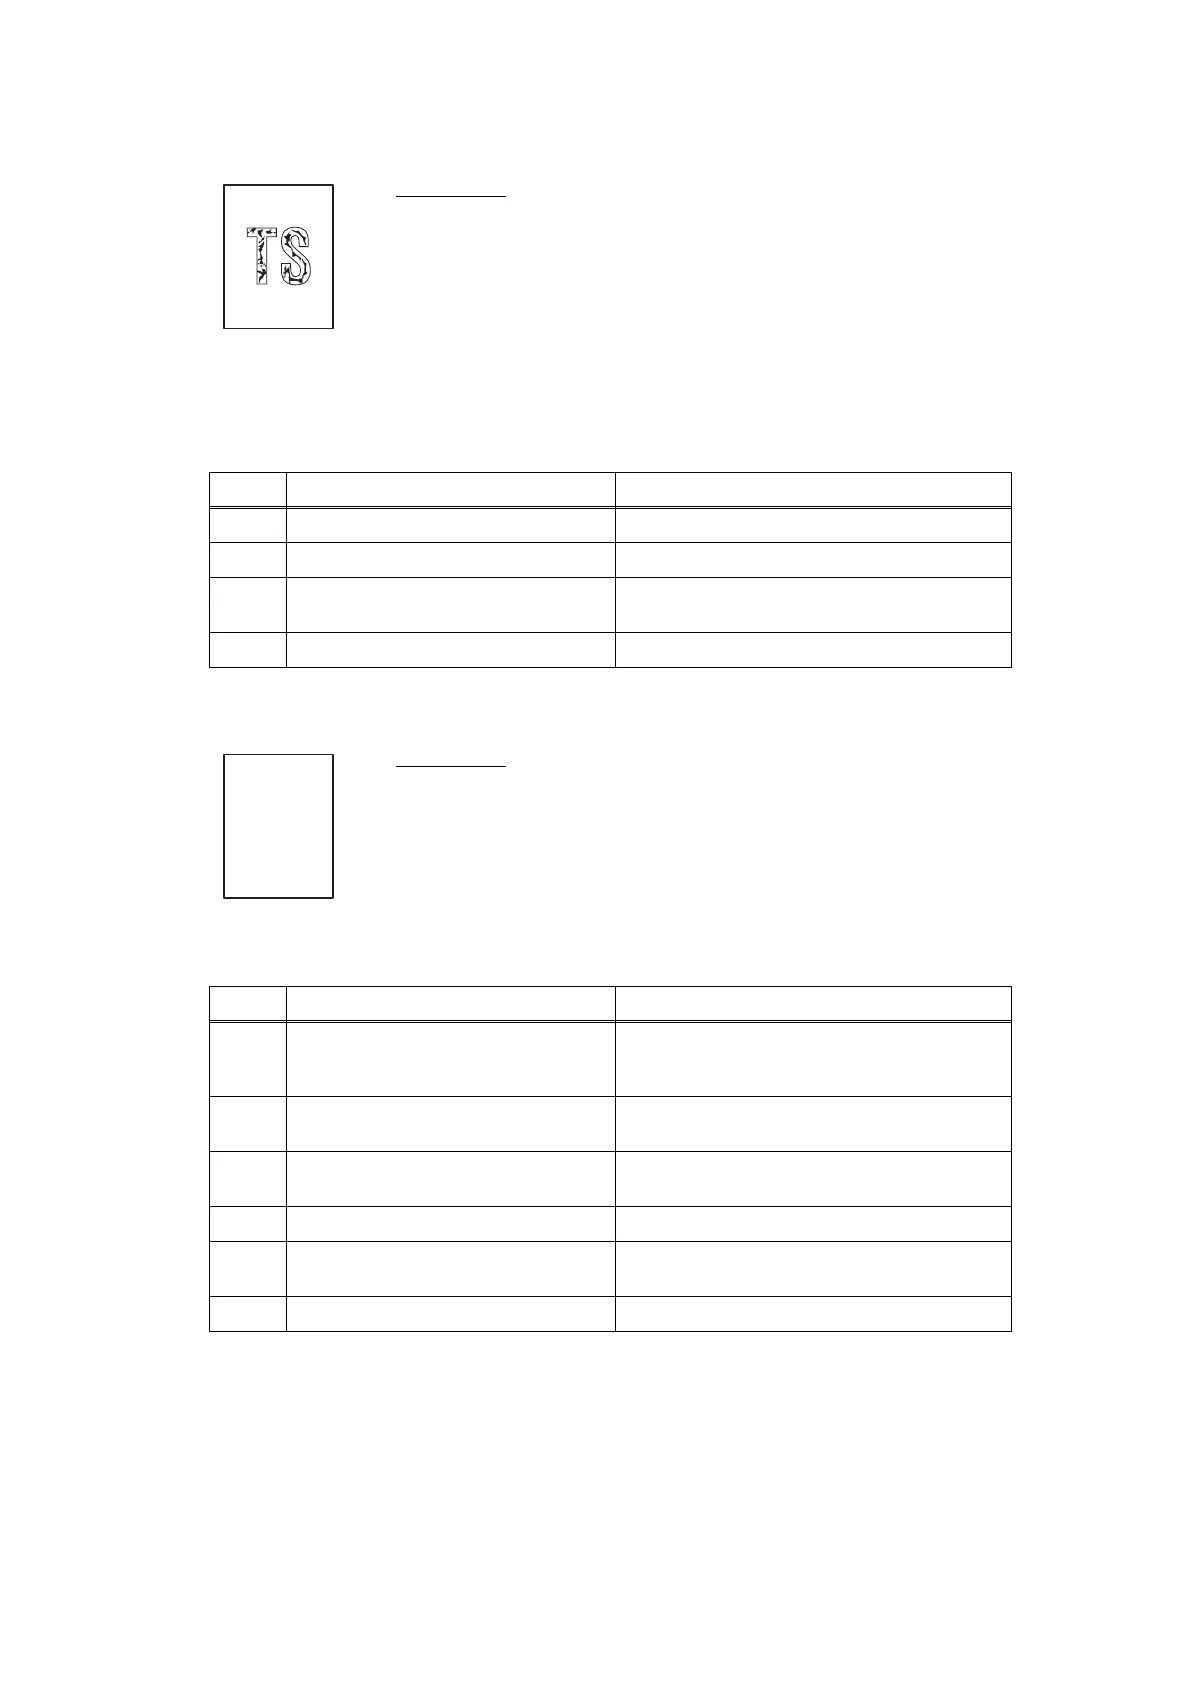
■ Completely blank
User Check
• Check the machine's environment. High temperature and high
humidity or low temperature and low humidity conditions can cause
this problem.
• Clean the corona wire of drum unit.
• Replace the drum unit with a new one.
• Replace the toner cartridge with a new one.
• Return the green envelope levers to the home position. (Refer to
Fig. 2-8.)
• Remove the elastic band from the drum unit.
Step Cause Remedy
1 Fuser unit failure Replace the fuser unit.
2 Laser unit failure Replace the laser unit.
3
Low voltage power supply PCB
ASSY failure
Replace the low voltage power supply PCB
ASSY.
4 Main PCB failure Replace the main PCB ASSY.
User Check
• Check the machine's environment. High temperature and high
humidity or low temperature and low humidity conditions can cause
this problem.
• Clean the corona wire of drum unit.
• Replace the drum unit with a new one.
• Replace the toner cartridge with a new one.
• Remove the elastic band from the drum unit.
Step Cause Remedy
1
Dirt on the electrodes of the drum
unit and the machine body
Clean the electrodes of the drum unit and
machine body. (Refer to Fig. 2-11, Fig. 2-
12.)
2
Scanner harness of the laser unit
connection failure
Reconnect the scanner harness of the
laser unit.
3
Laser unit not assembled correctly Assemble the laser unit correctly and
secure the screw.
4 Laser unit failure Replace the laser unit.
5
High voltage power supply PCB
ASSY failure
Replace the high voltage power supply
PCB ASSY.
6 Main PCB failure Re-assemble the main PCB ASSY.
 Loading...