Installation
32 H148850_3_003
6.9.1 Aligning the Sample Changer
Note: Before alignment, ensure that you have installed all sample changer components
correctly. Also, ensure that you have securely tightened all thumbscrews and connected the
communications cable from the host computer to the sample changer.
You will need the following items:
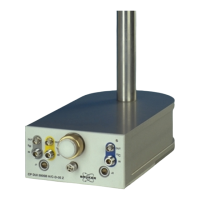
• Alignment probe.
• Alignment puck inserts.
• A PC with the ASX-7000 alignment utility.
Refer to the alignment guide or the online help within the alignment software for instructions.
6.9.2 Testing the Gripper
Once the sample changer has been aligned, test it with empty sample vials.
• Load the sample changer with empty sample vials at the positions you wish to test.
• Turn the sample changer power switch on and verify that the LED power indicator is on.
• Use the host computer to command the sample changer to move the gripper to sample
positions at each of the corners of the sample zones. Check that the gripper correctly
accesses each position.
 Loading...

