Safety Barrier Assembly Installation (Optional)
38 H148850_3_003
Step 4: One person should steady the acrylic wall while the second puts one 8-32x.1.5
PHPH, Bag E, screw in each of the base mounting brackets. Once tightened down, the wall
will be secure enough to finish screwing in the remaining 8-32x.1.5 PHPH, Bag E, screws
without the aid of the second person.
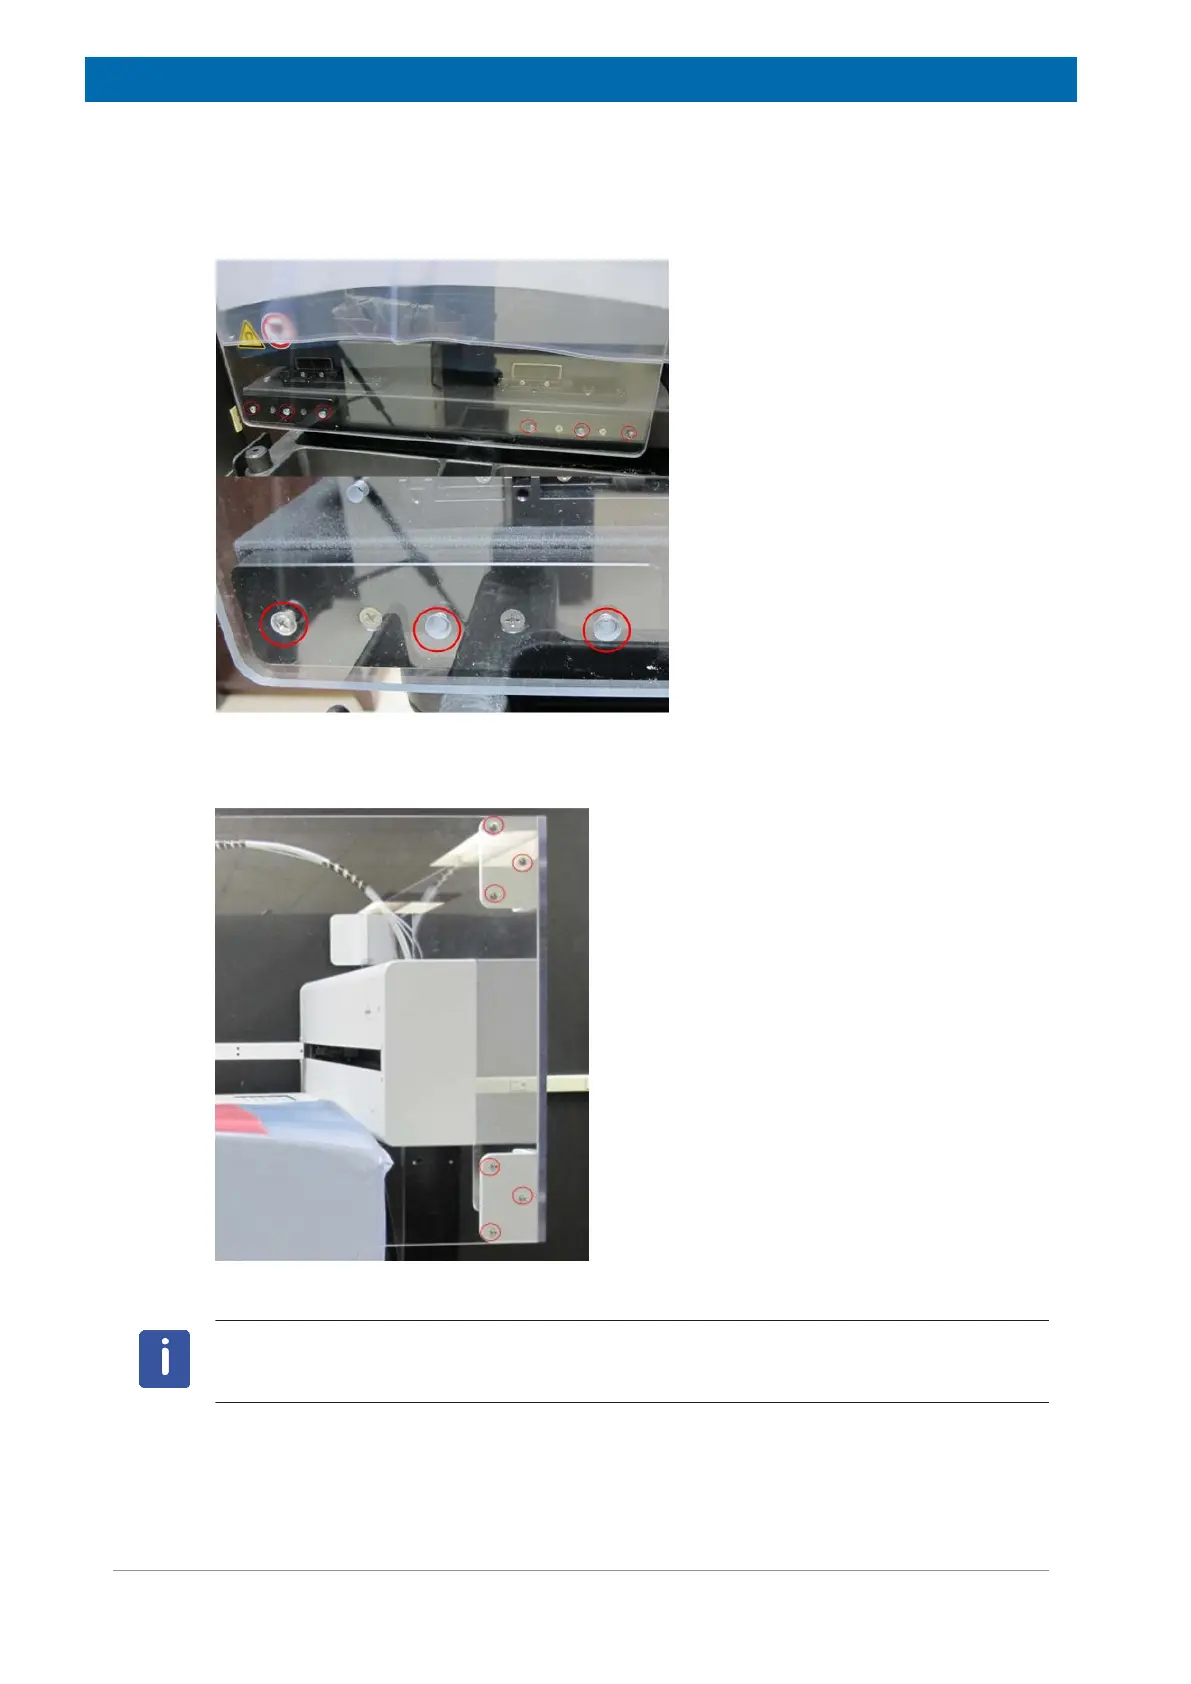
Step 5: Once the base is secure, attach the wall to the back panel by affixing it to the two
braces using 8-32x.375 PHPH, Bag B, screws. Three for each bracket.
If both of the heater/chiller units are on the base of the unit it is best if you mount the E-stop
button to the left wall before assembling the wall. Otherwise this step can be completed once
the entire barrier has been constructed.