6
6
6-8
6-8
Installation > Installation Procedure
Installation > Installation Procedure
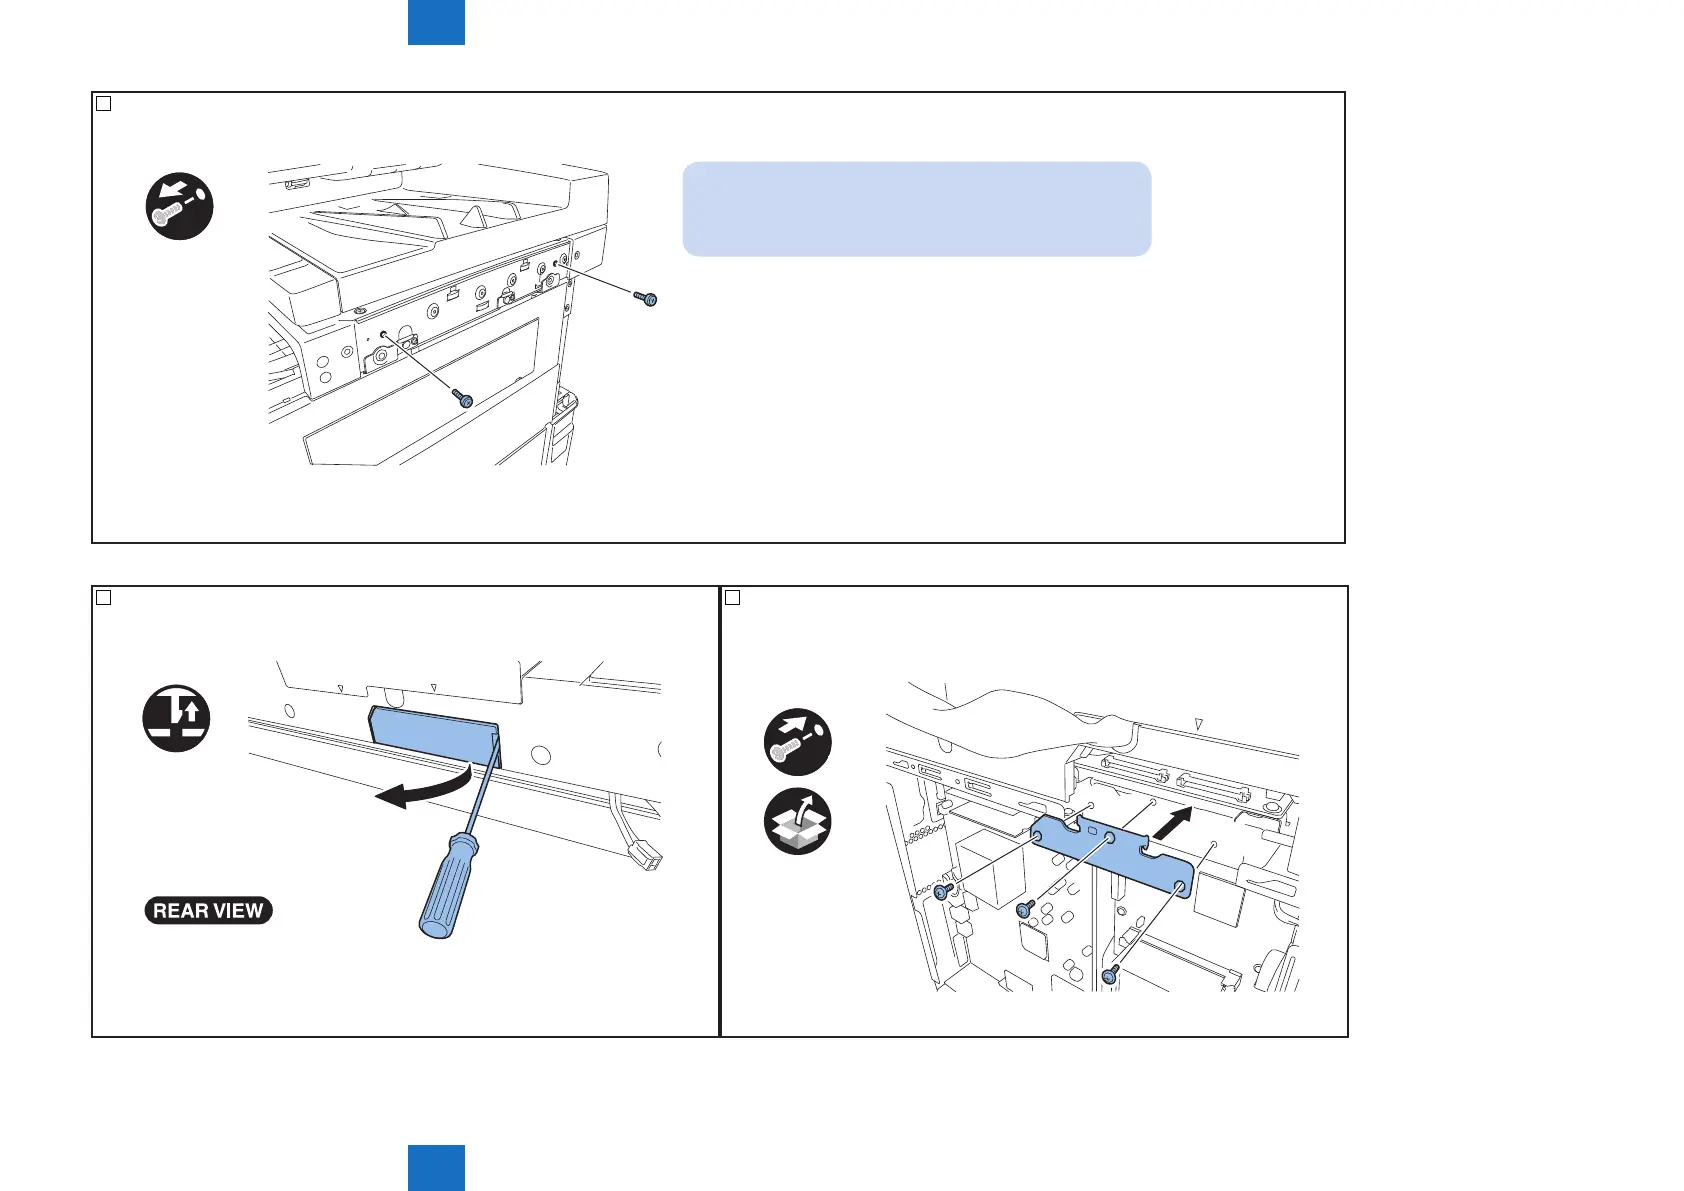
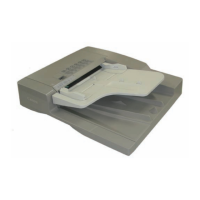
7) Remove 2 xing screws of the scanner unit.
x2
NOTE:
As the xing screws of the scanner unit will be needed
when moving the machine,be sure to keep them.
F-6-8
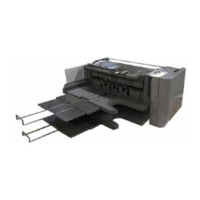
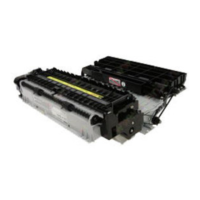
8) Remove the connector cover by releasing the hook with the at head screwdriver.
F-6-9
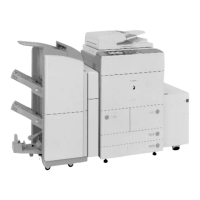
9) Attach the grounding plate.
• 3 screws (TP, M3X6).
x3
F-6-10