EasyManuals Logo

Canon imagePRESS 1135 User Manual

Canon imagePRESS 1135
1603 pages
To Next Page IconTo Next Page
To Previous Page IconTo Previous Page
Page #646 background imageLoading...
Page #646 background image
4
4
4-382
4-382
Parts Replacement and Cleaning > PCB > Removing Fixing High-Voltage PCB
Removing Fixing High-Voltage PCB
<Preparation>
1) Open the Front Left Cover and the Front Right
Cover.
(Refer to page 4-54)
2) Pull Out Fixing Feed Unit.
(Refer to page 4-120)
3) Remove Secondary Transfer Outer Unit.
(Refer to page 4-86)
1) Remove the grounding wire.
• 1 screw
F-4-869
2) Remove the 3 connectors.
x3
F-4-870
3) Remove the claw in 2 places, and remove the xing high voltage PCB.
x2
Claw
F-4-871

Table of Contents

Questions and Answers:

Question and Answer IconNeed help?

Do you have a question about the Canon imagePRESS 1135 and is the answer not in the manual?
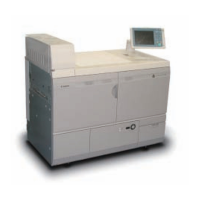
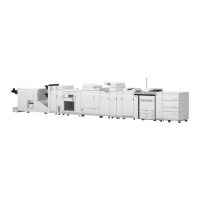
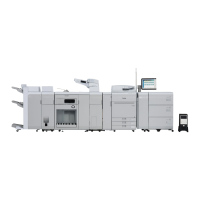
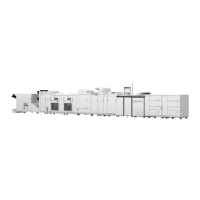
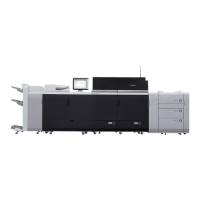
Canon imagePRESS 1135 Specifications

General IconGeneral
Print Speed (Black)135 ppm
Print Resolution1200 x 1200 dpi
Maximum Print Resolution1200 x 1200 dpi
Duplex PrintingYes
Operating System CompatibilityWindows, macOS, Linux
Print TechnologyLaser
Maximum Paper Size13 x 19.2 inches
Network ConnectivityEthernet, USB
Supported Media SizesA4, A5, B5, Custom sizes
Supported Media TypesPlain paper, Heavy paper, Coated paper, Envelope

Related product manuals