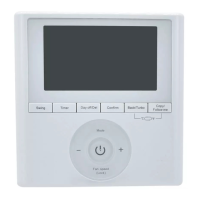
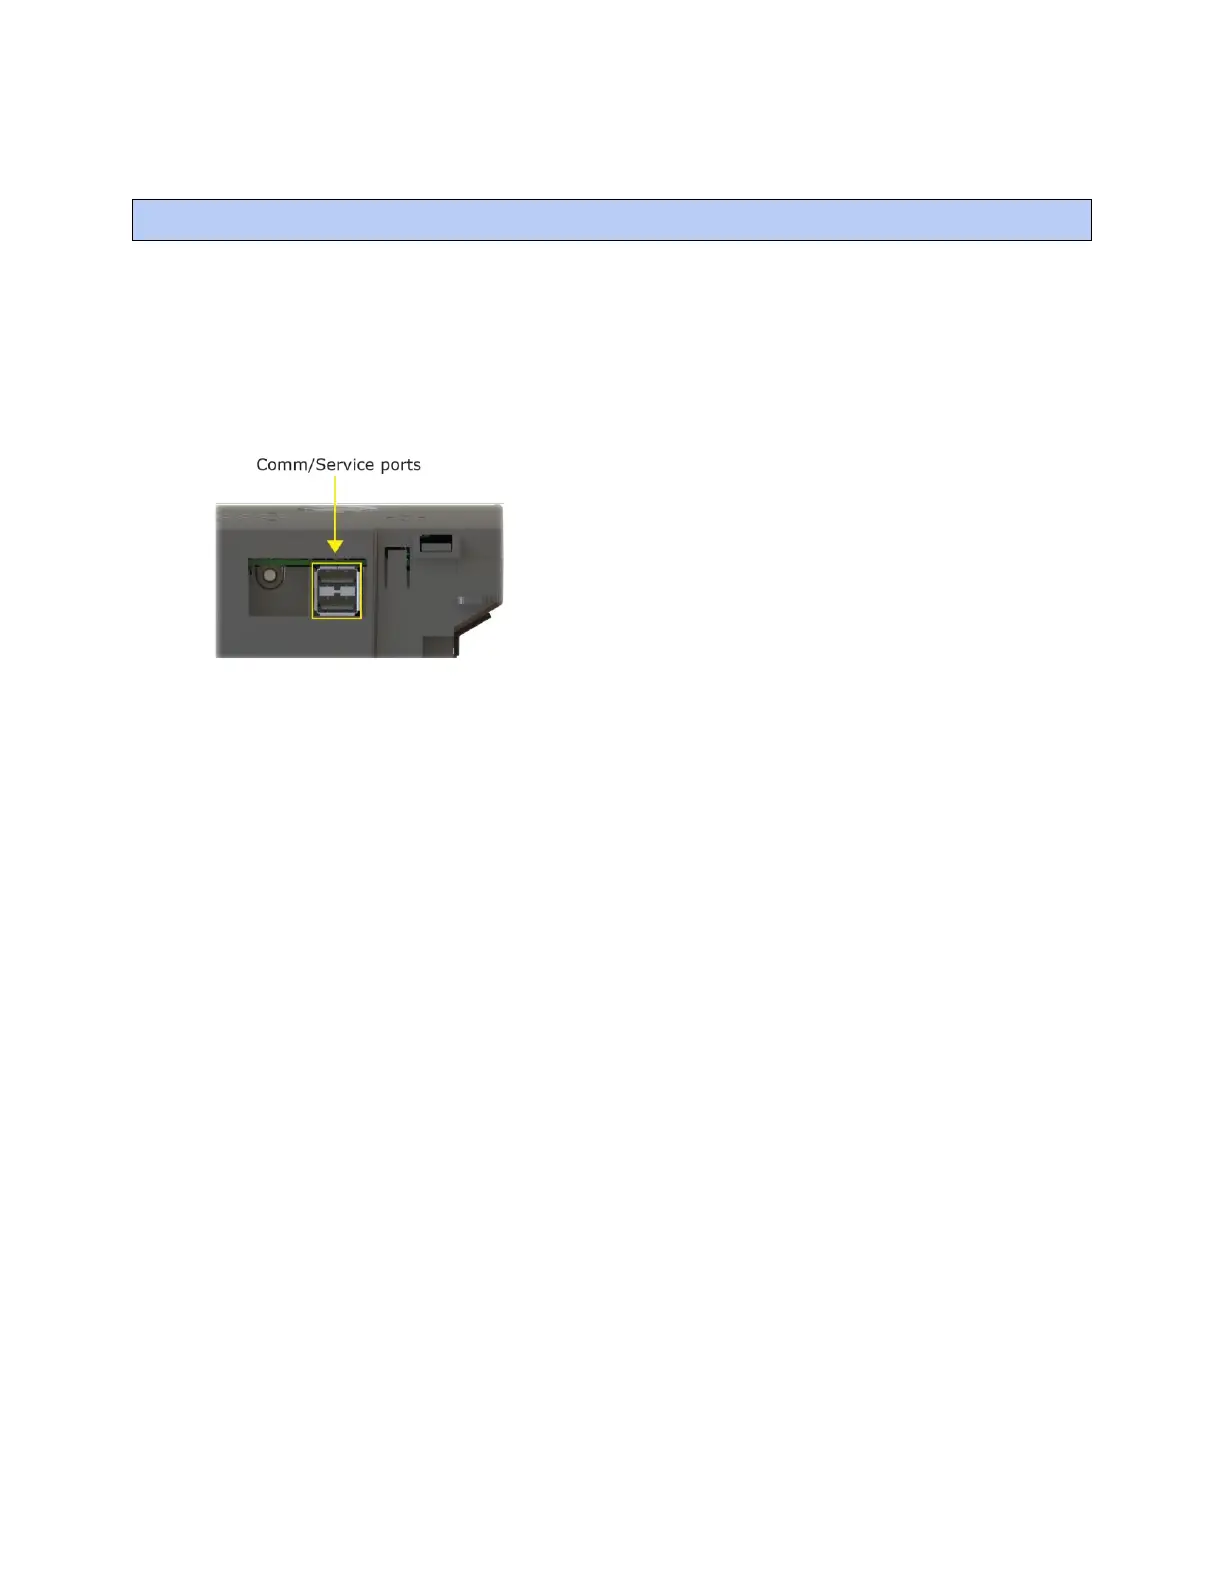
Addressing the TV-VAVB3-E2 through the Comm/Service ports
TruVu™ VAVB3-E2 CARRIER CORPORATION ©2022
Installation and Start-up Guide All rights reserved
16
You address the TV-VAVB3-E2 on the controller setup pages. The Local Network tab allows you to discover all i-
Vu® XT or TruVu™ devices on a single network and configure them from that page. See Addressing a network of
controllers using the controller setup Local Network tab (page 19) and the Local Network (page 90) tab.
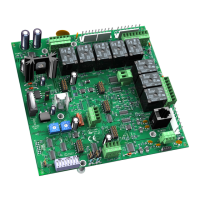
You can connect the TV-VAVB3-E2 to a computer using a wireless or cable connection to either of the
Comm/Service USB ports.
NOTE You cannot access the Service port by plugging an Ethernet cable into Eth0 or Eth1.
To connect the TV-VAVB3-E2 to a computer using the Carrier wireless service adapter.
1 Insert the Carrier wireless service adapter (part# USB-W) into either of the controller's USB Comm/Service
ports to communicate with a Wi-Fi-compatible computer.
2 Open your computer's wireless network display to view your available wireless networks.
NOTE TV-VAVB3-E2 only supports the 5 GHz band and not the 2.4 GHz band.
3 Connect to the wireless network using the network SSID and password that are printed on the Carrier
wireless service adapter.
4 Open a web browser on the computer and navigate to http://local.access or http://169.254.1.1 to see the
controller setup pages.